Sessions and Agenda
Your opinion matters to the APA. The Office of Scientific Programs and Scientific Program Committee wants to hear from you to help develop future meetings. Follow the steps below to rate individual sessions and provide commentary.
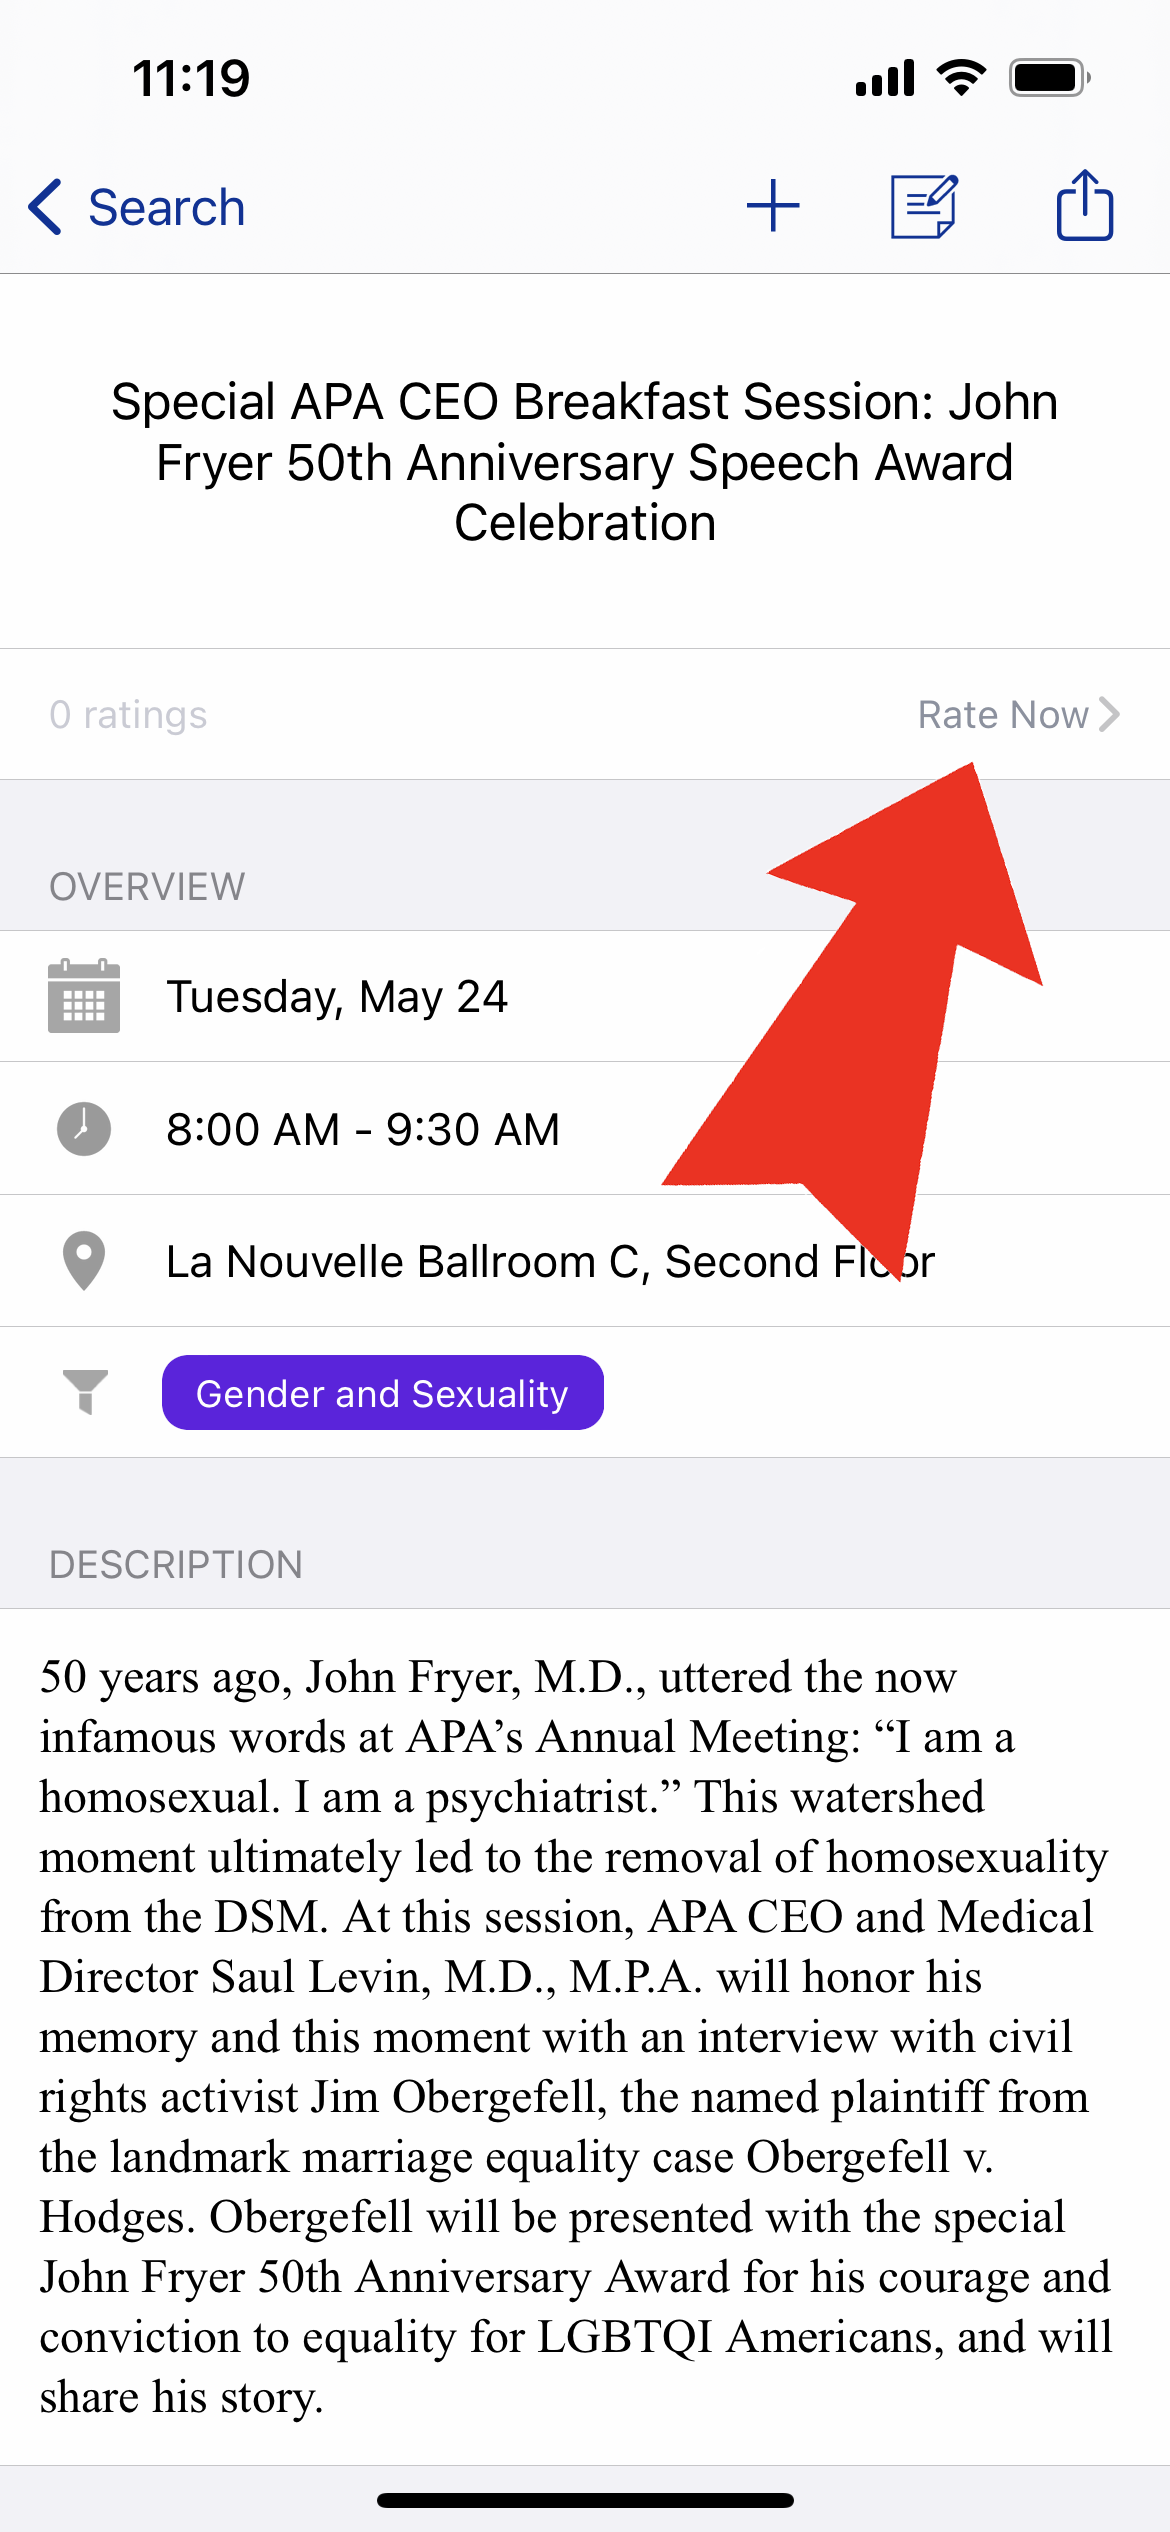
Step 1 of 4: Open in the individual session you would like to evaluate and tap the "Rate Now" link.
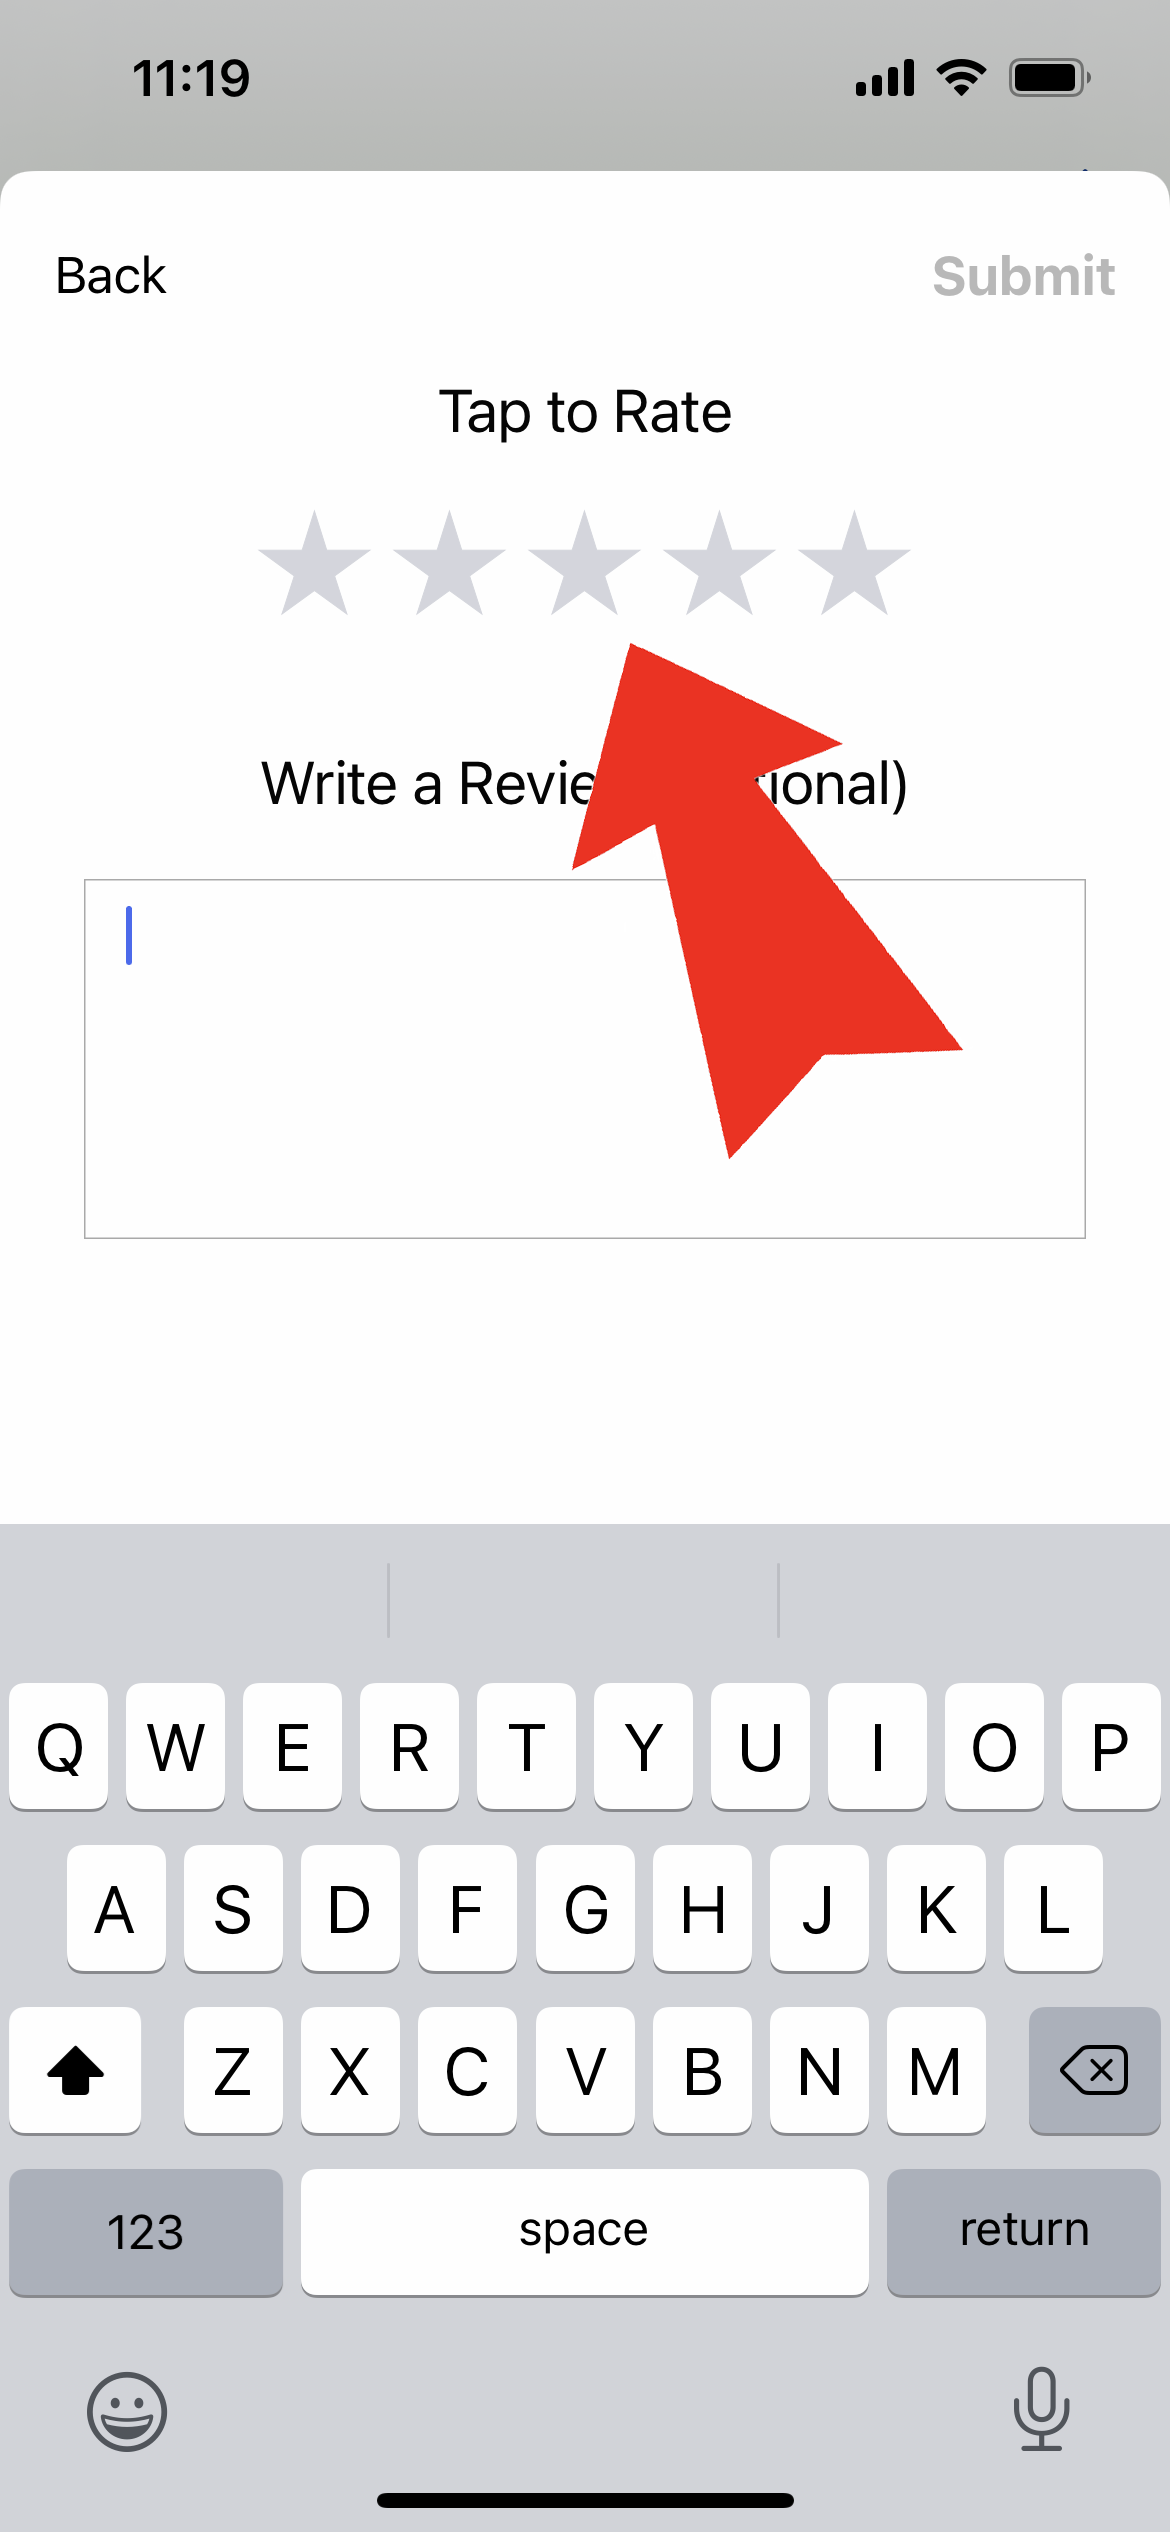
Step 2 of 4: Tap the number of stars (1-5) that you would evaluate the session by. You may also type comments in the option text field.
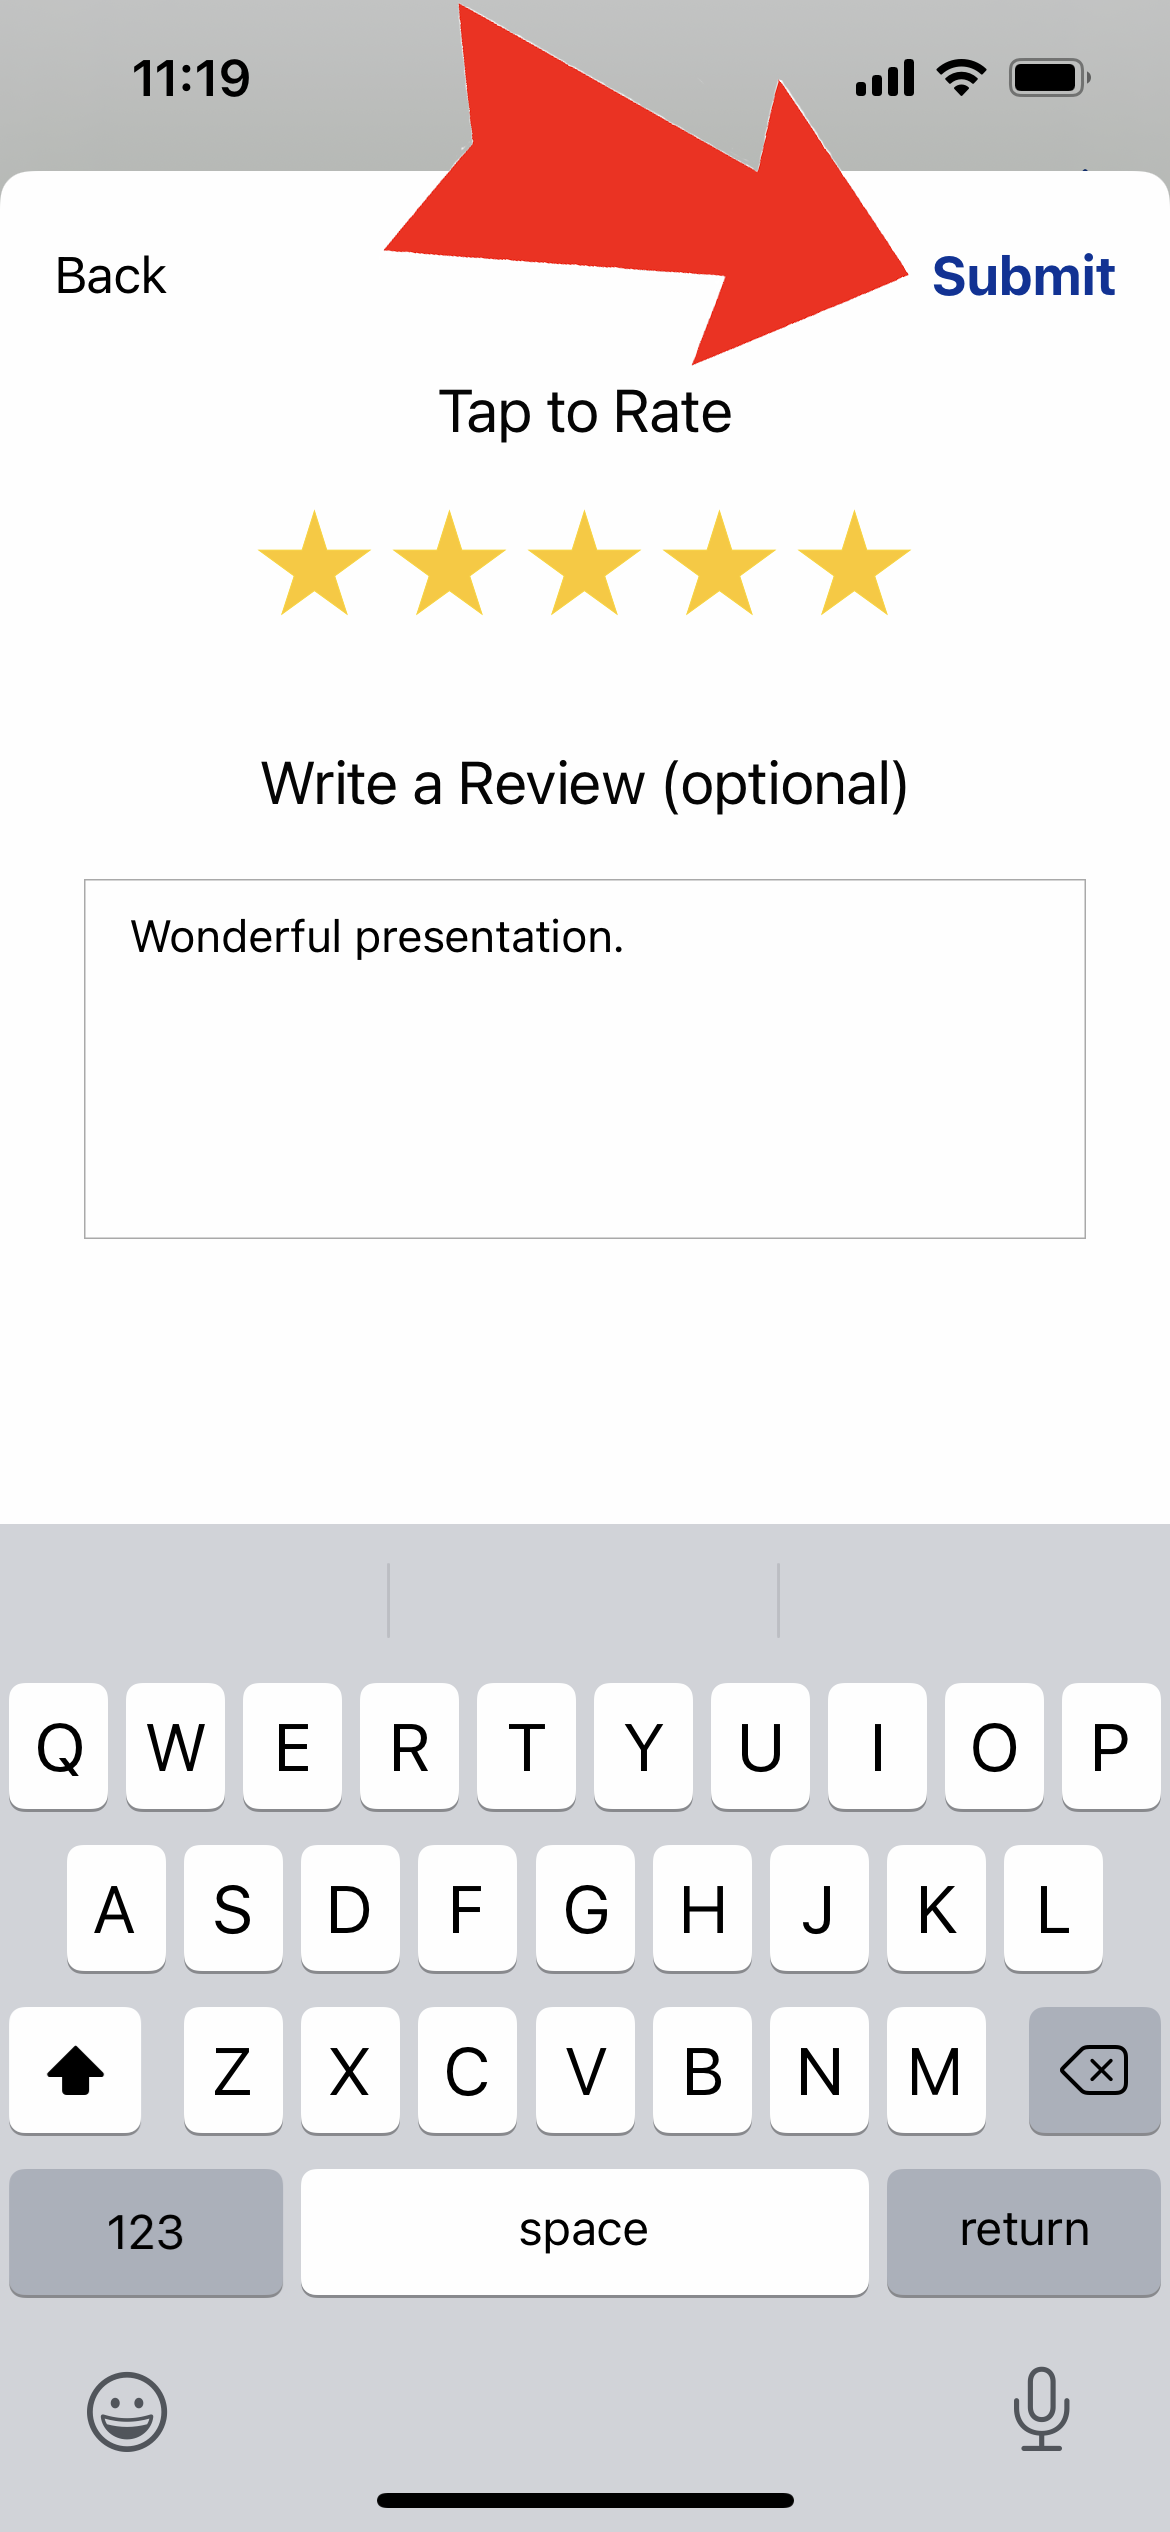
Step 3 of 4: Tap the blue "Submit" link in the top right of your screen to submit your review.
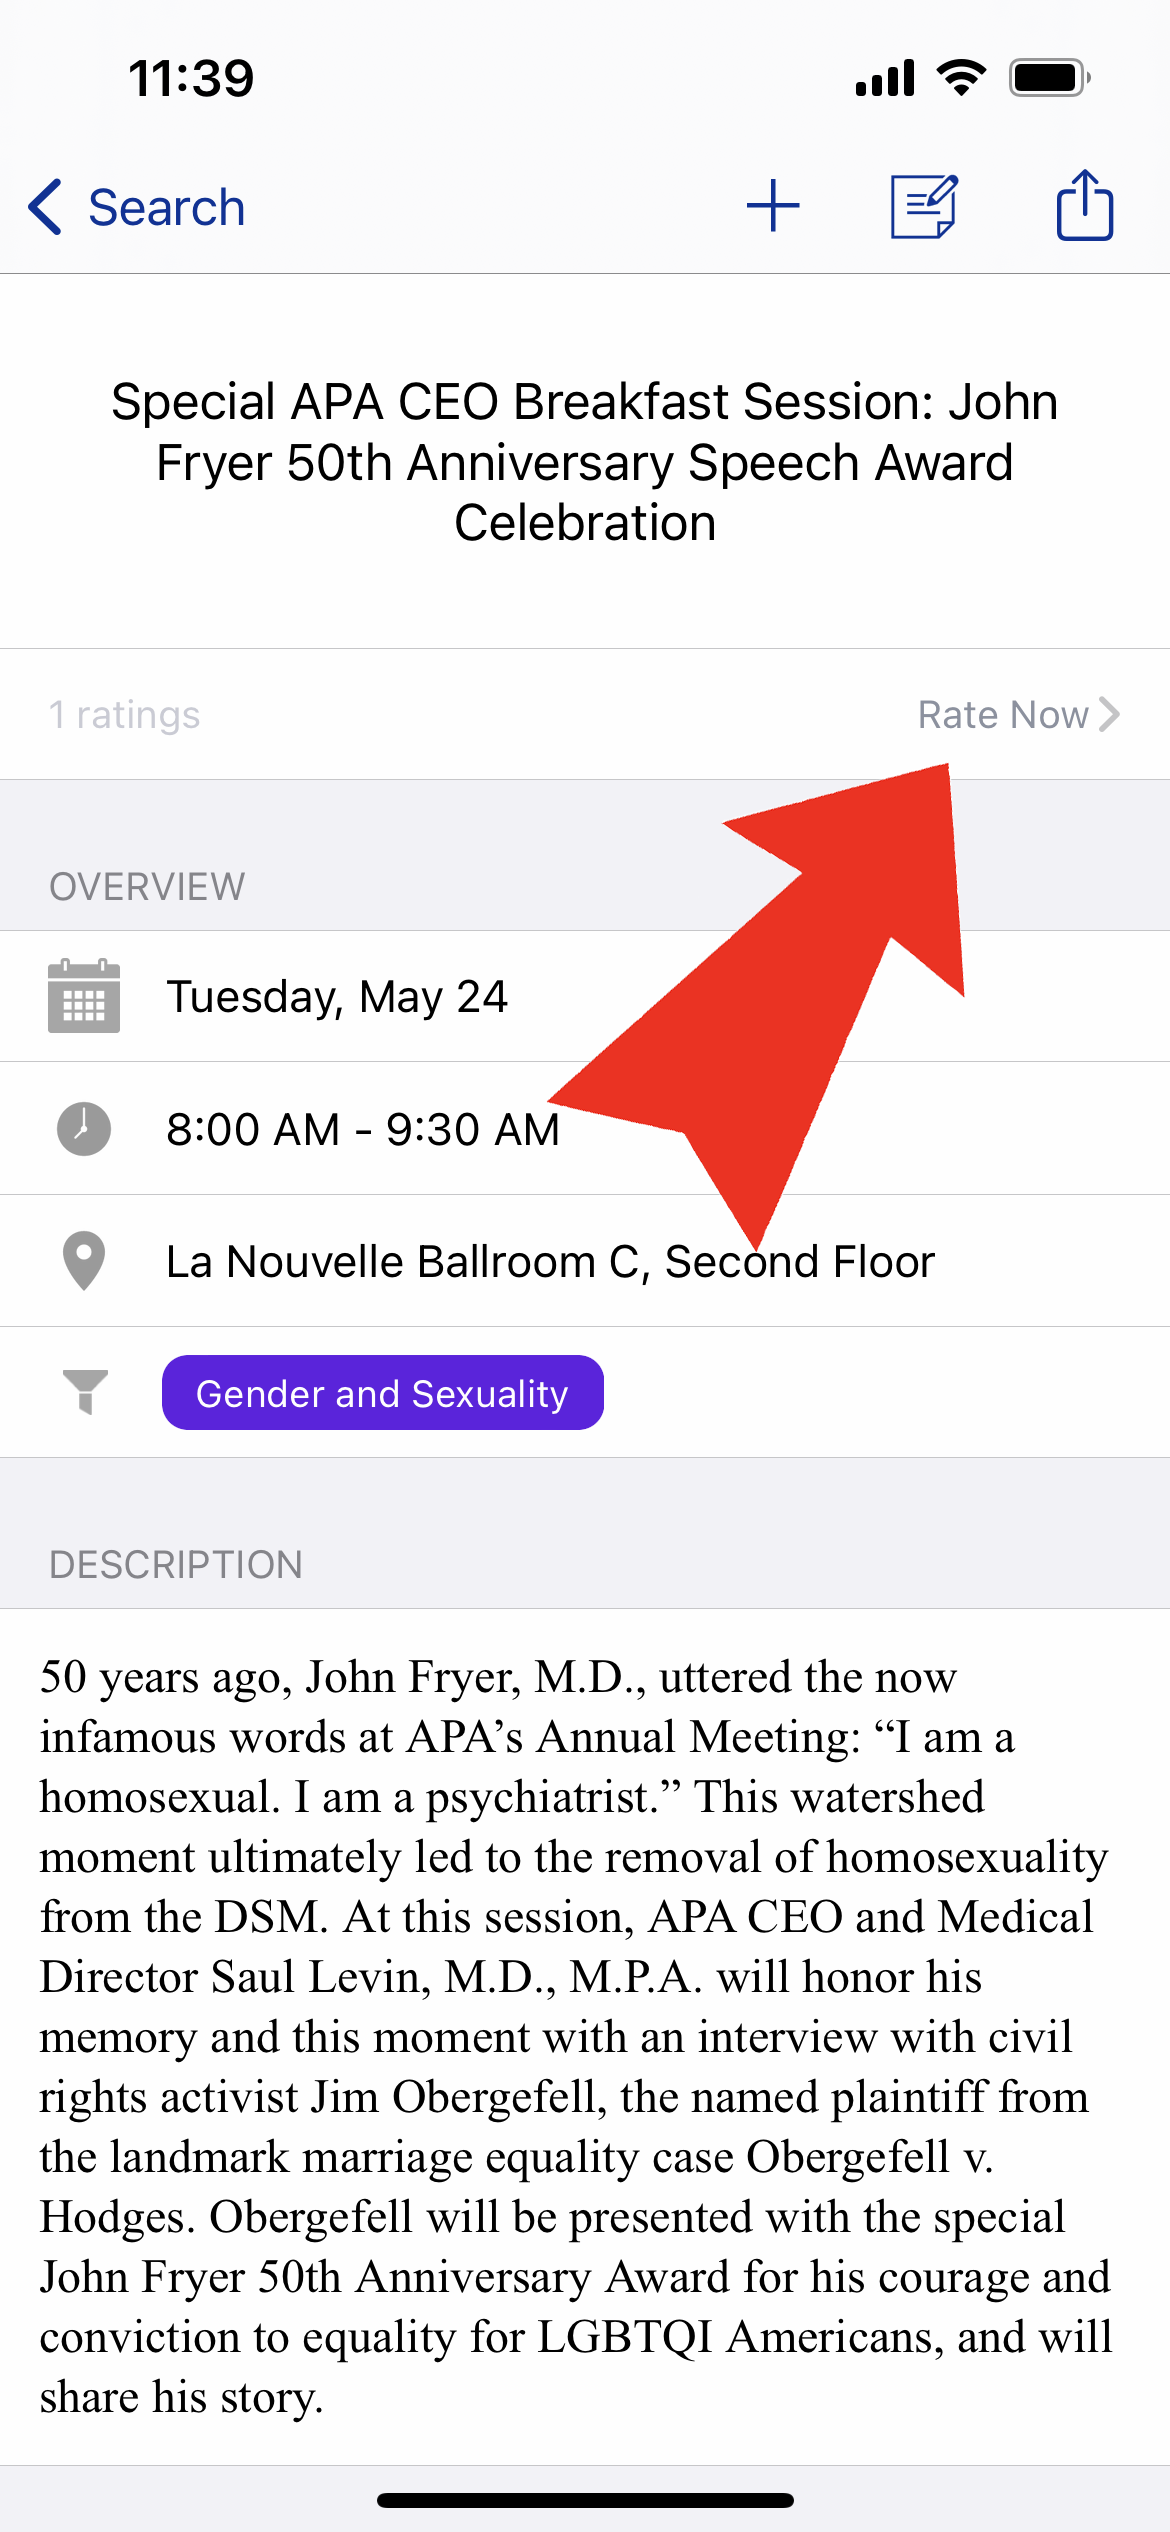
Step 4 of 4: Change or add to your review at any point by navigating back to the individual session page and tapping the "Rate Now" link again and repeating steps 1-3.
The Sessions section of the app provides a quick and easy view of all scientific program sessions, navigable by calendar day and scrollable by times.
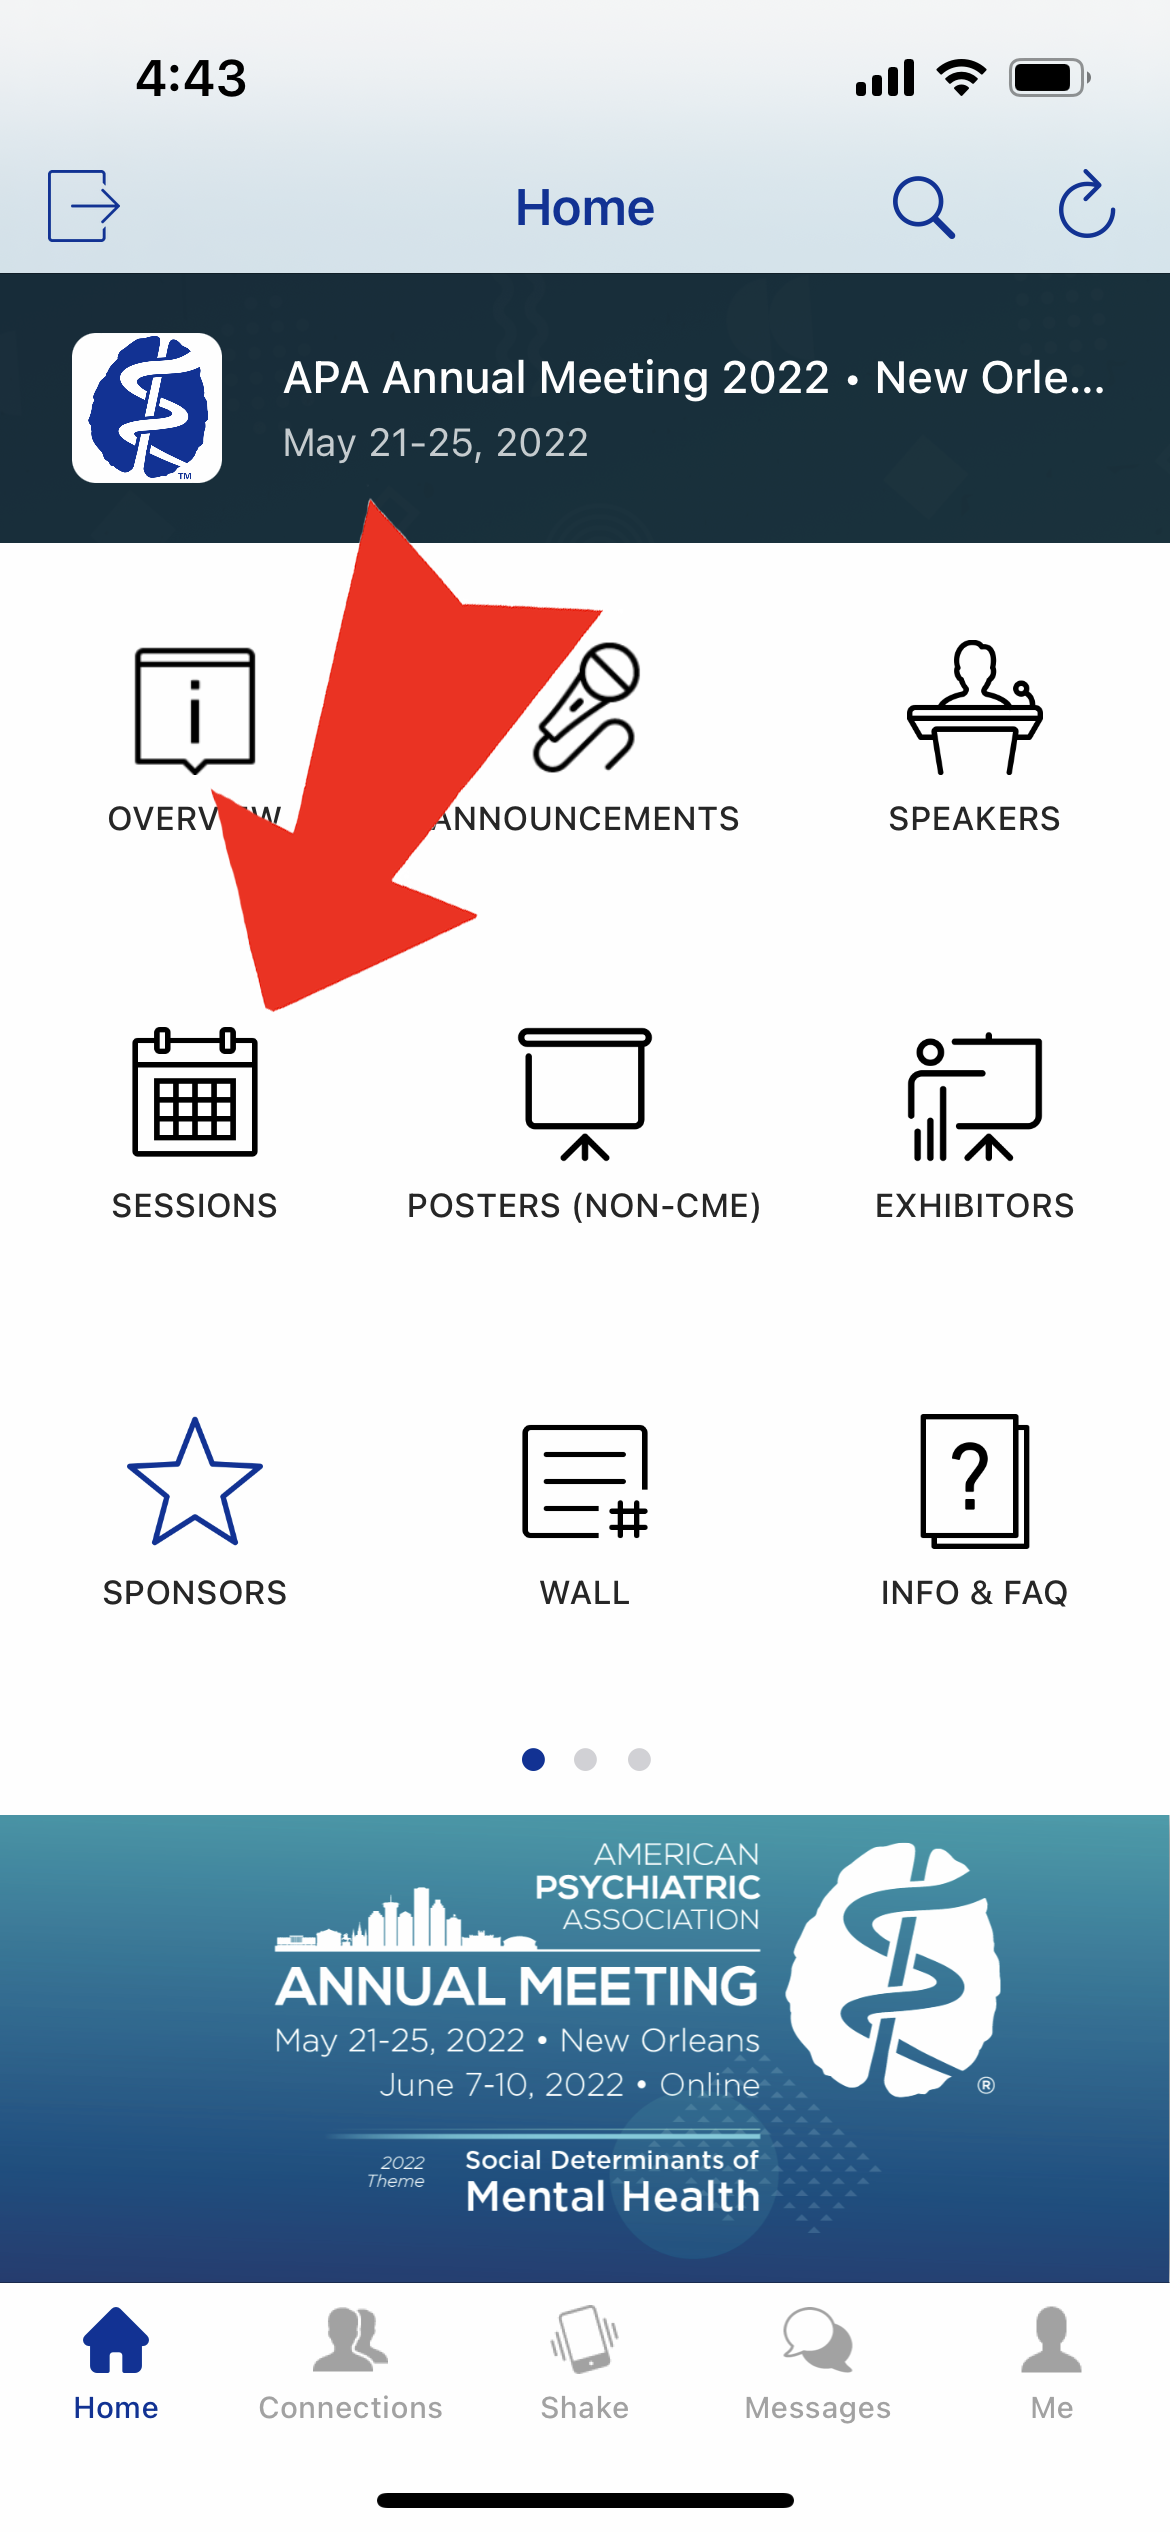
Step 1 of 1: On the home menu screen, tap the "Sessions" icon.

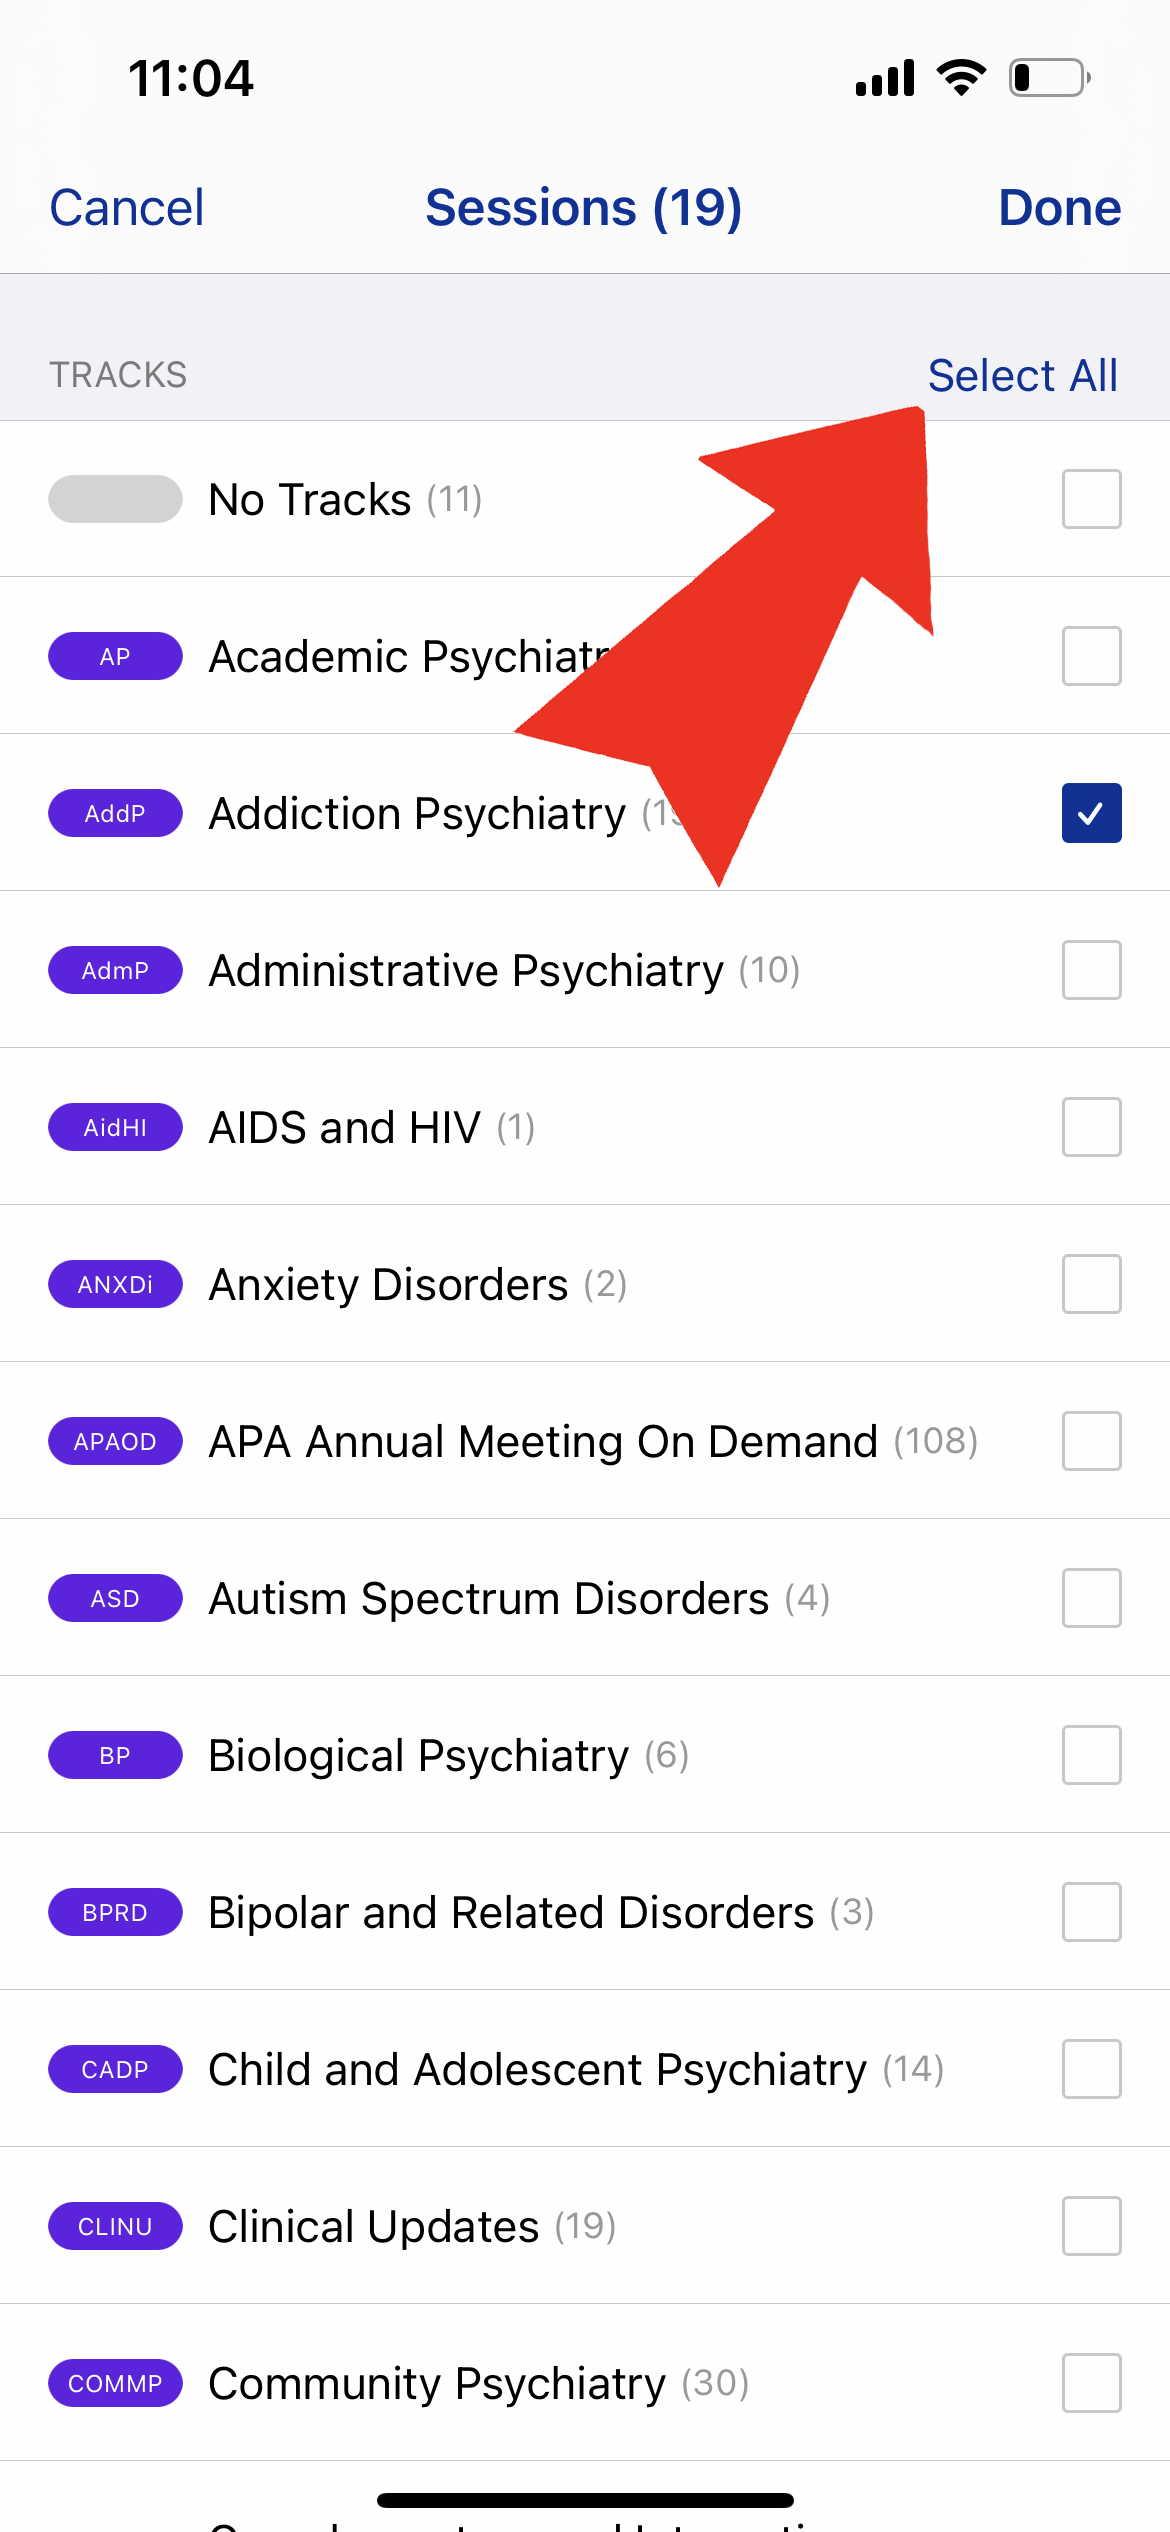
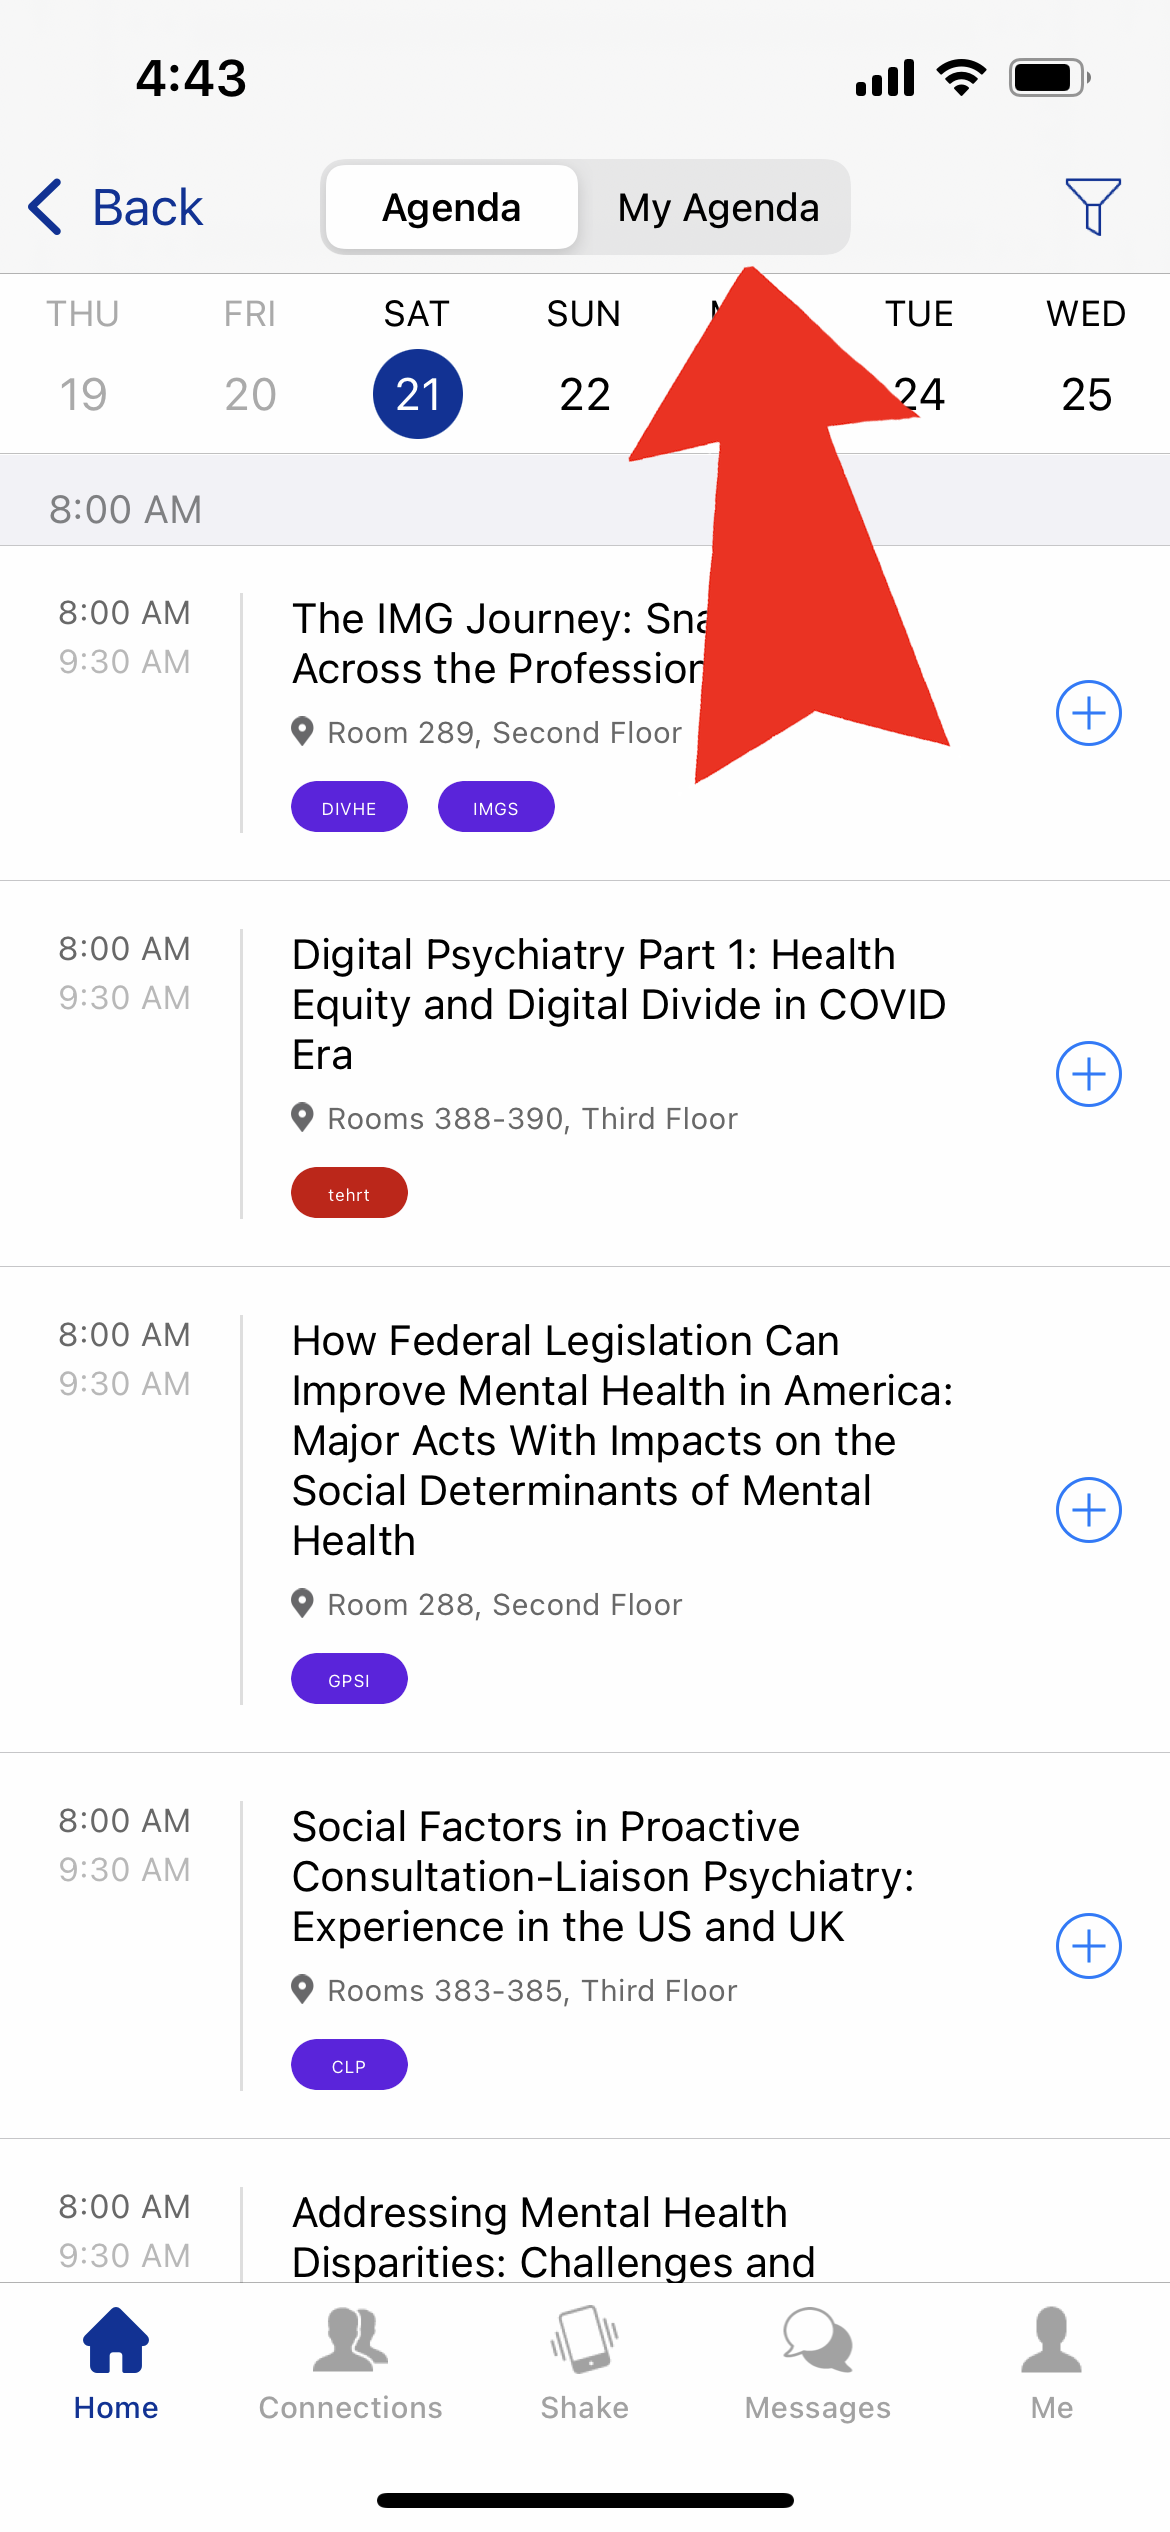
Step 1 of 4: Tap the "Filer" icon in the top, right corner of the Sessions view.
Step 2 of 4: Tap the "Clear" link.
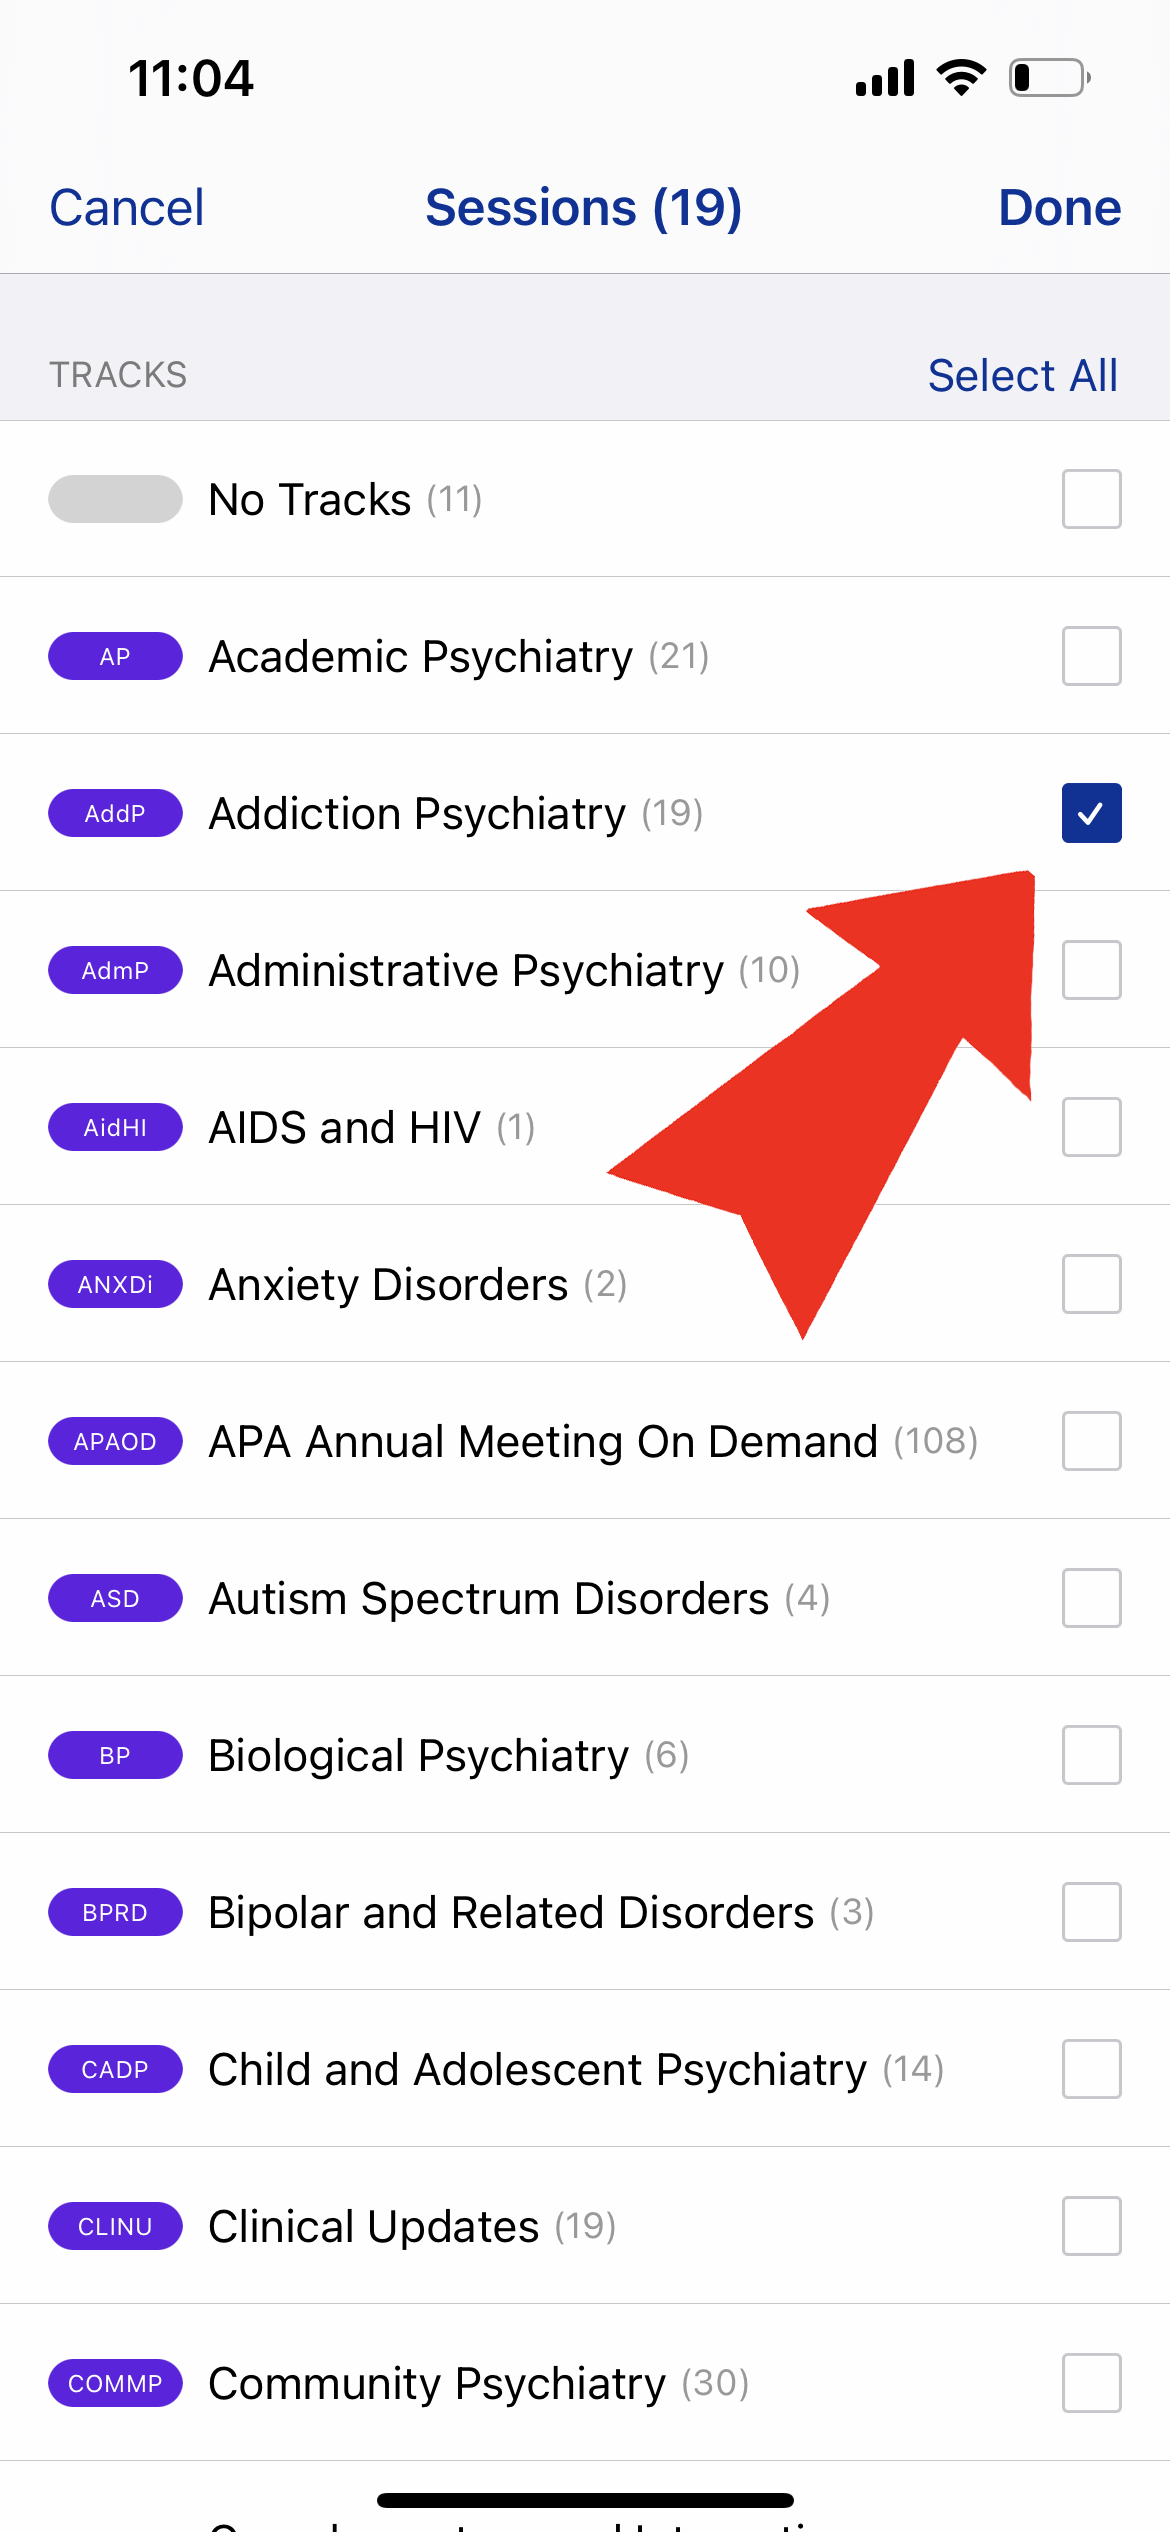
Step 3 of 4: Scroll through the list of sessions and tap the boxes next to the topics you would like to see. When selected, the box will change to blue with a white check mark.
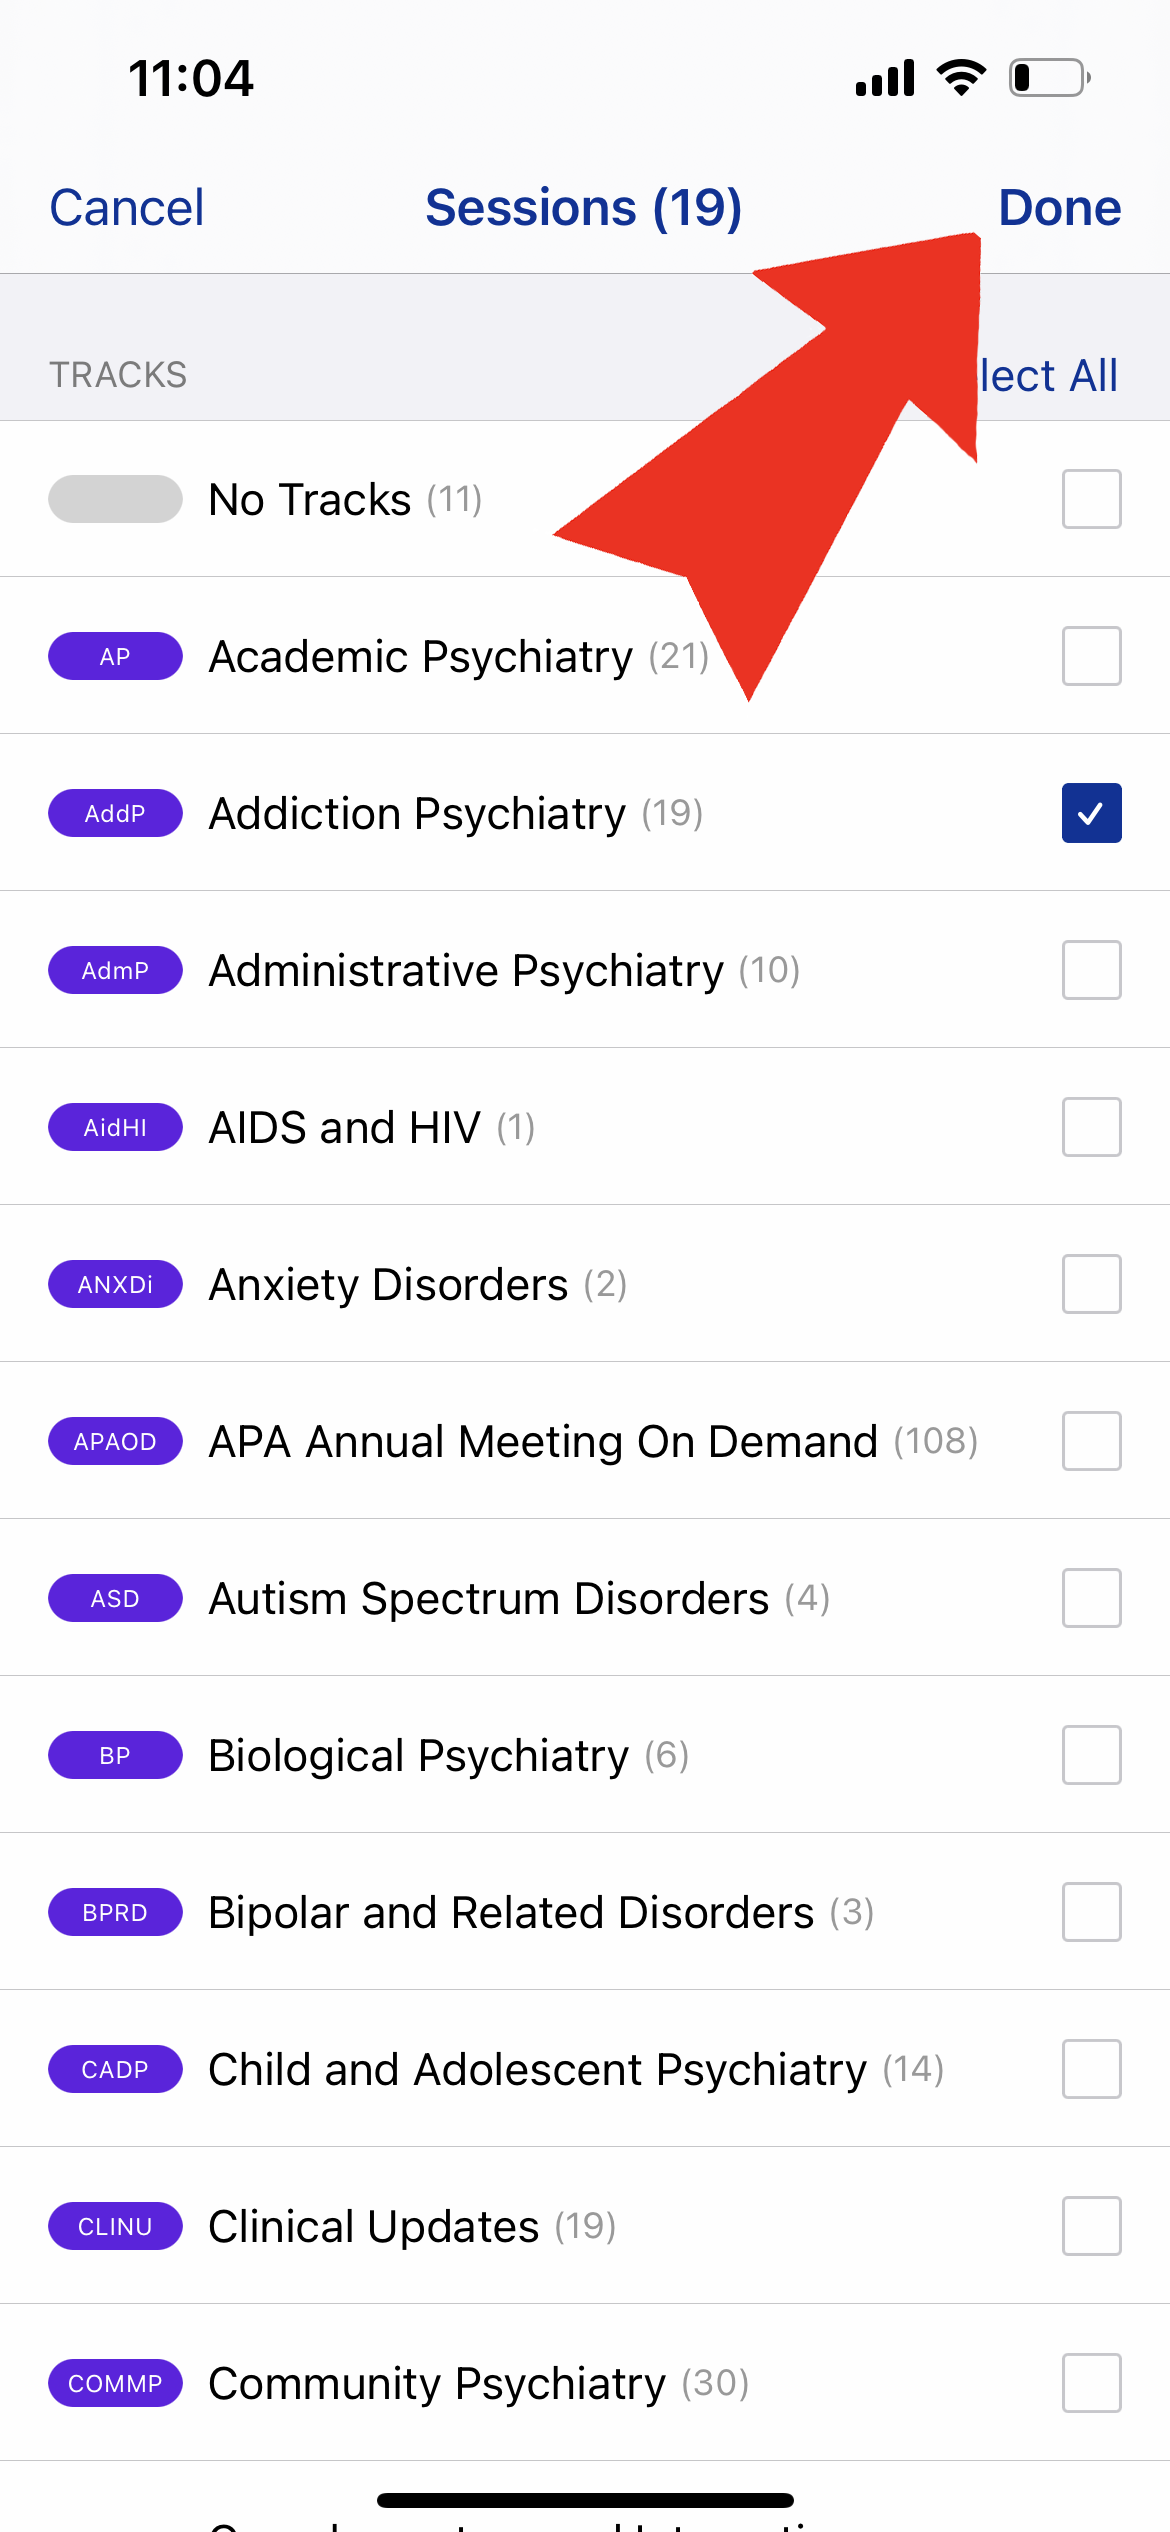
Step 4 of 4: Tap the "Done" link in the top, right corner.
If you aren't seeing the full list of sessions in the Sessions view, you might need to remove the topic filter in order to view all of the sessions.
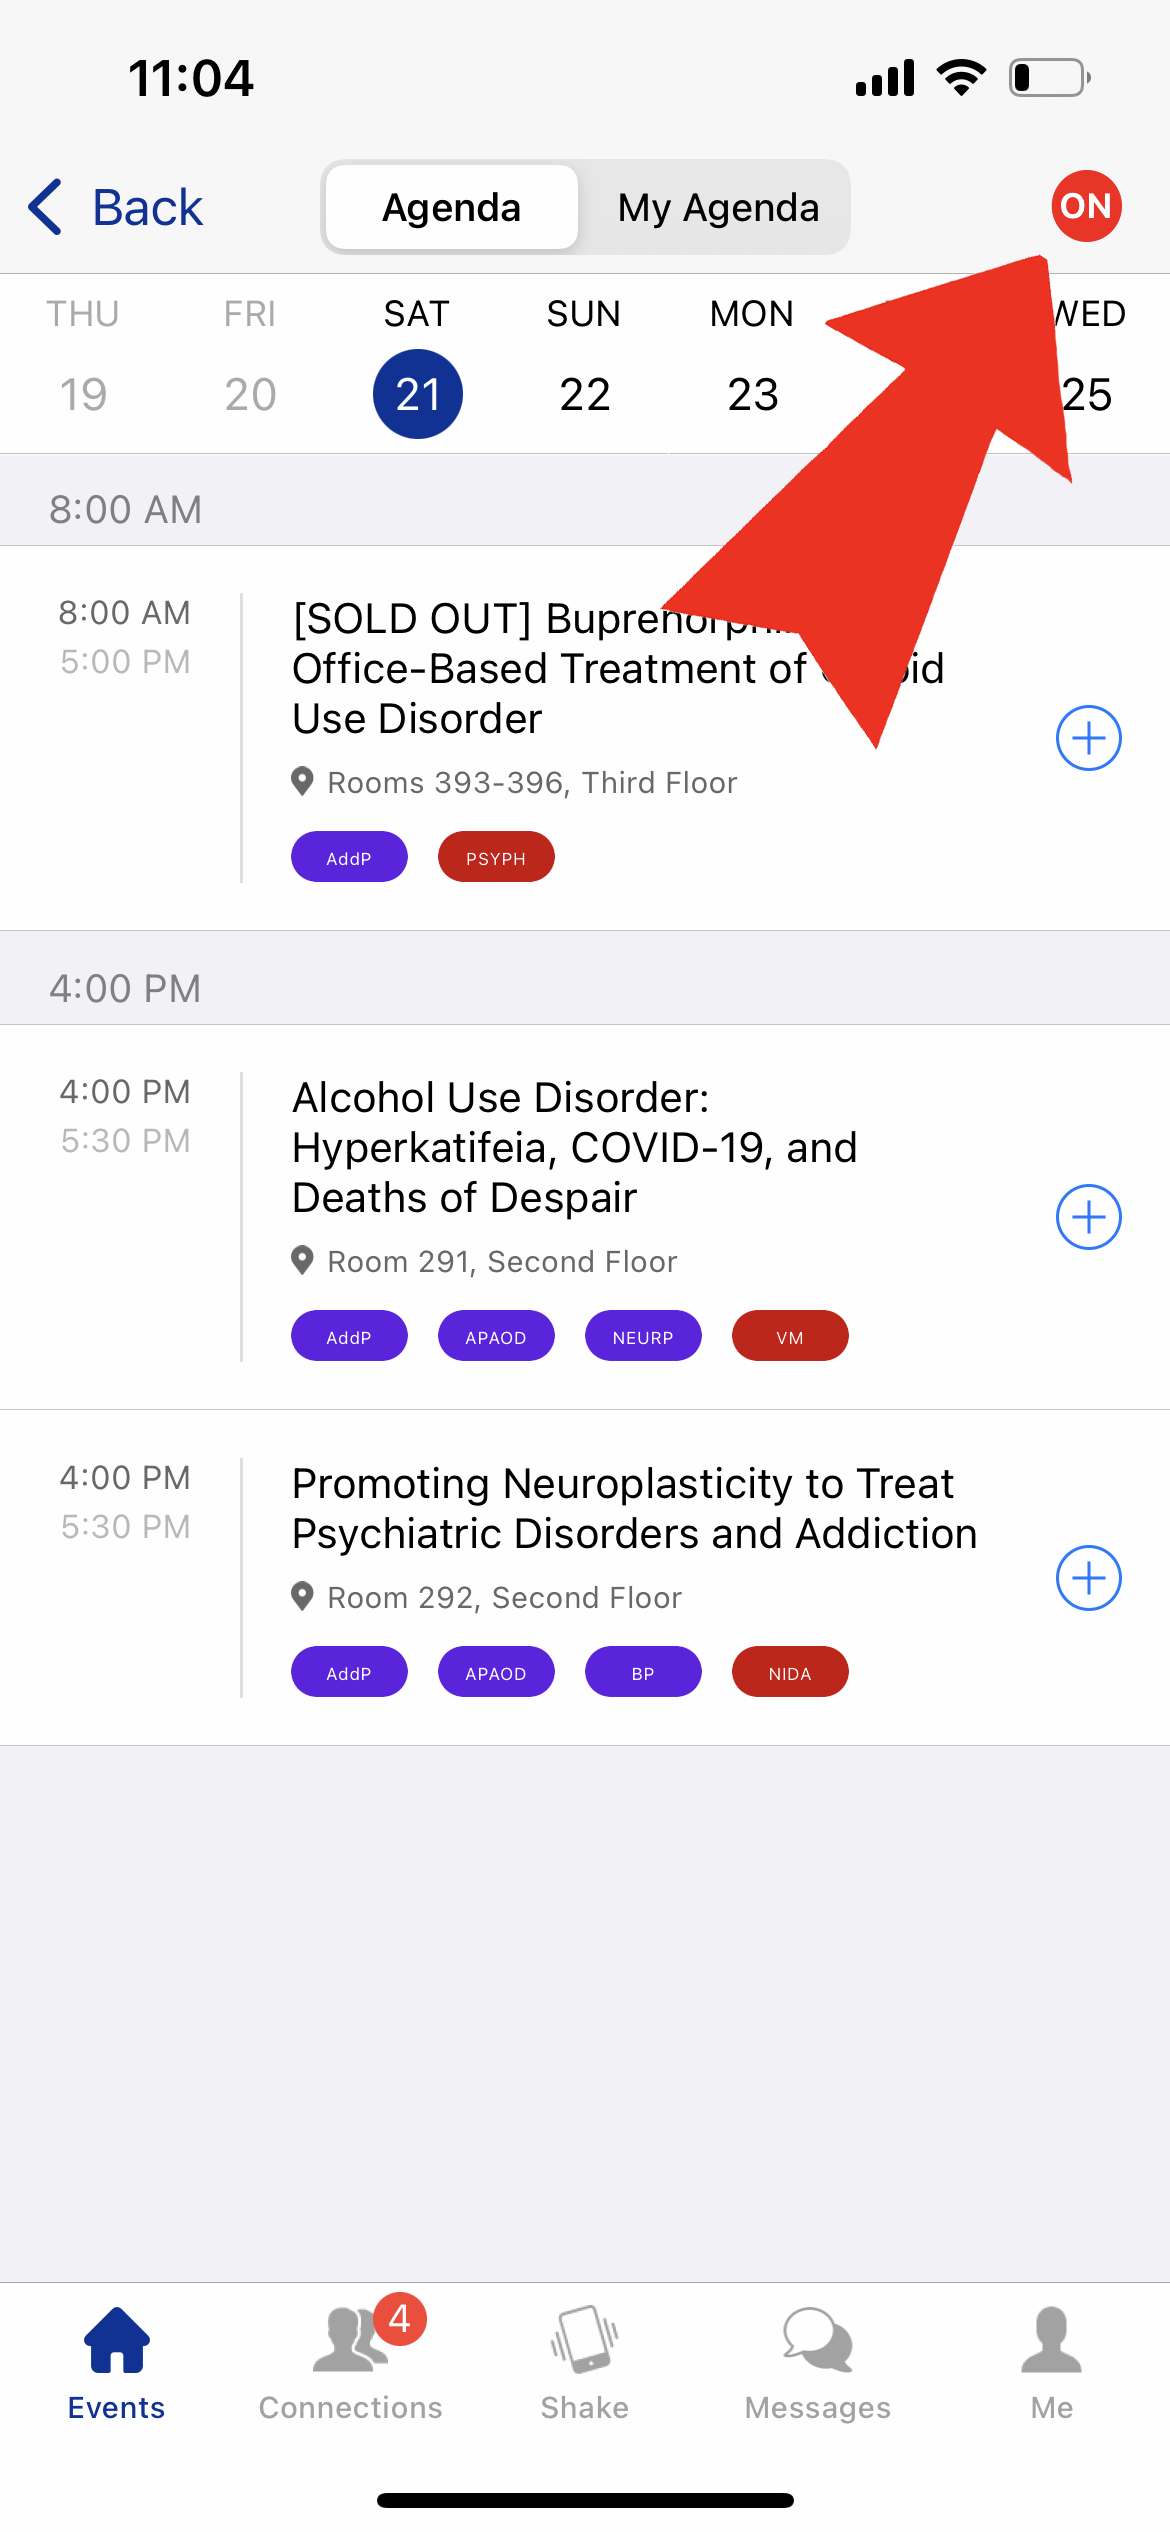
Step 1 of 3: If your topic filter is on in the Sessions view, you will see a red circle icon with the white text "ON" in the top right of the Sessions view. To turn off the topics filter, tap the red circle icon.
Step 2 of 3: Tap the "Select All" link.
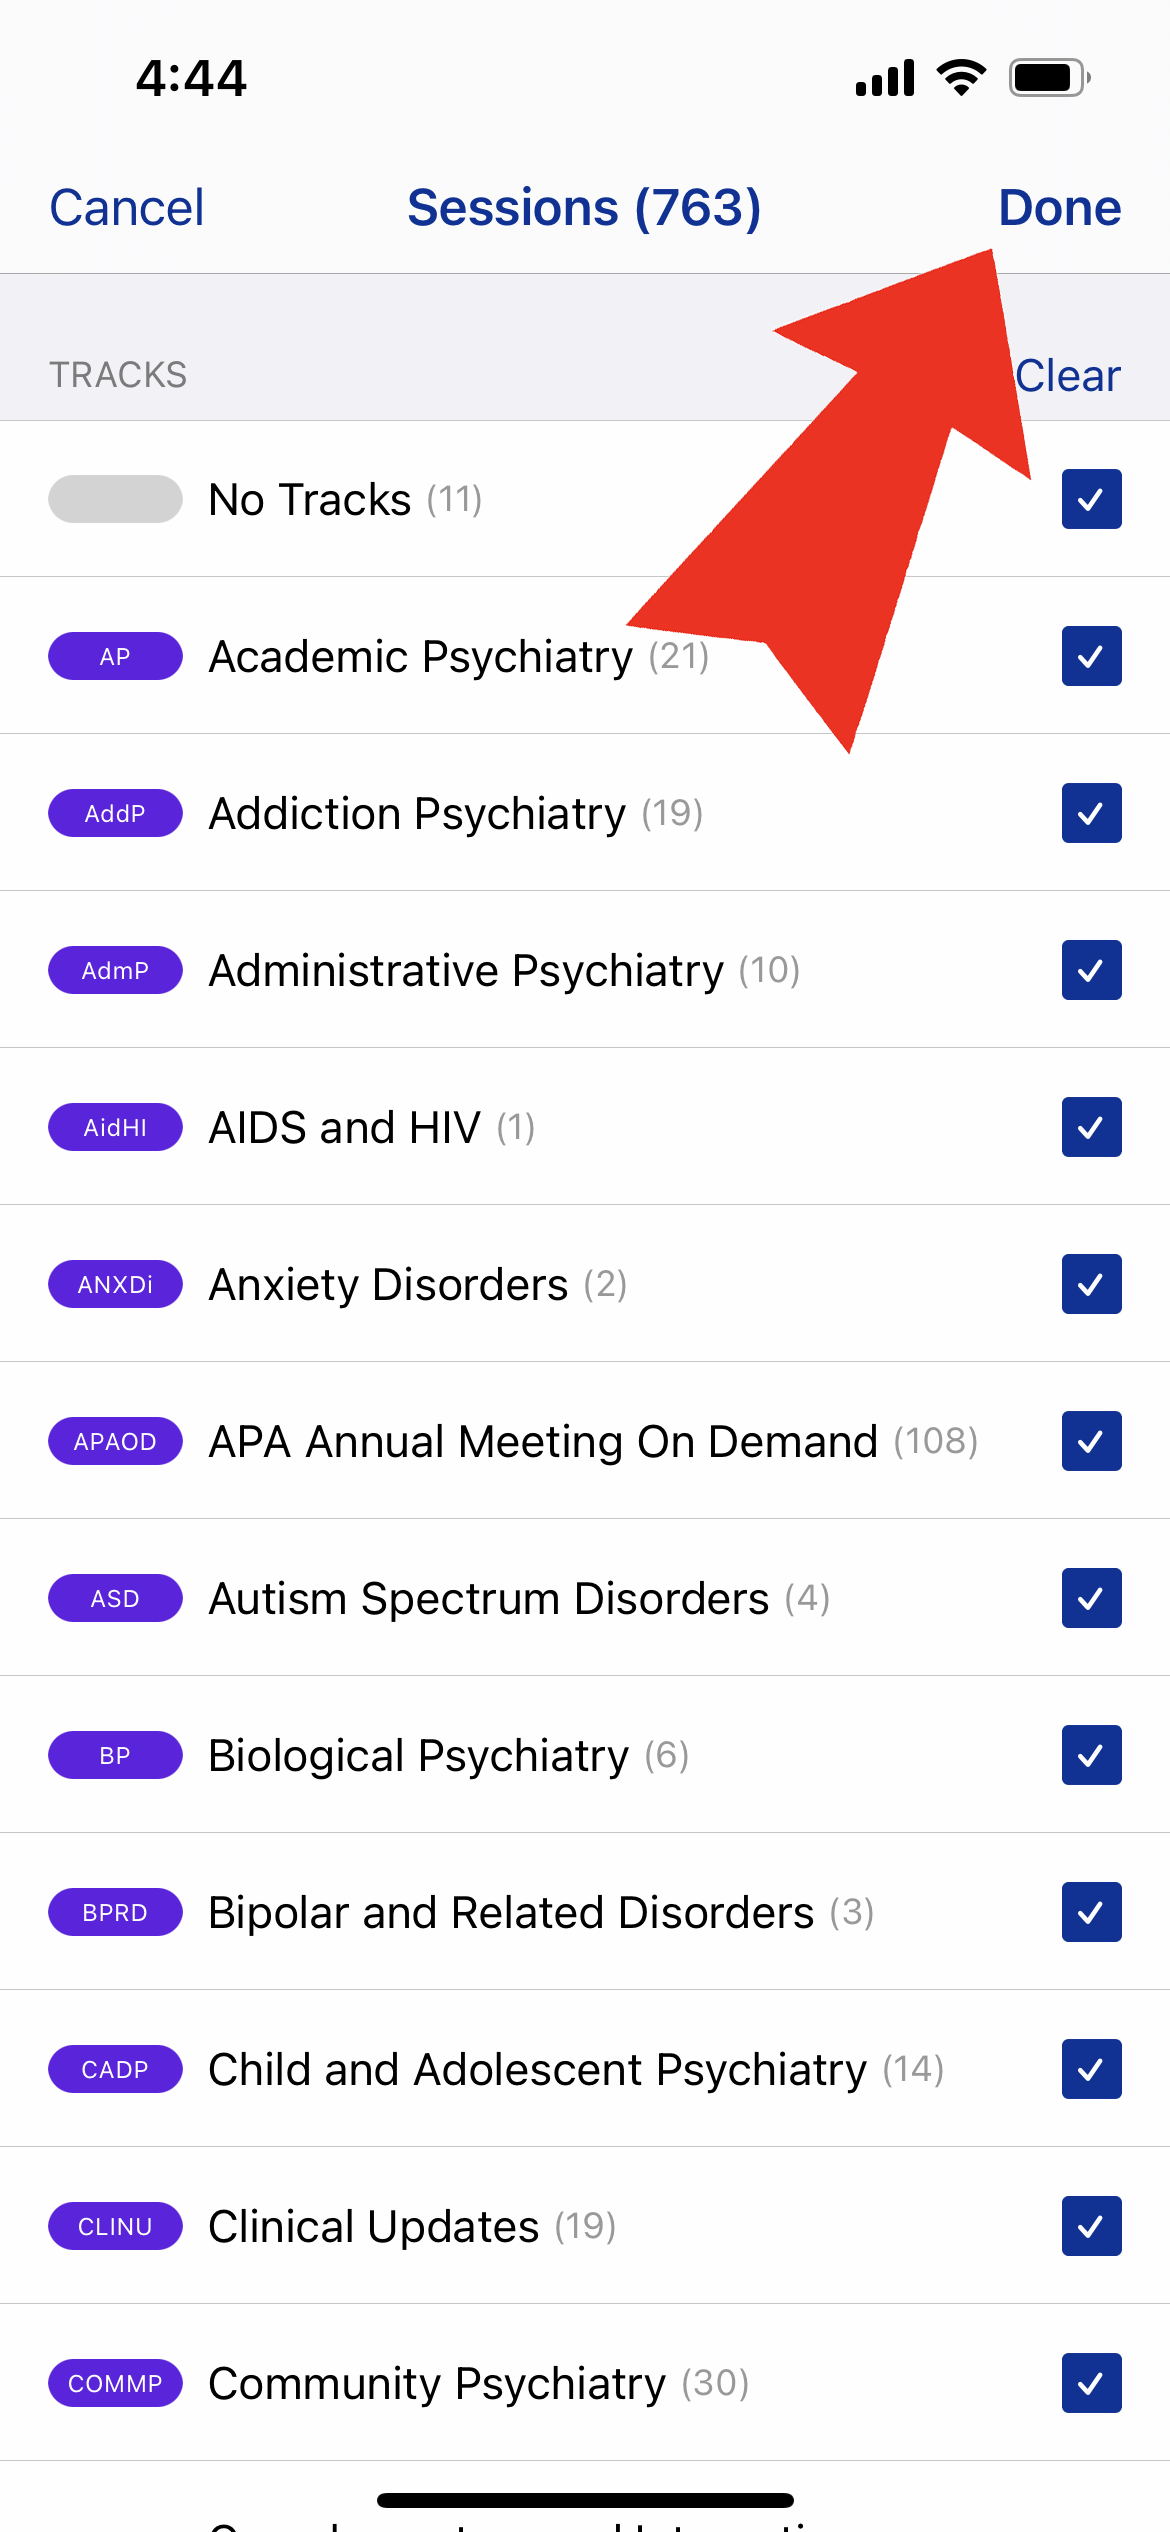
Step 3 of 3: Tap the "Done" link in the top, right corner.
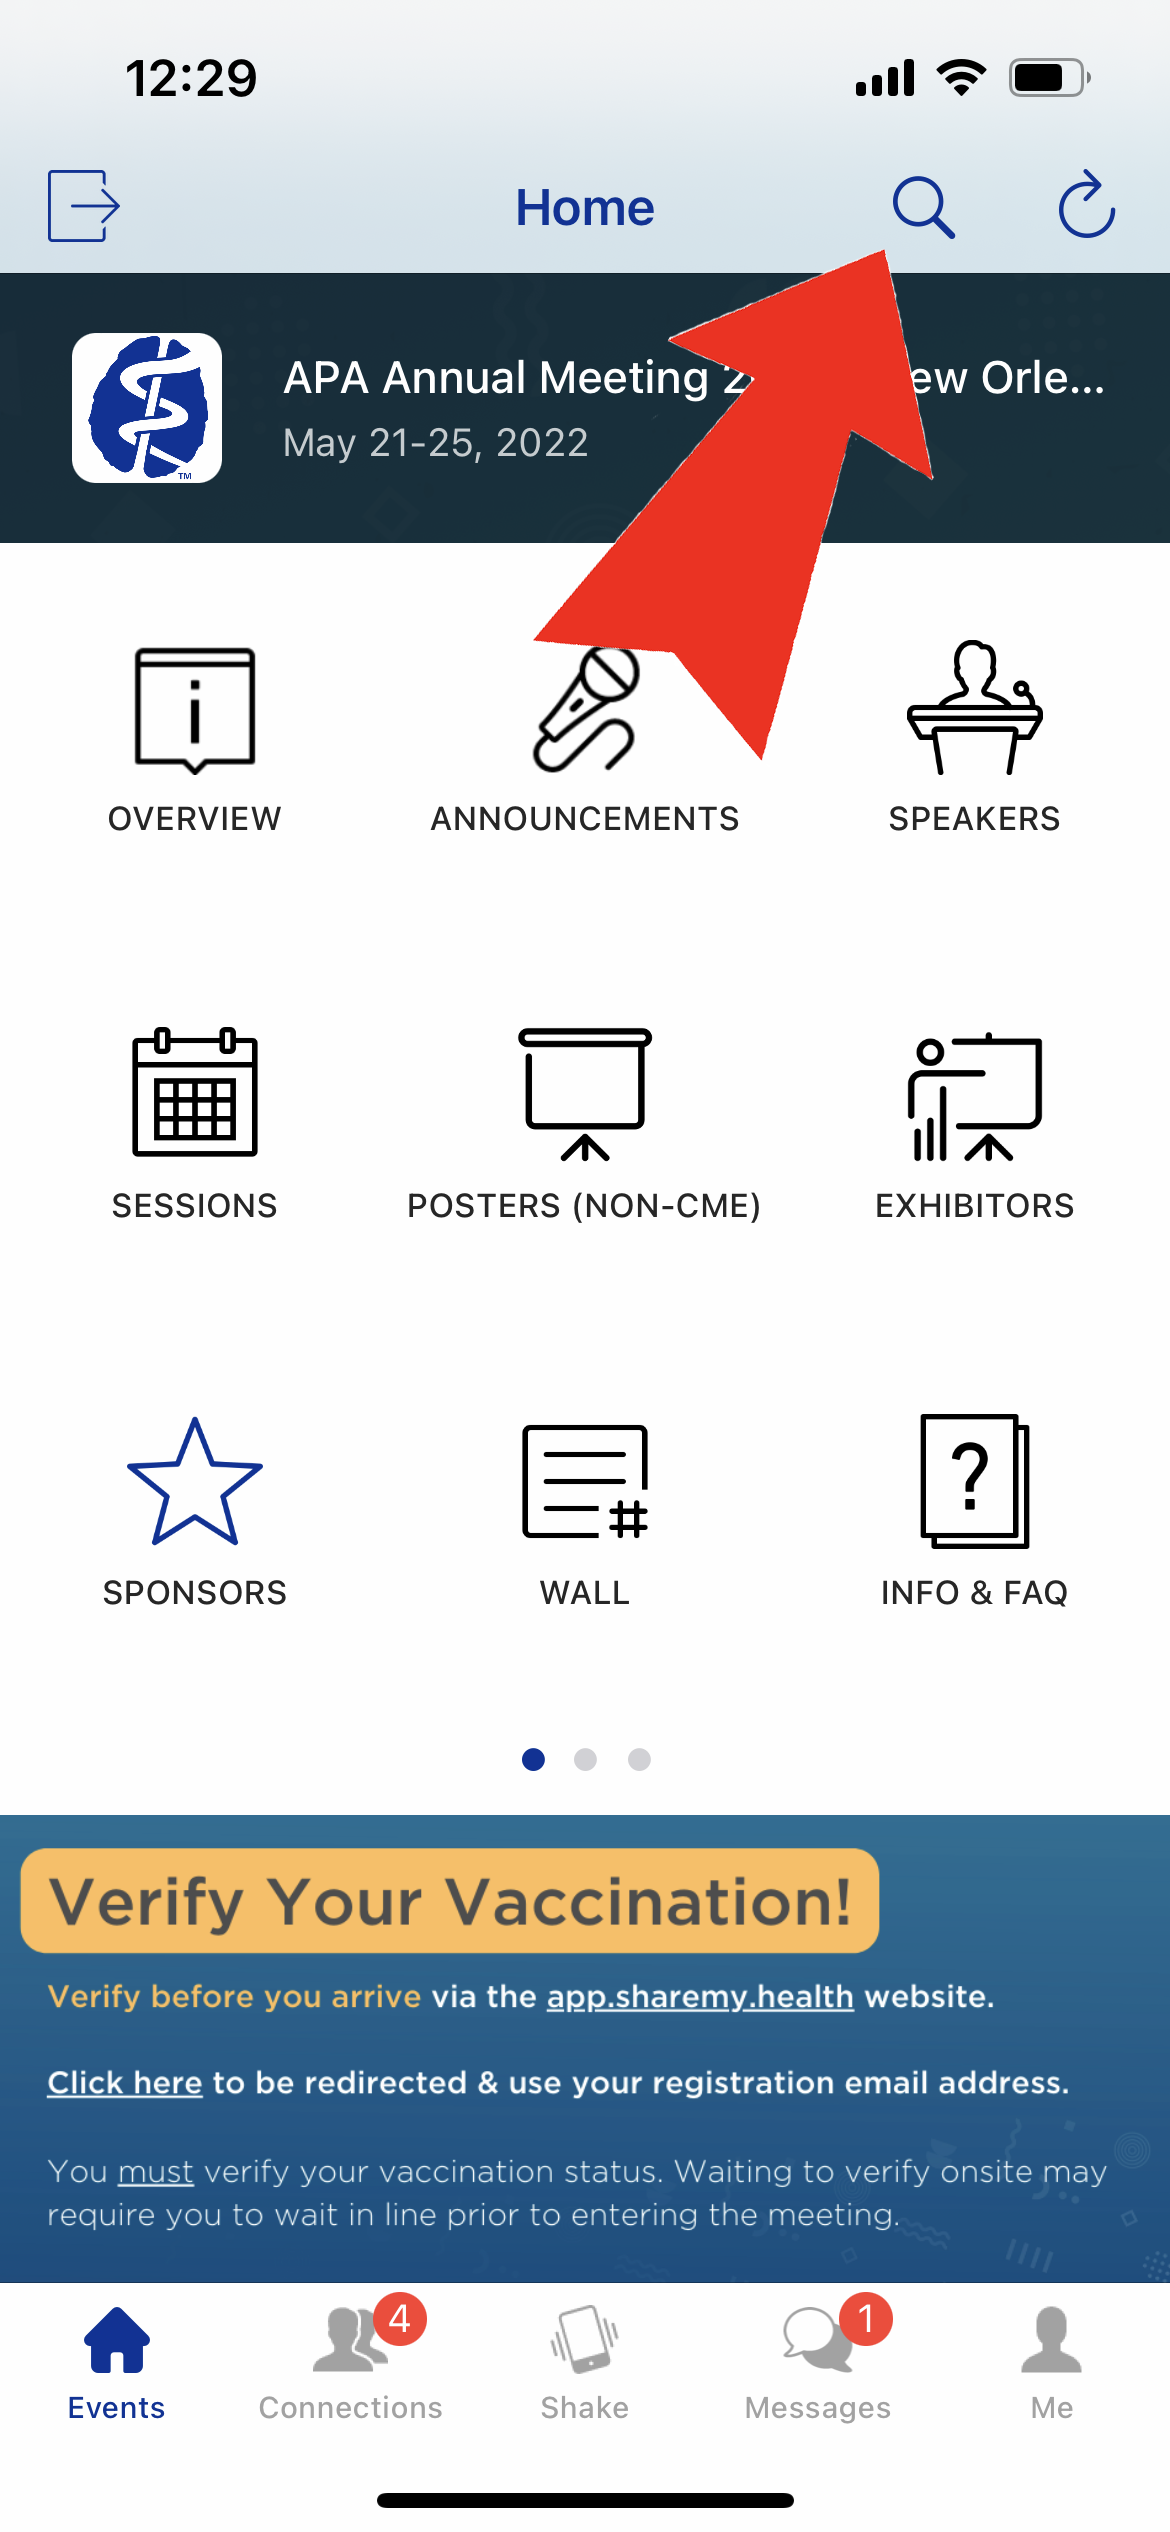
Step 1 of 2: To search for sessions by keyword or title, tap the magnifying glass icon on the home menu.

Step 2 of 3: Type your keyword or phrase, the tap the "Search" button in the bottom right corner.
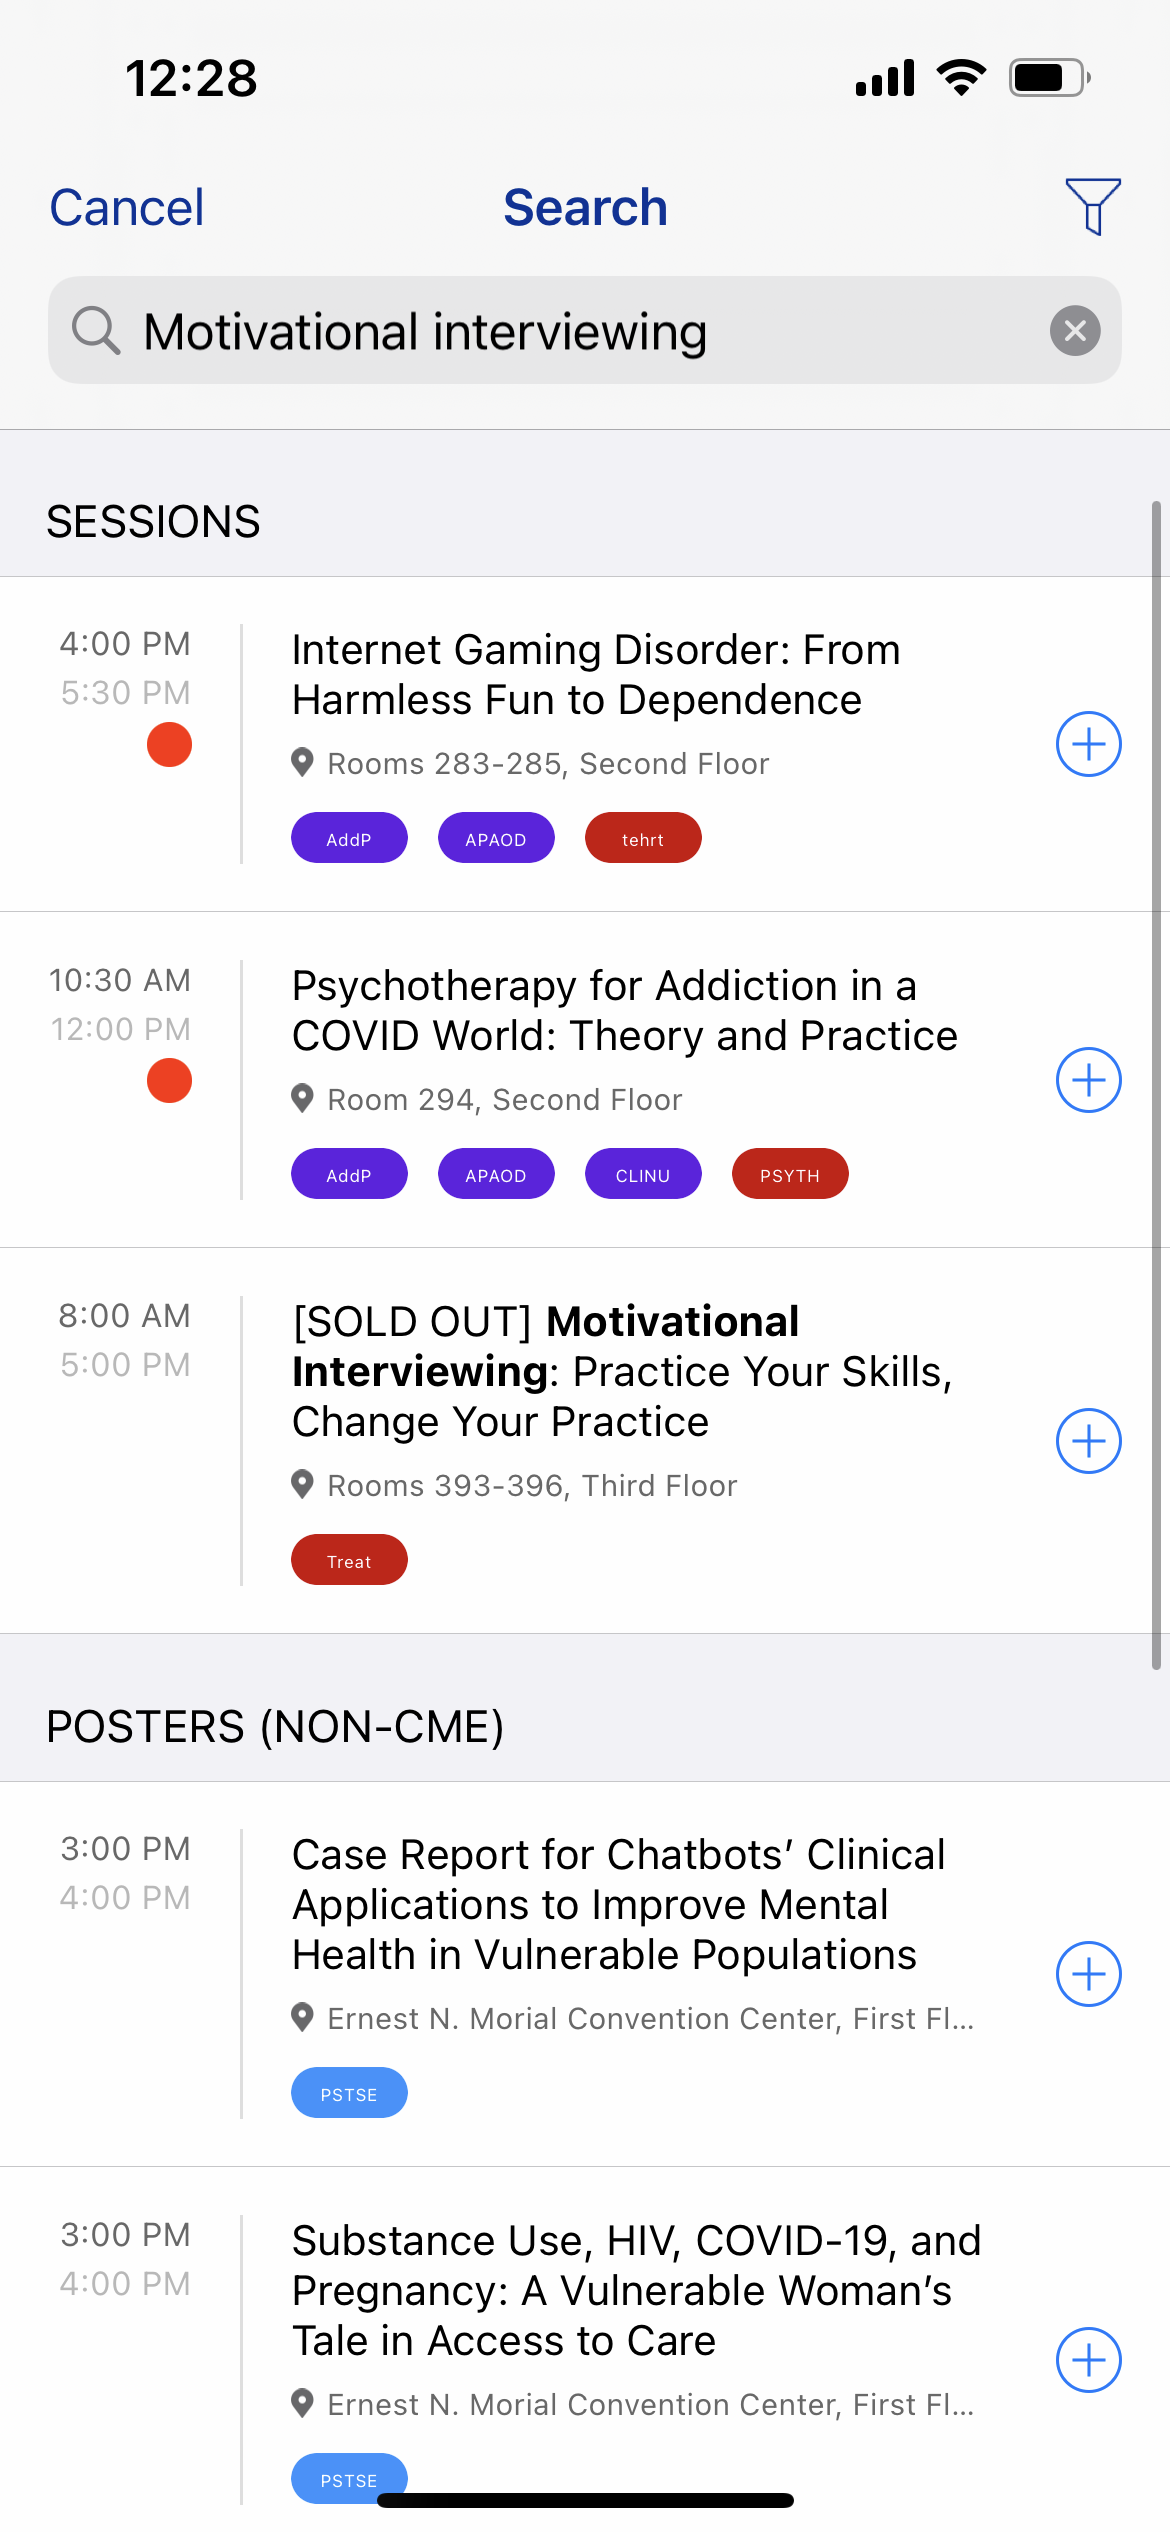
Step 3 of 3: View results of your search organized by app category, with Sessions matching your search at the top of the list.
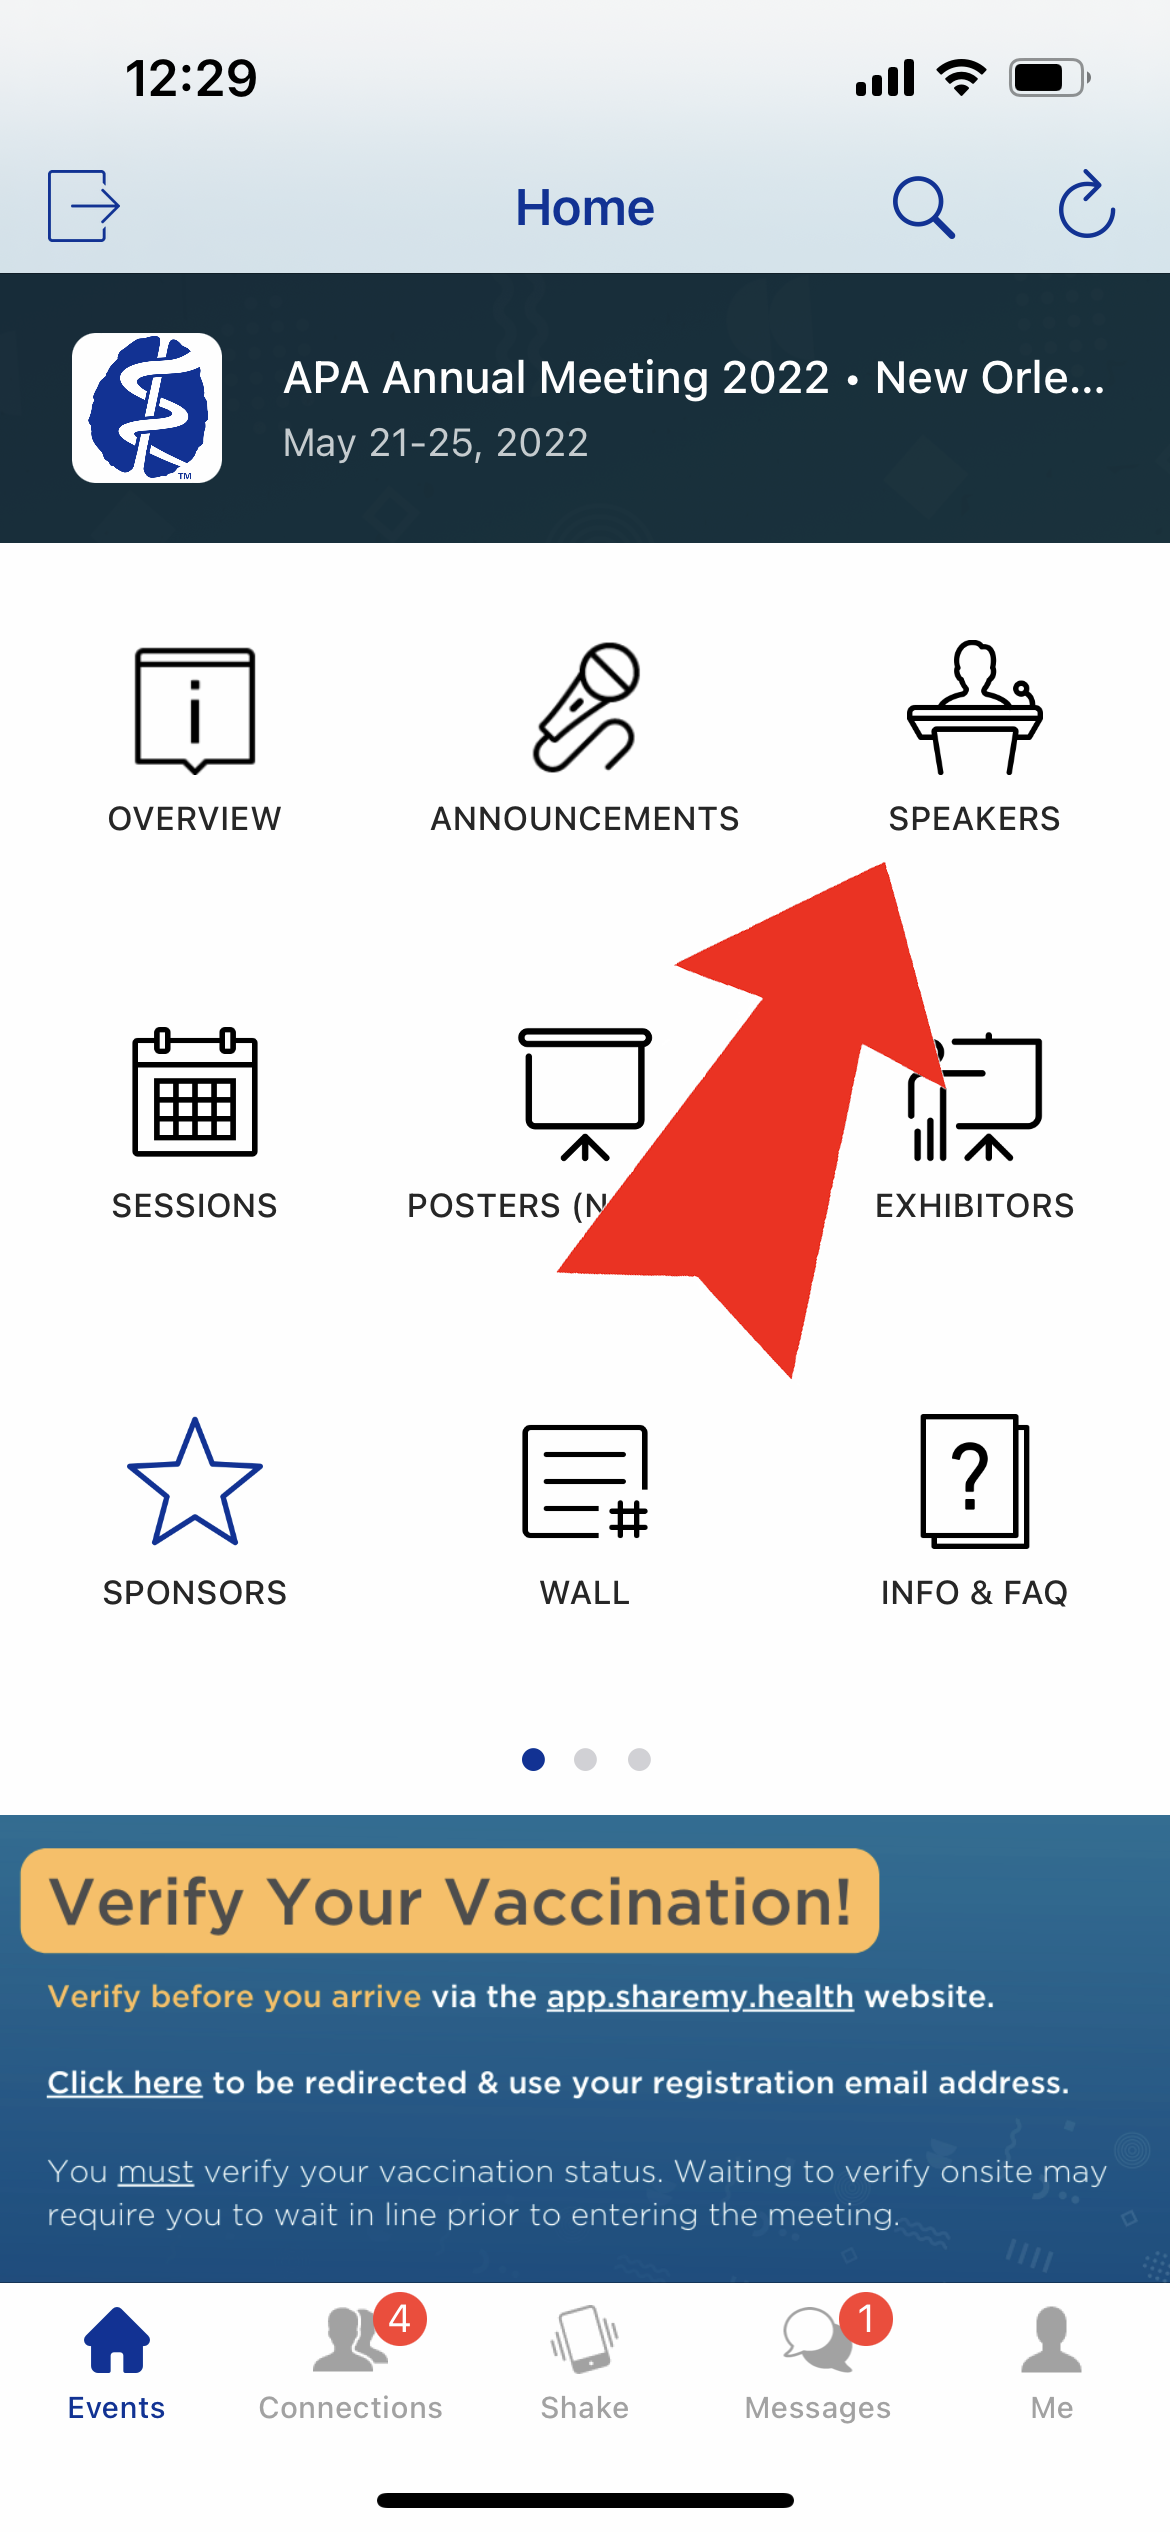
Step 1 of 4: Tap the "Speakers" icon on the home menu.
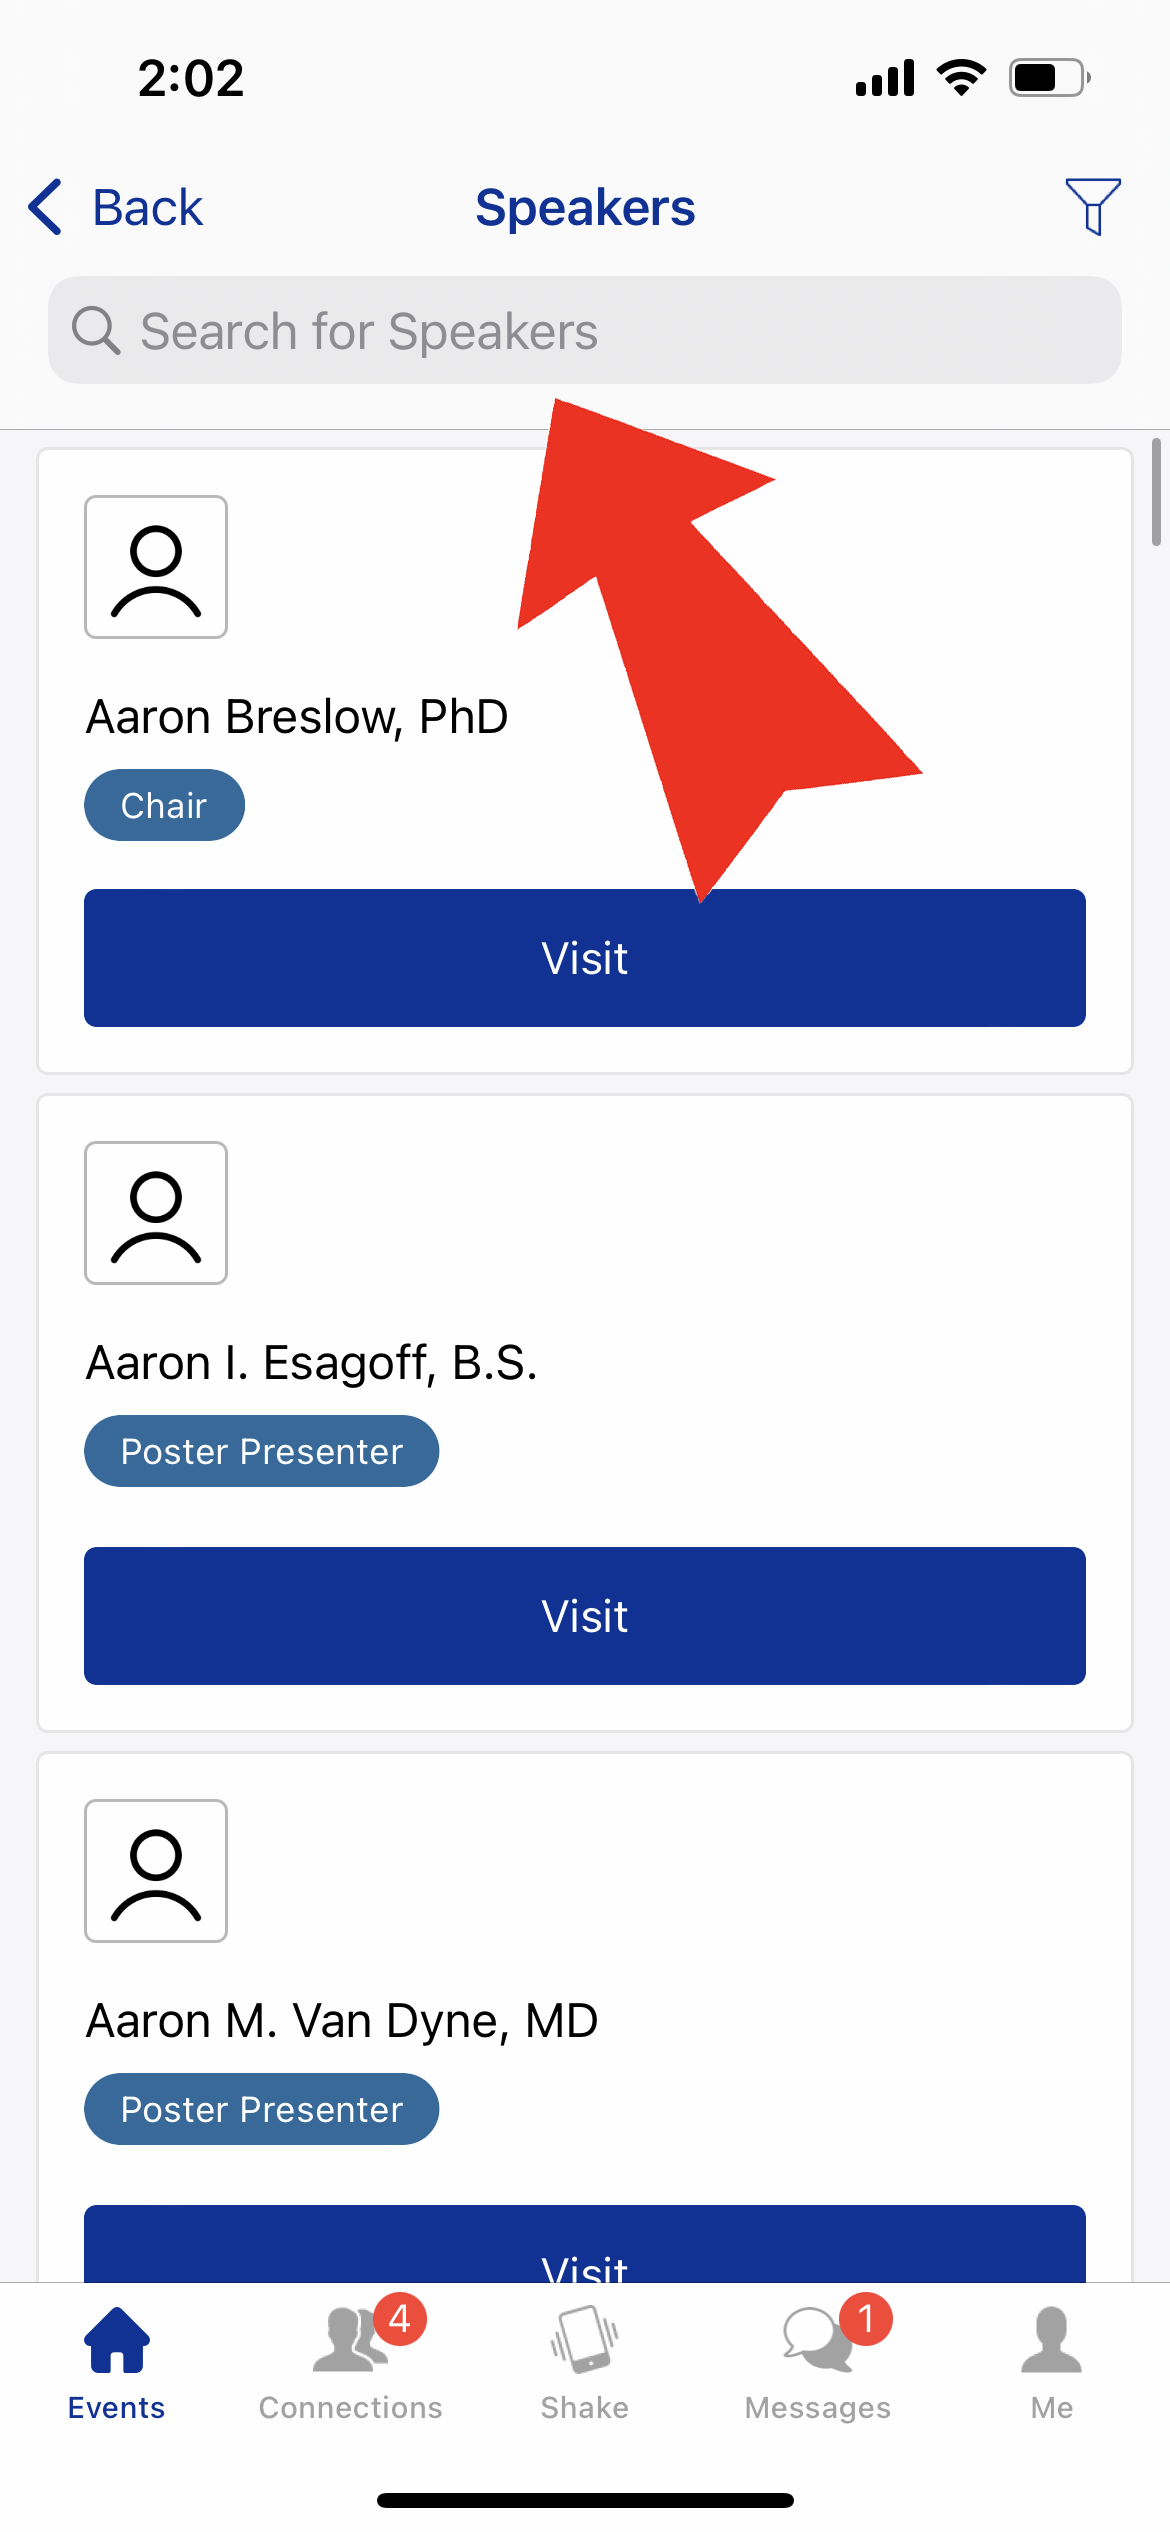
Step 2 of 4: Scroll to find a speaker you are interested in, or use the search bar to find a specific speaker.
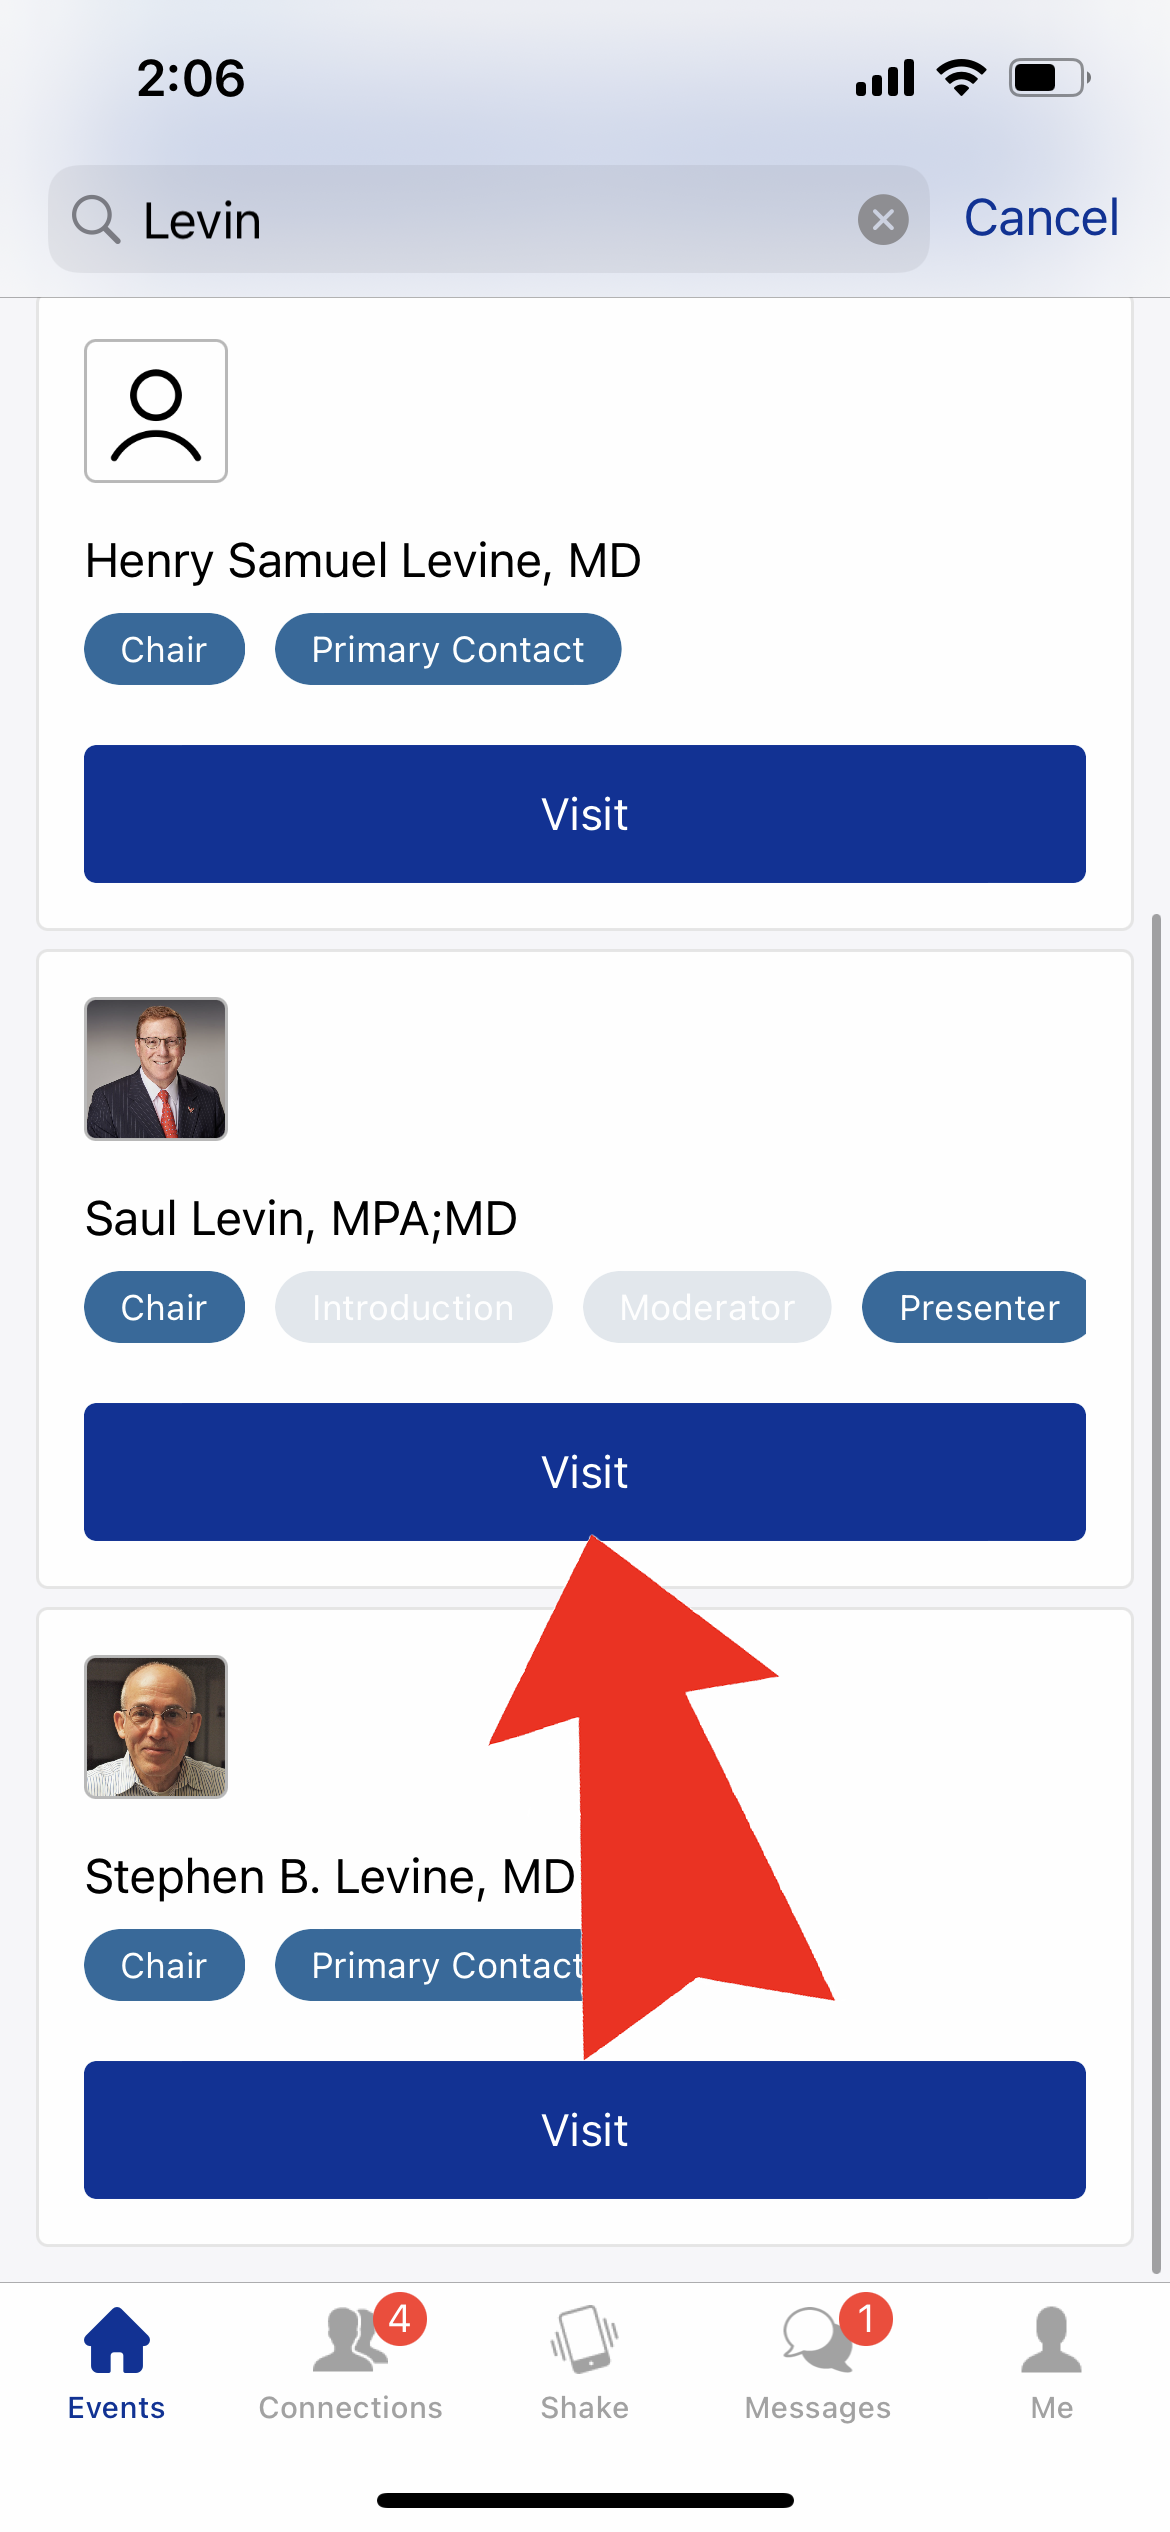
Step 3 of 4: Tap the blue "Visit" button to view their bio and see a list of their sessions at the meeting.
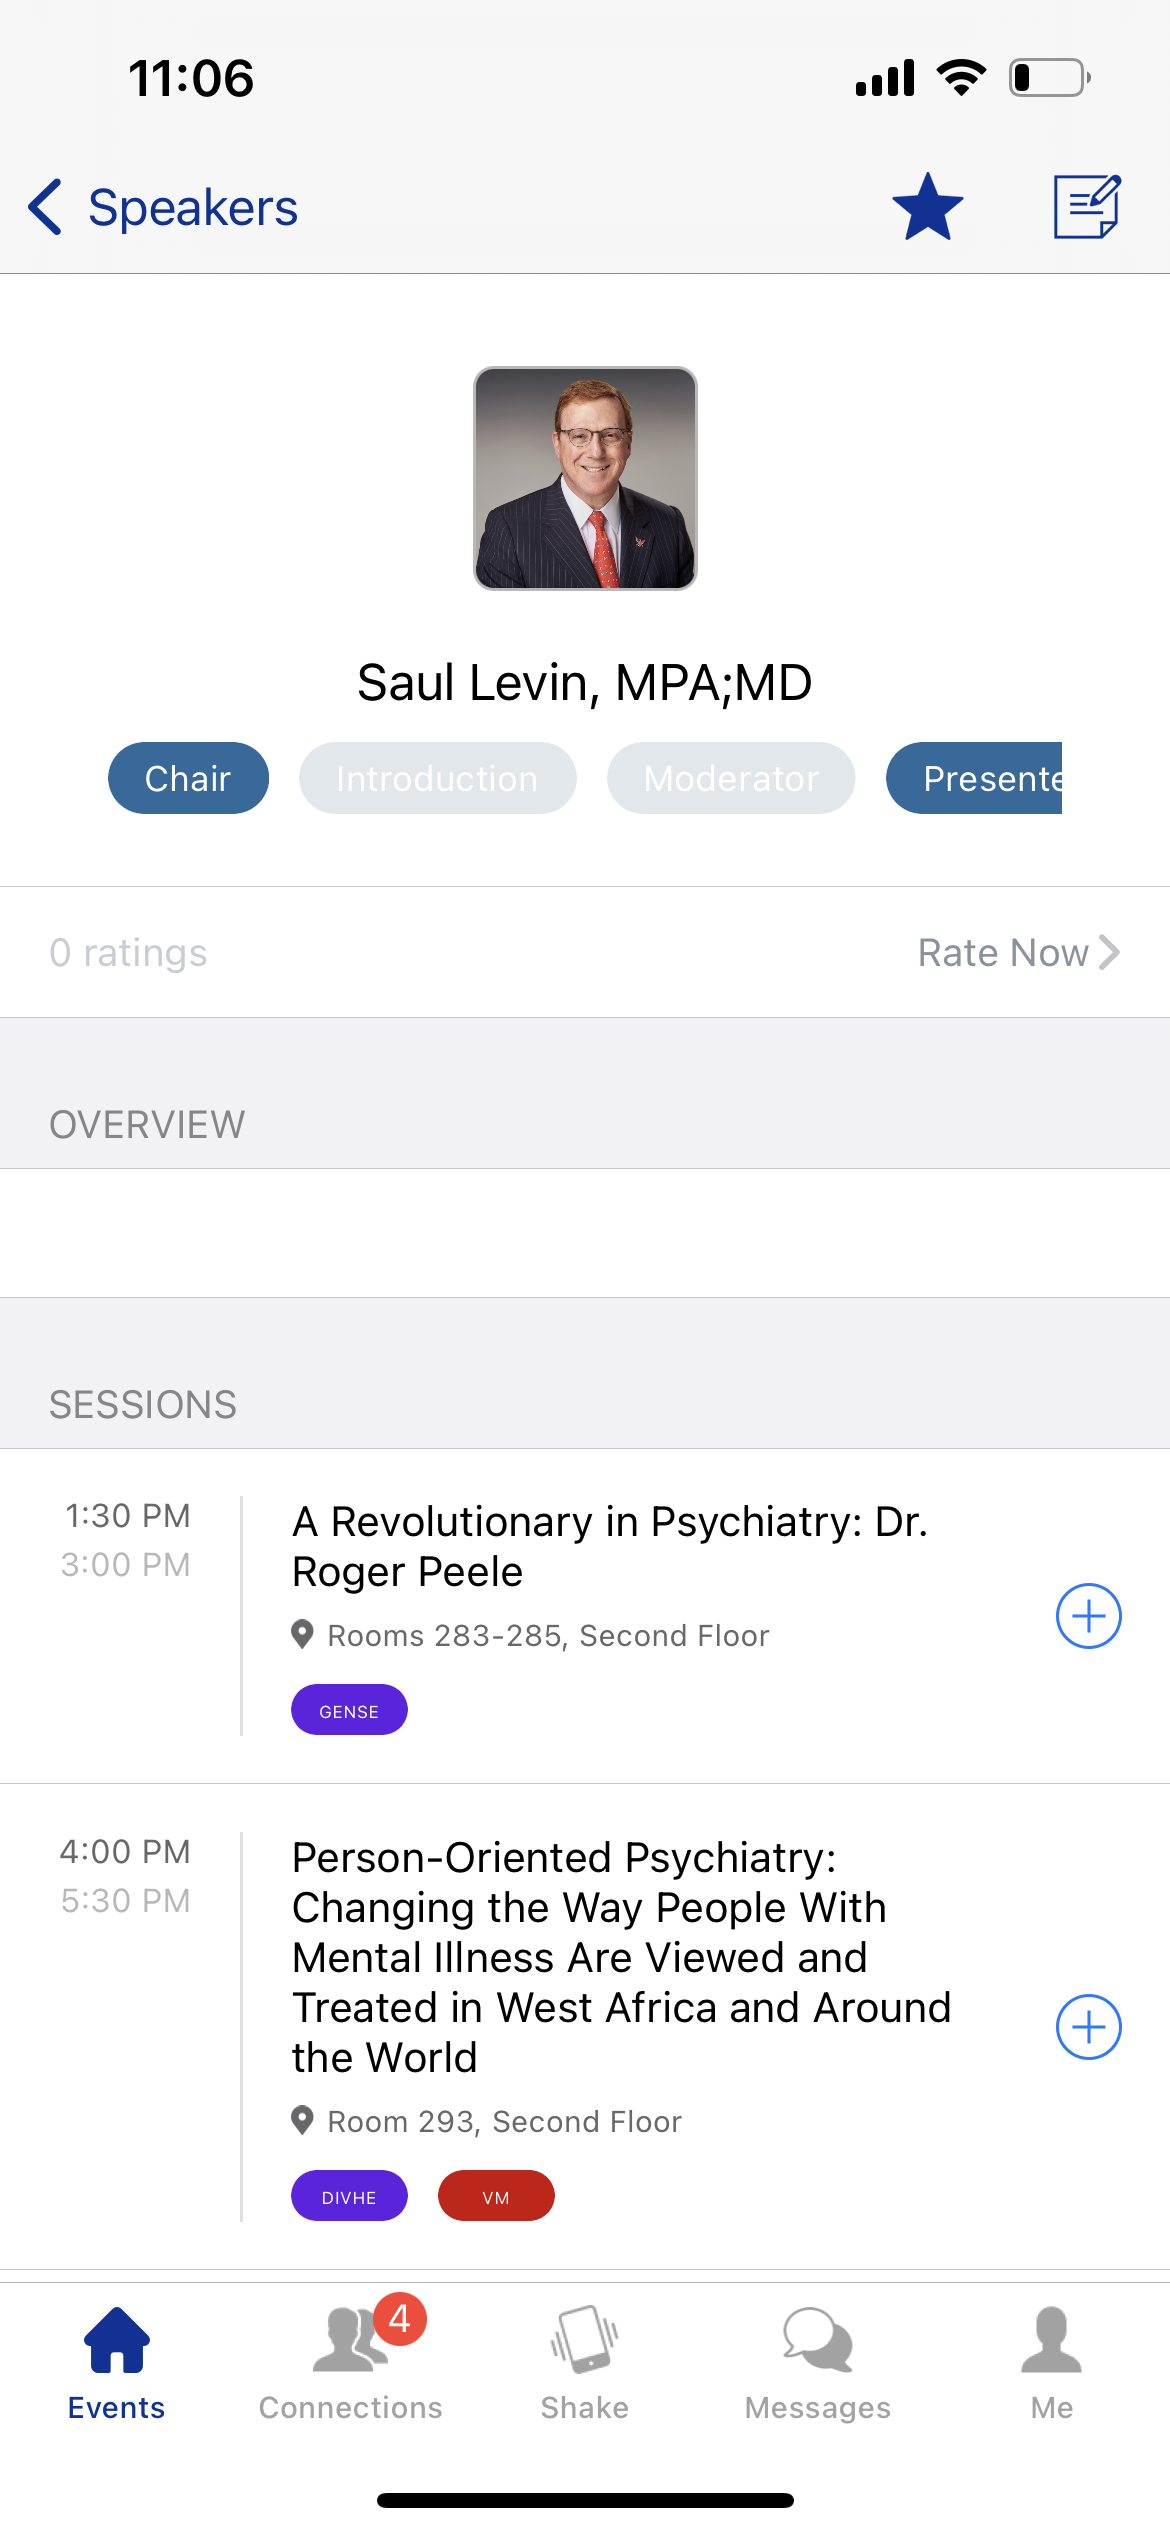
Step 4 of 4: Scroll down to view the full list of the speaker's sessions.
To view sessions you have selected to add to your personal agenda, toggle the view from "Agenda" to "My Agenda" at the top of the Sessions view screen.
Step 1 of 3: Tap the "My Agenda" tab at the top of the Sessions view.
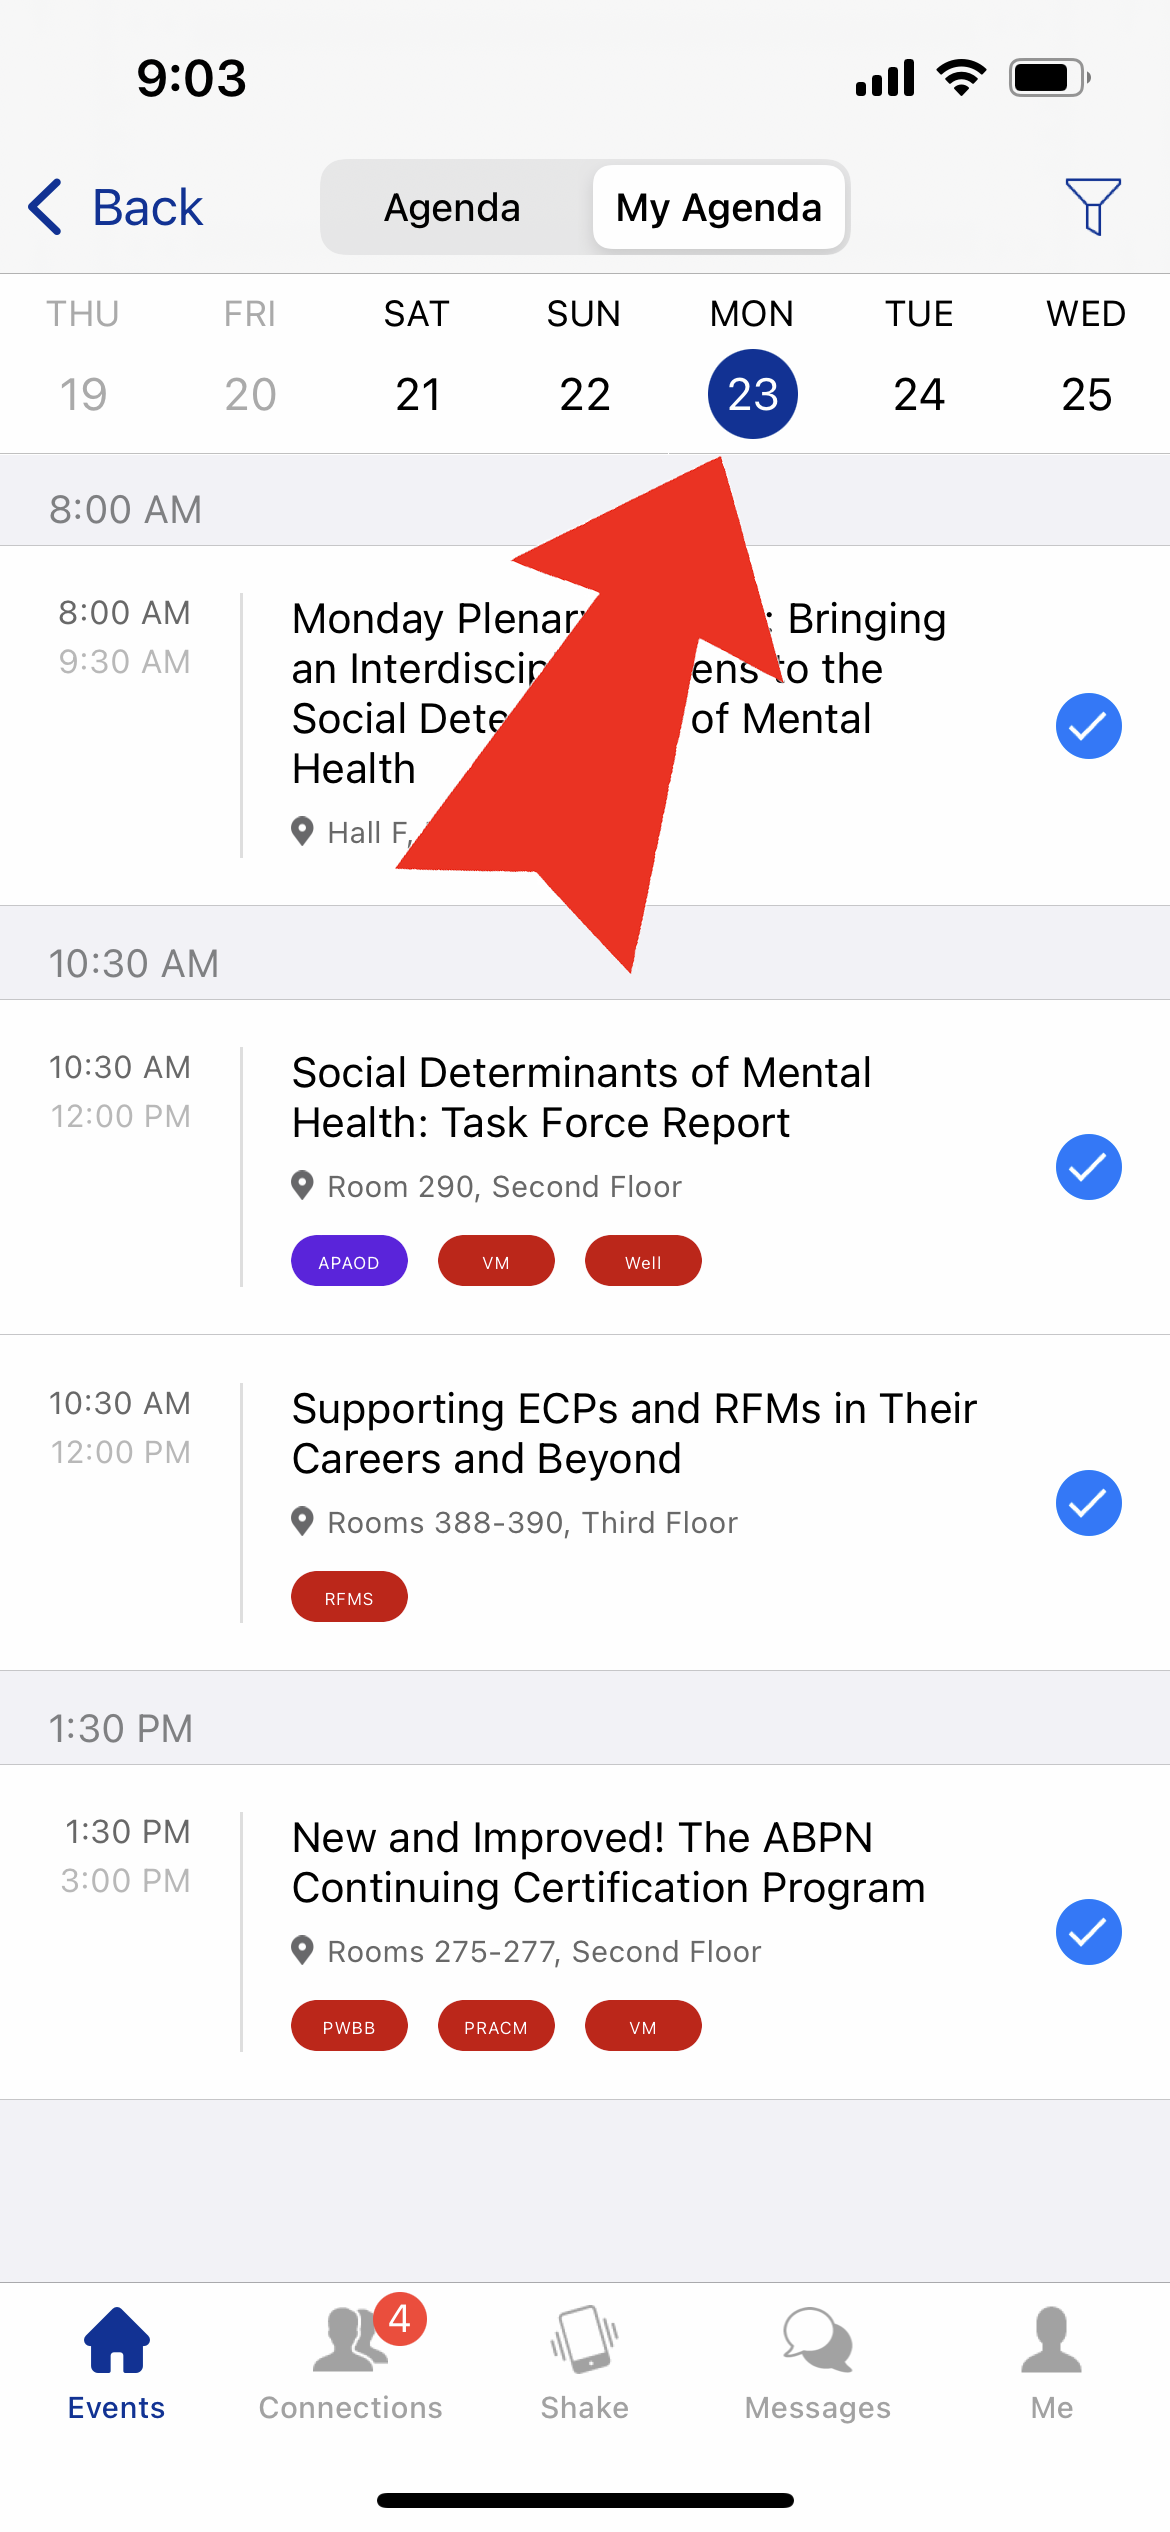
Step 2 of 3: Tap the calendar days to view sessions on your agenda for each day of the meeting.

Step 3 of 3: To go back to the full list of sessions, tap the "Agenda" tab at the top of Sessions view.
There are two ways to add a session to your personal "My Agenda" so you can easily view the schedule of sessions you are most interested in and plan your conference day-to-day.
Step 1 of 5: In the Sessions view, there are two options: Agenda and MyAgenda. MyAgenda is your personal calendar to schedule the sessions your most interested in during the meeting.
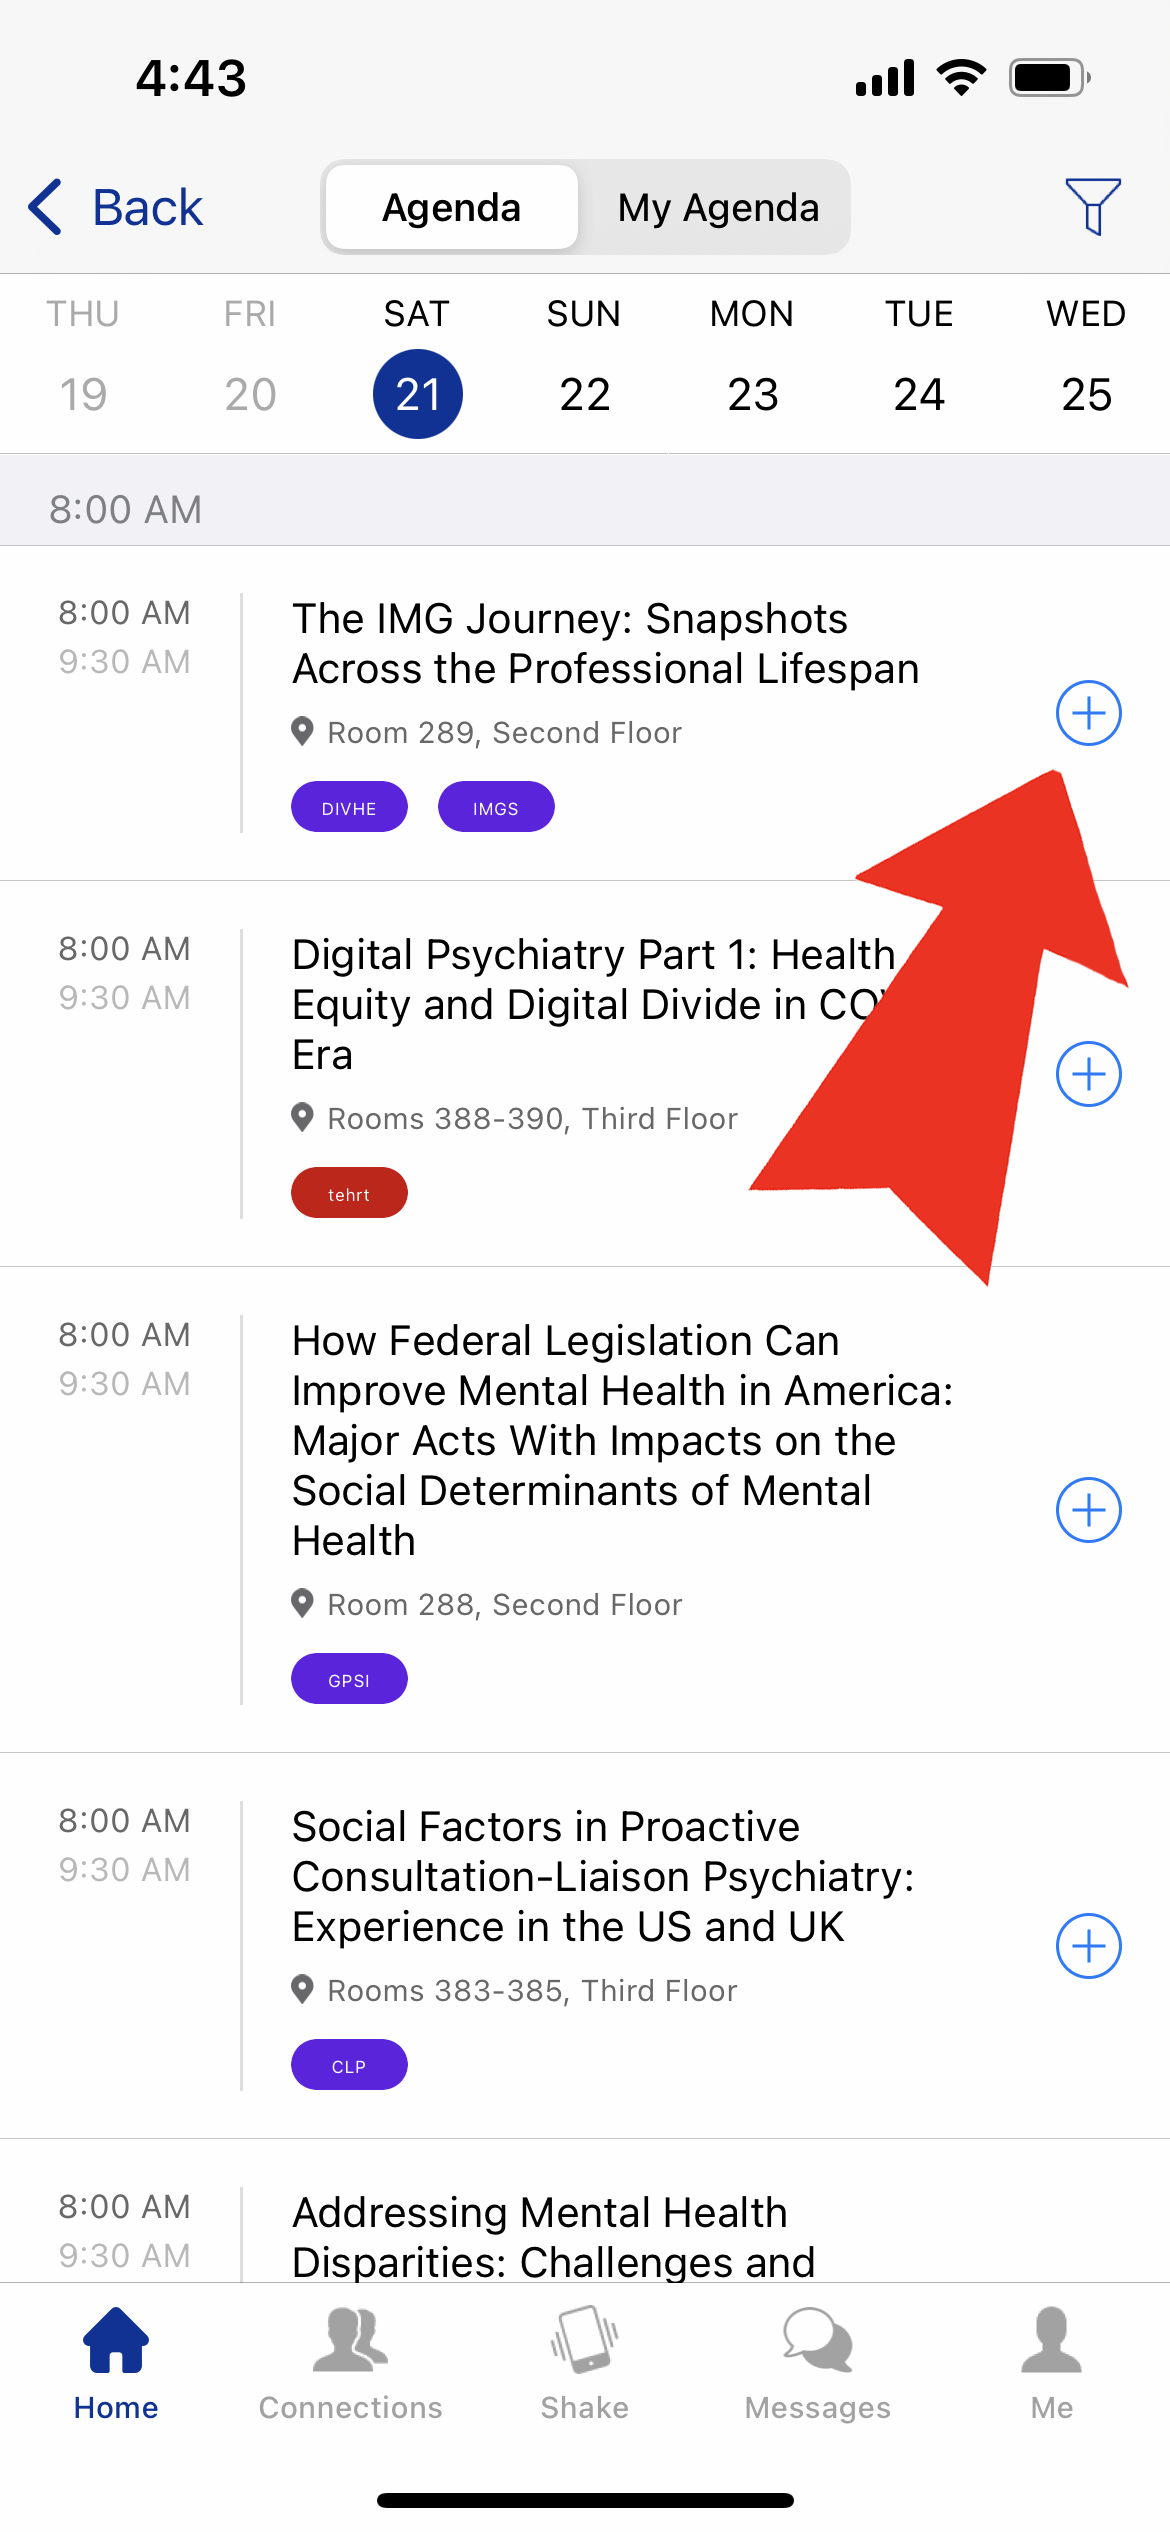
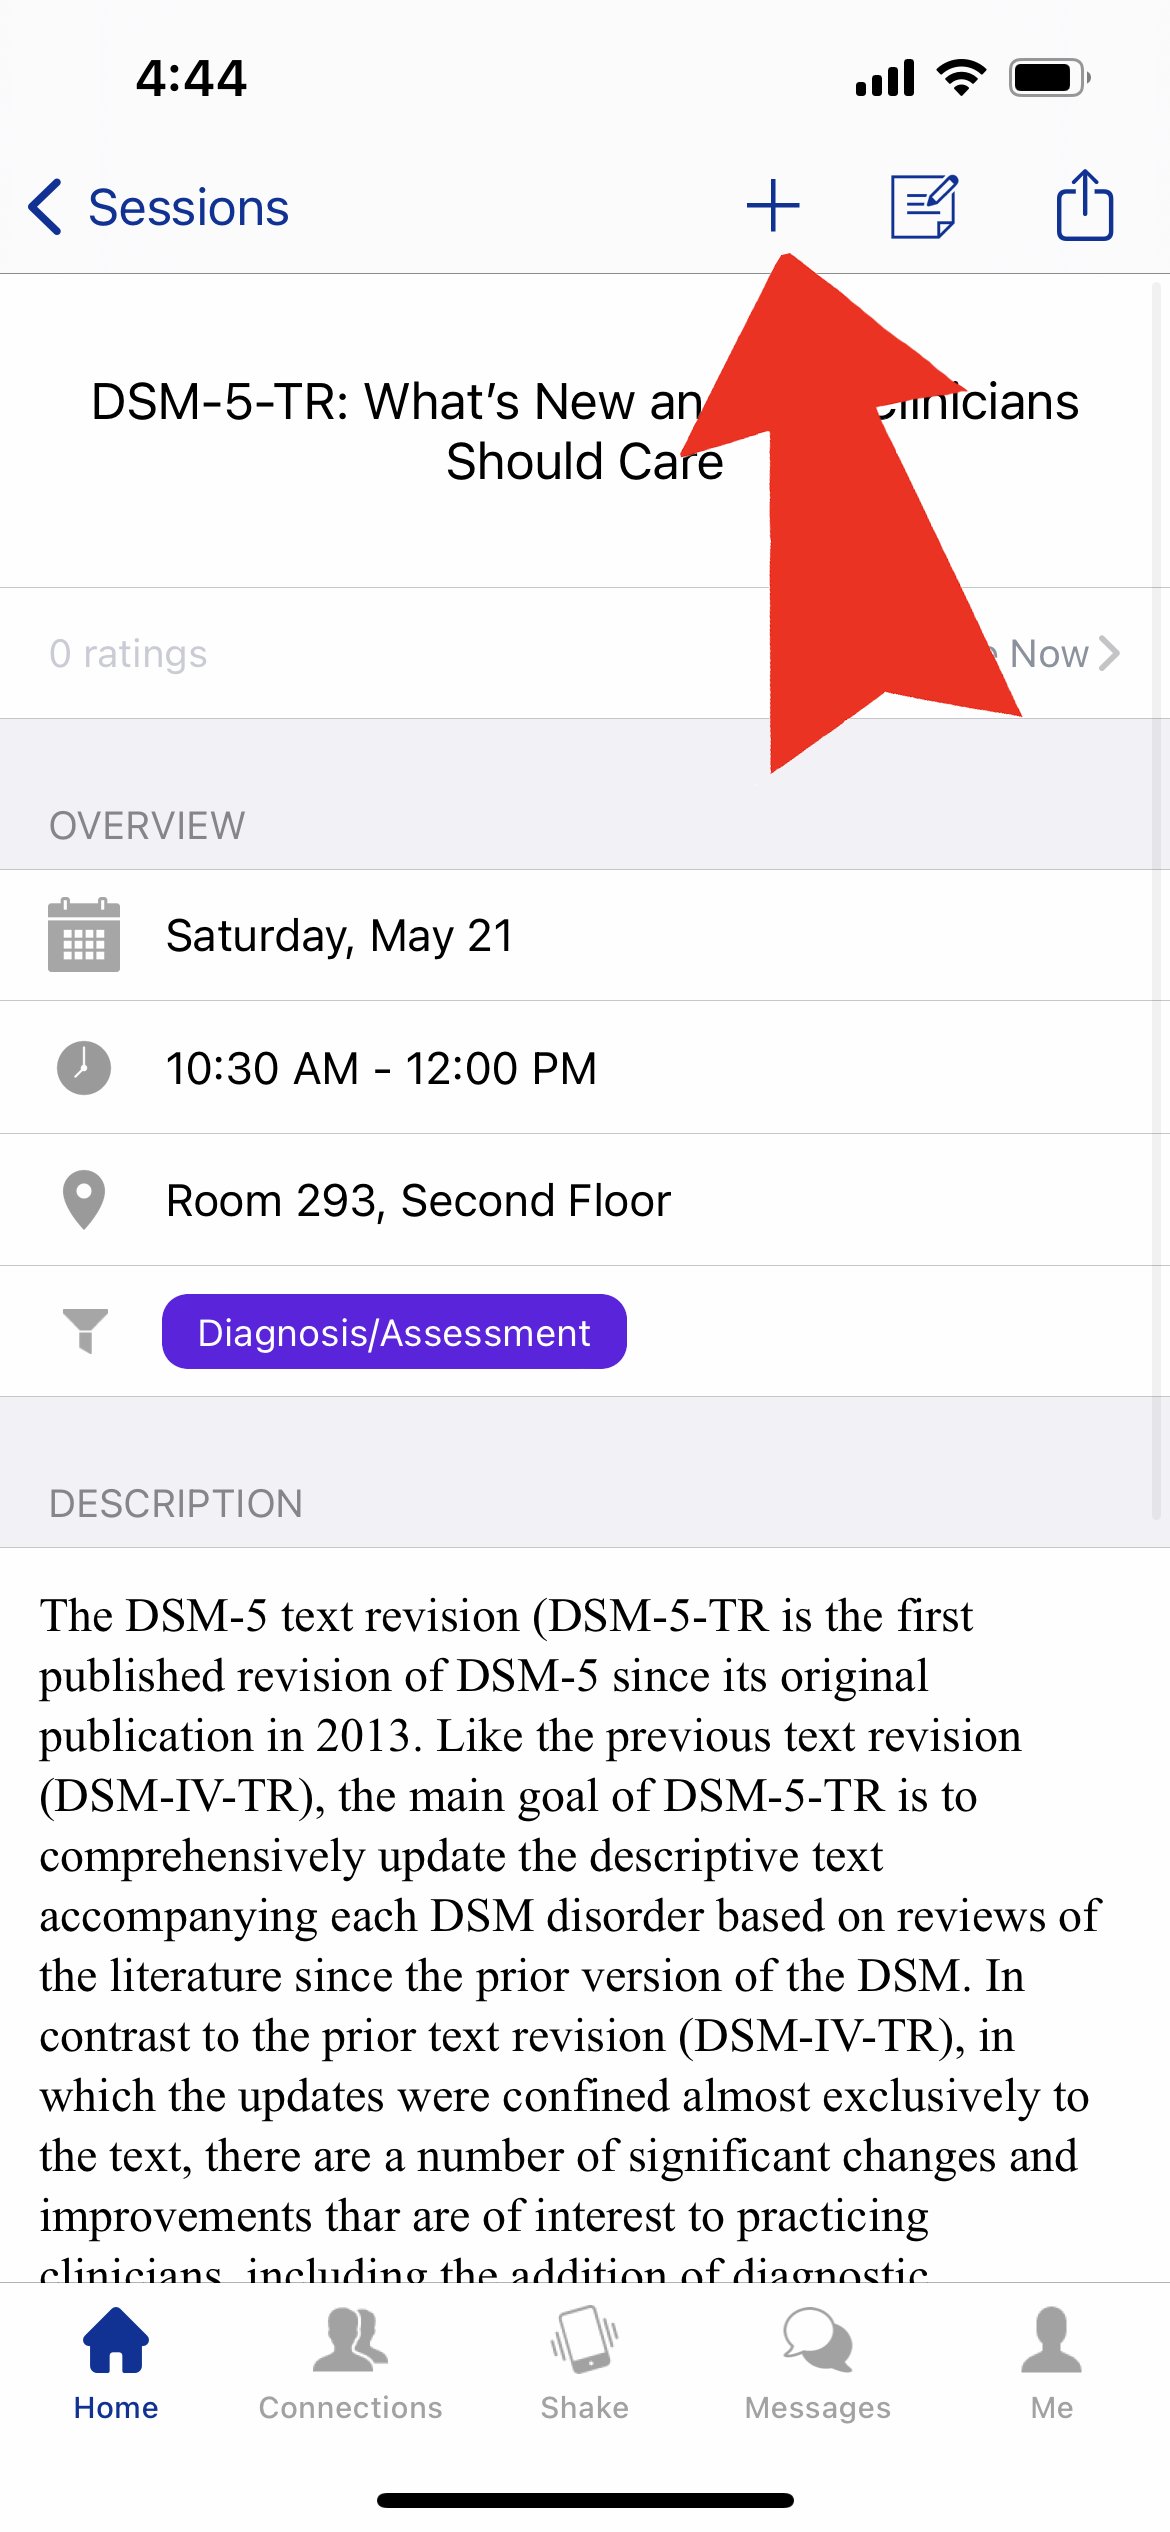
Step 2 of 5: To add a session to My Agenda, simply tap the "+" icon on the Sessions view screen next to the Session you want to add to your agenda.
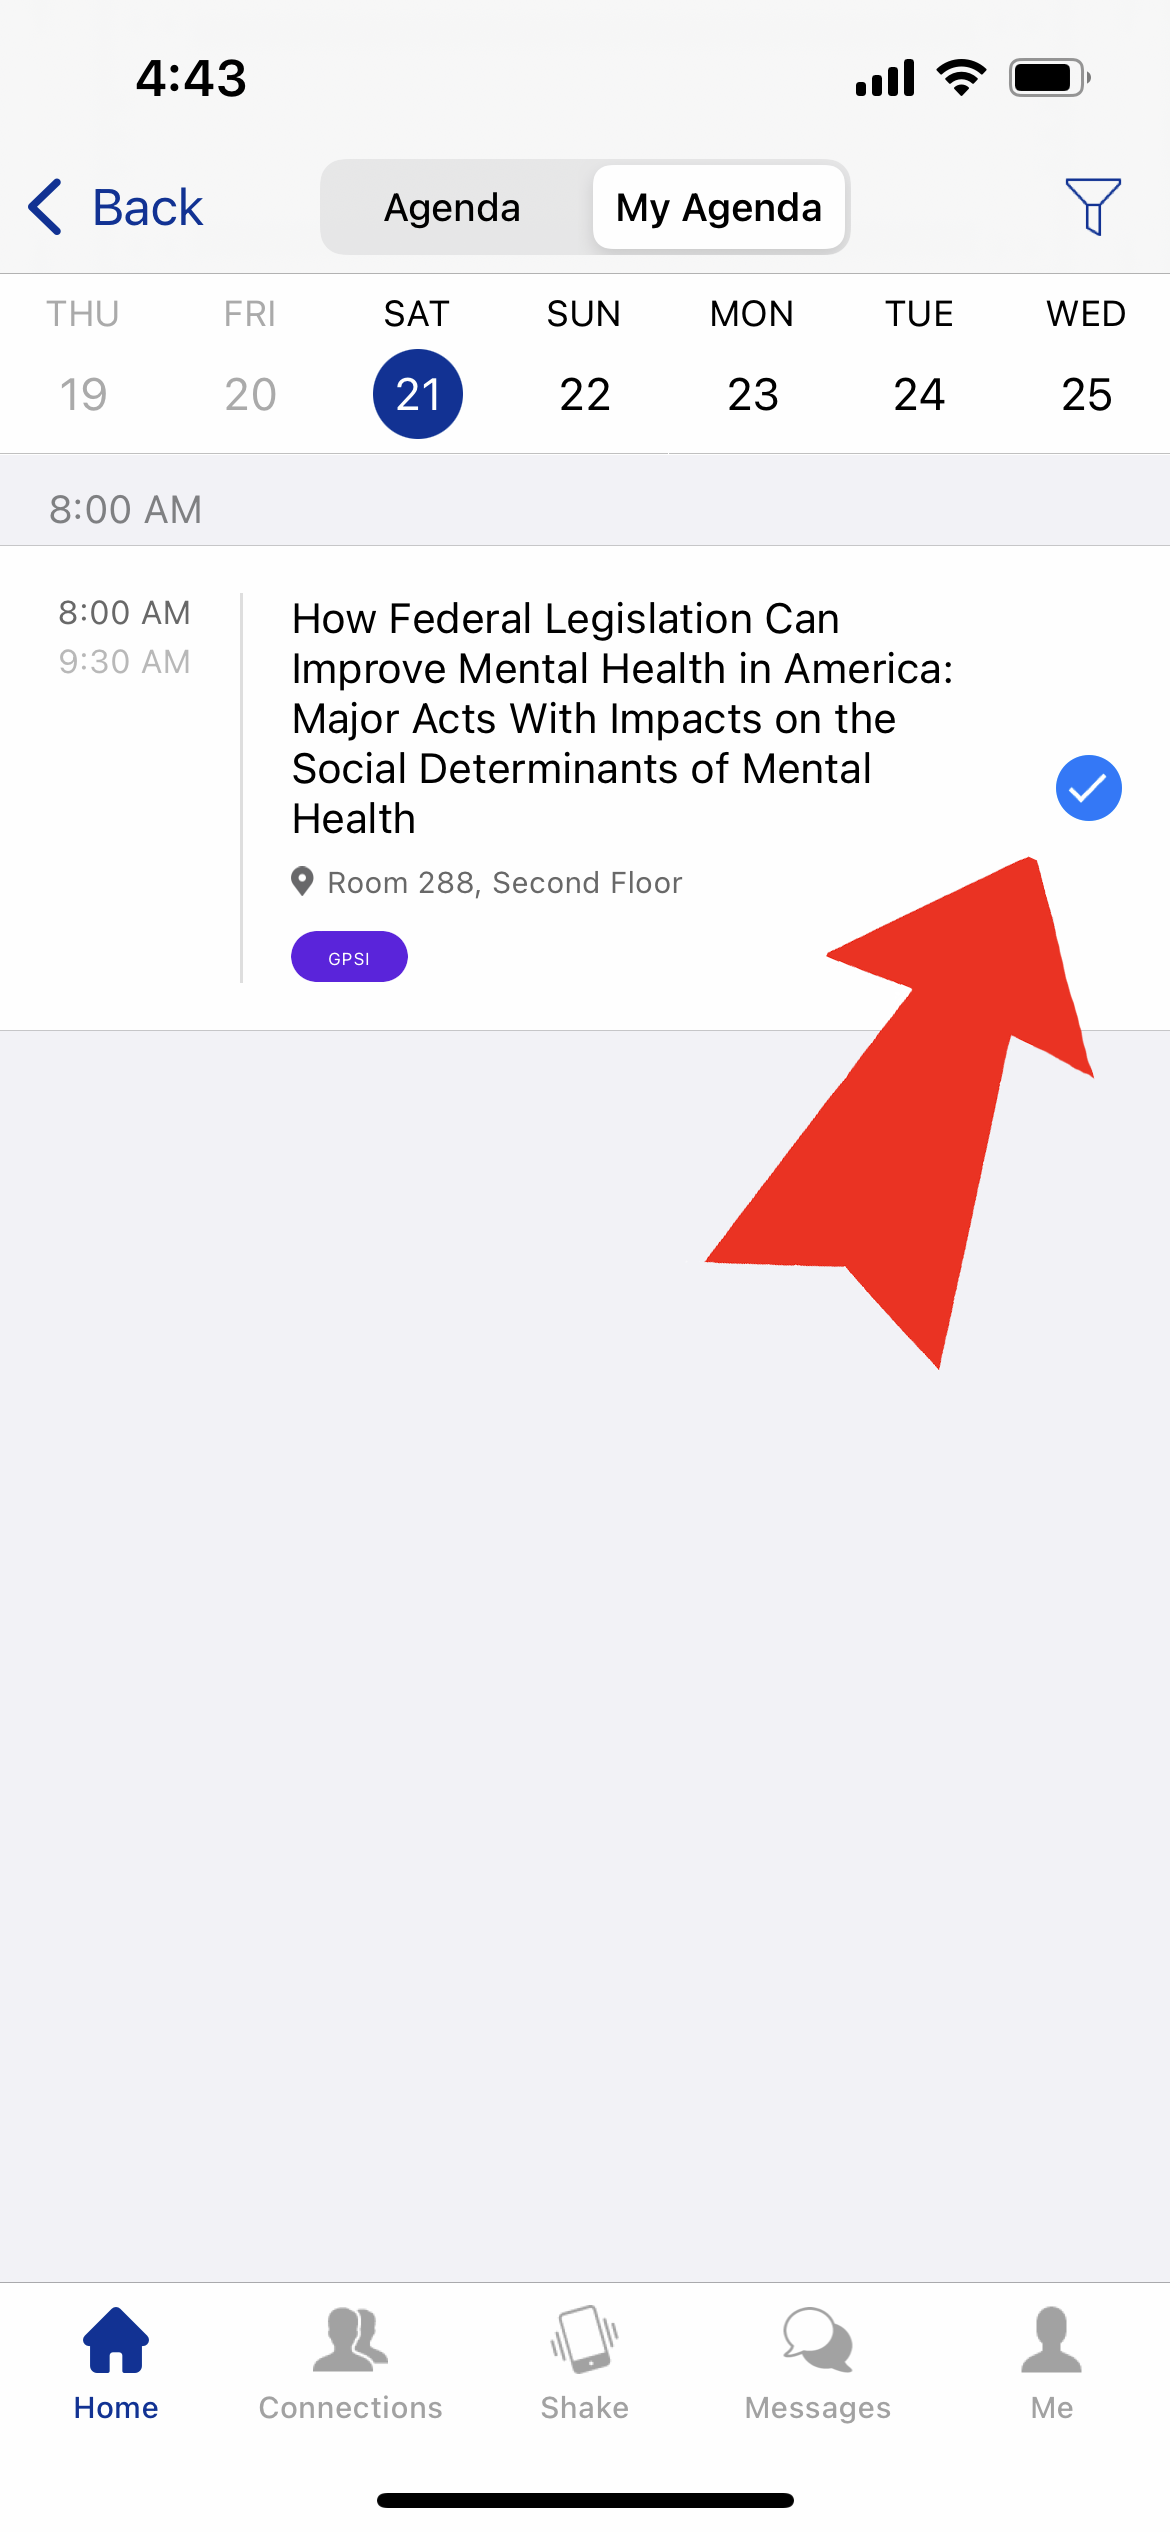
Step 3 of 5: Sessions that are on your agenda will show a blue circular icon with white checkmark in place of the "+" icon.
Step 4 of 5: You can also tap the session you are interested in to view its speakers and abstract, and select the "+" icon at the top of the screen to add to your agenda.
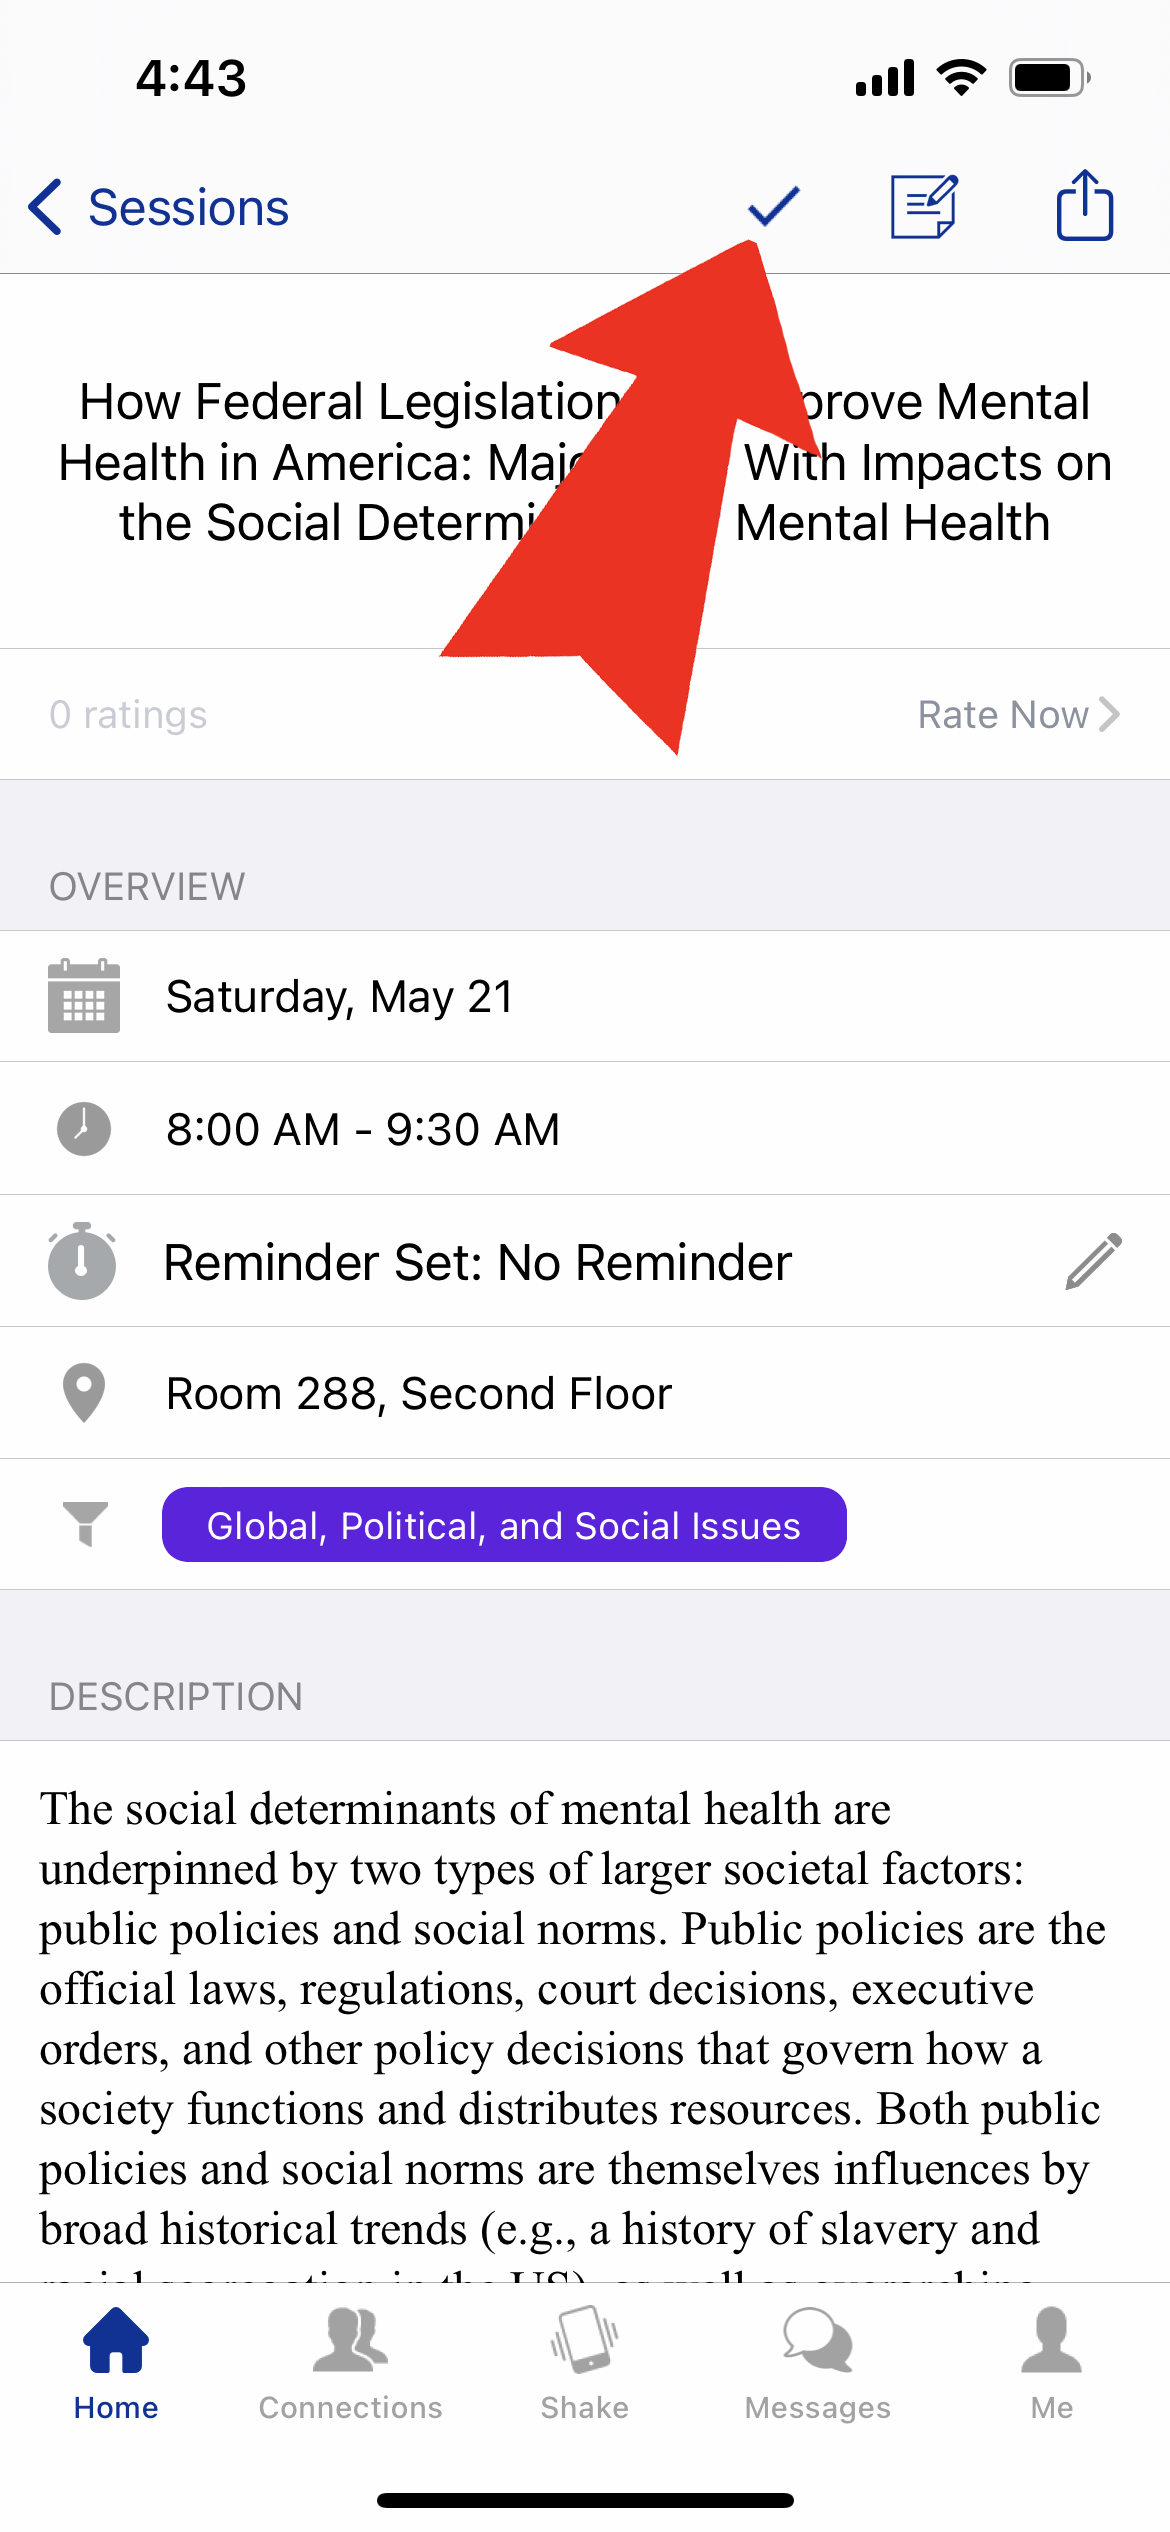
Step 5 of 5: Sessions that are on your agenda will show a check mark icon in place of the "+" icon..
There are two ways to remove a session to your personal "My Agenda". Any session currently on your agenda will have a blue circle icon with a white check mark next to it, or will show a check mark icon in the individual Session view.
Step 1 of 2: To remove a session from your personal agenda, simply tap the blue circle icon that appears next to the session in the Session view. Once the session is removed from your agenda, a "+" icon will replace the blue check-mark icon.
Step 2 of 2: You can also remove a session from your agenda by tapping the check mark icon at the top of the screen when viewing an individual sessions details. Once the session is removed from your agenda, a "+" icon will replace the check-mark icon.
You can set up in-app reminder notifications for sessions you don't want to miss! You can set reminders 15-, 30-, or 60- minutes before the session is scheduled to start. There are two ways to do this.

Step 1 of 2: When you add a session to your personal agenda, you will be prompted by the app to set a reminder notification.
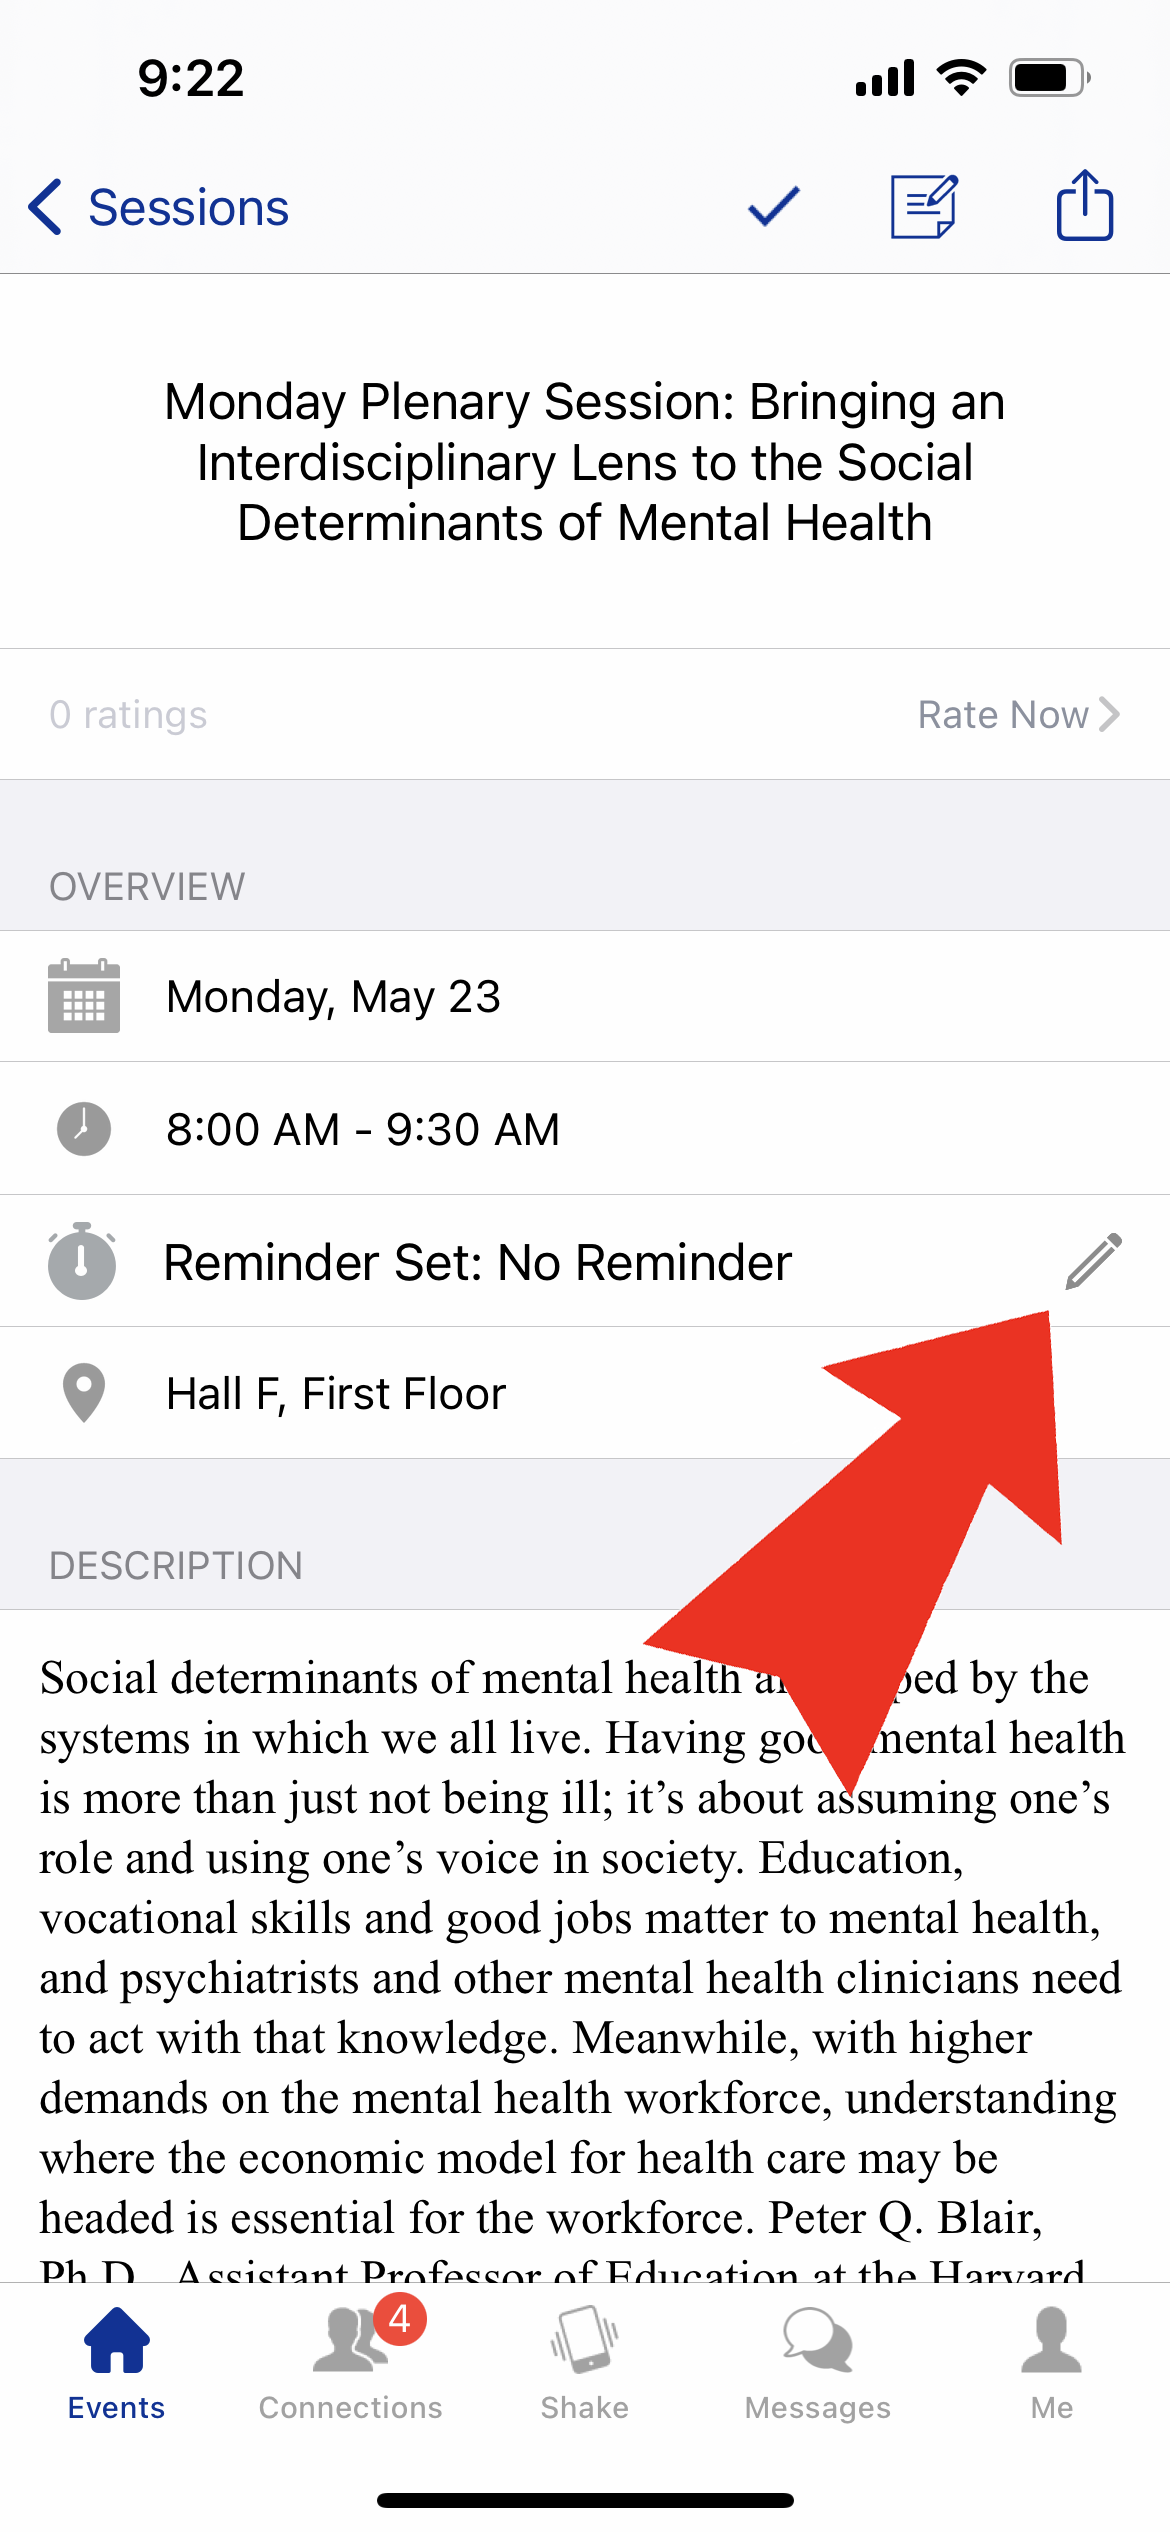
Step 2 of 2: If you want to set up or change a new notification for a session already on your agenda, you can tap into the session details and tap the pencil icon next to the "Reminder Set" field.
You can take notes at each session right in the app! Use the notes feature to keep your thoughts and information organized by each session you attend.
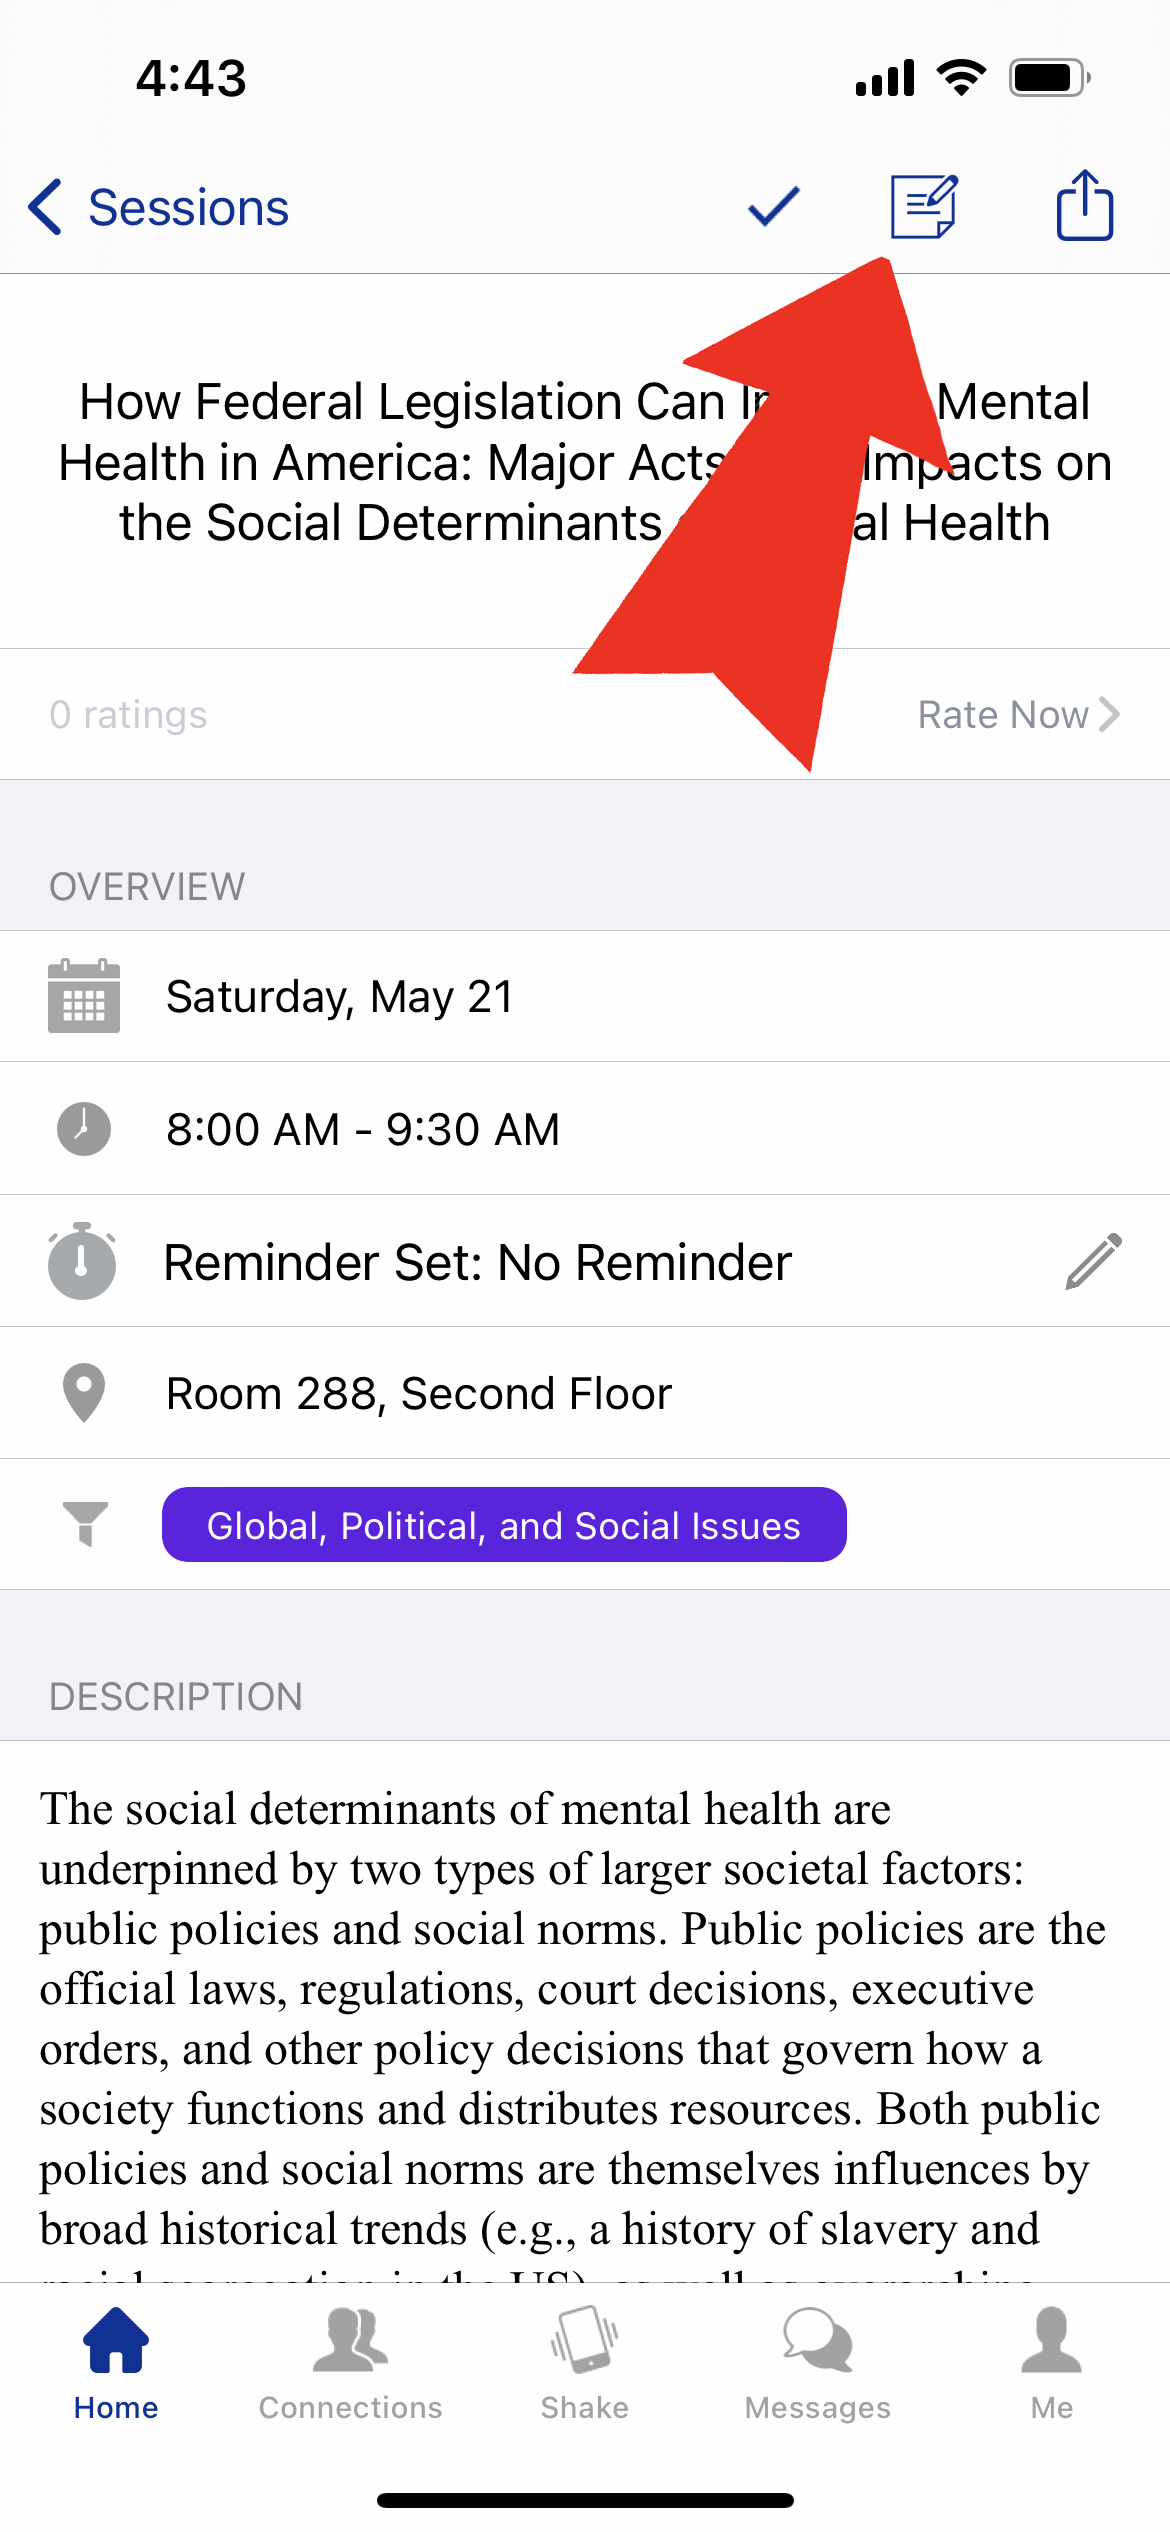
Step 1 of 2: Tap the session you want to take notes for, then tap the "Notes" icon at the top of the individual session view.
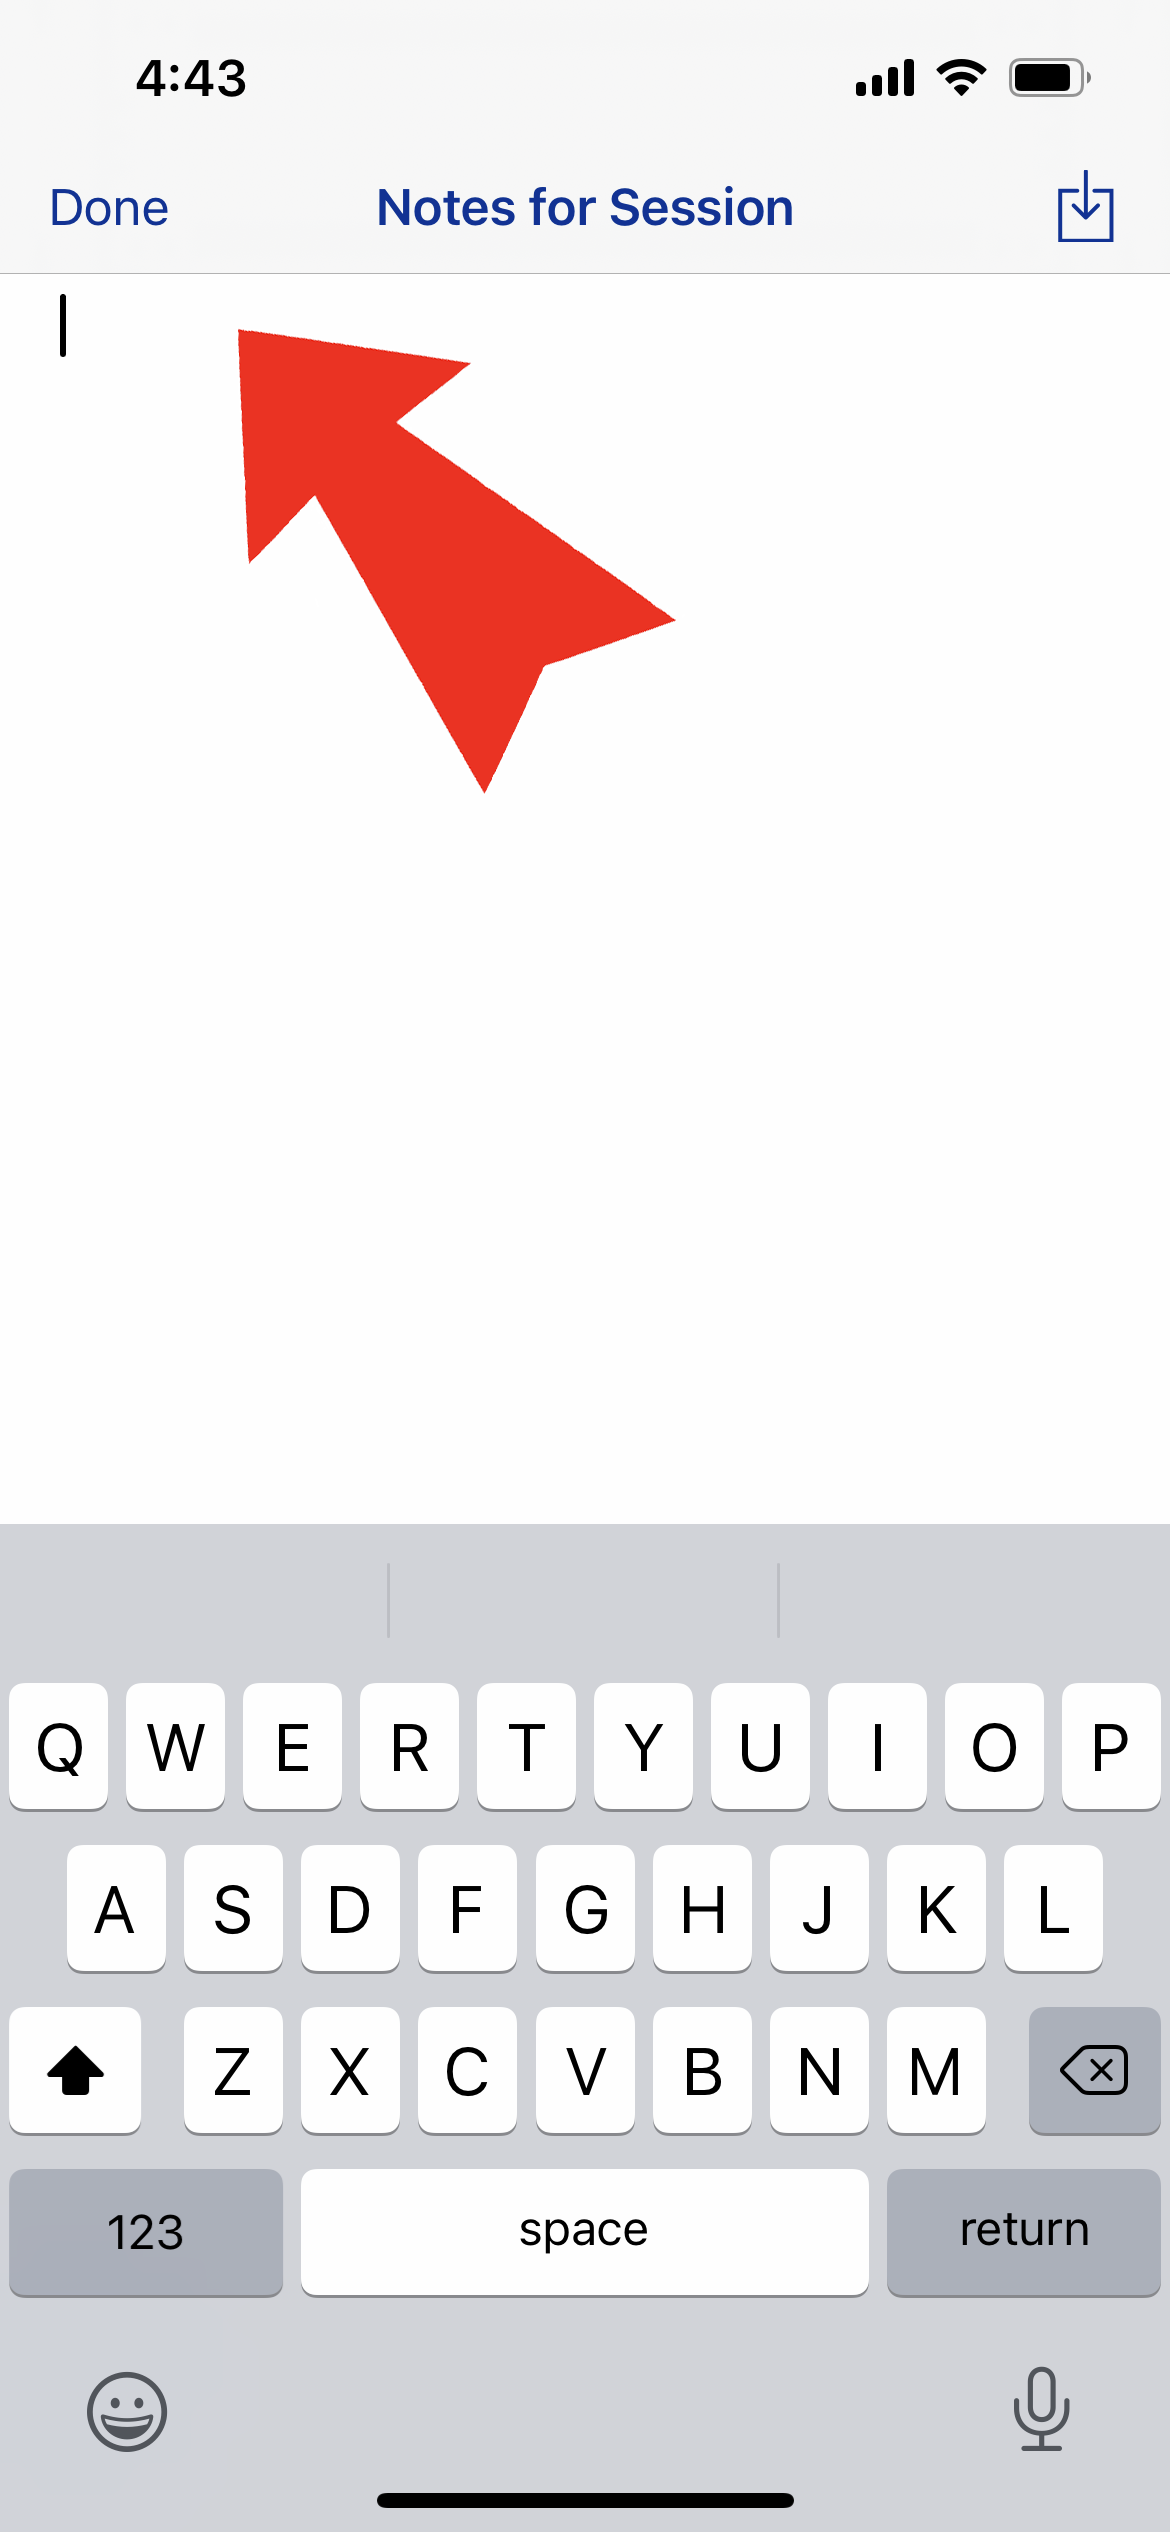
Step 2 of 2: Type the notes you want to remember, then tap the "Done" link in the top left.
Administrative Items
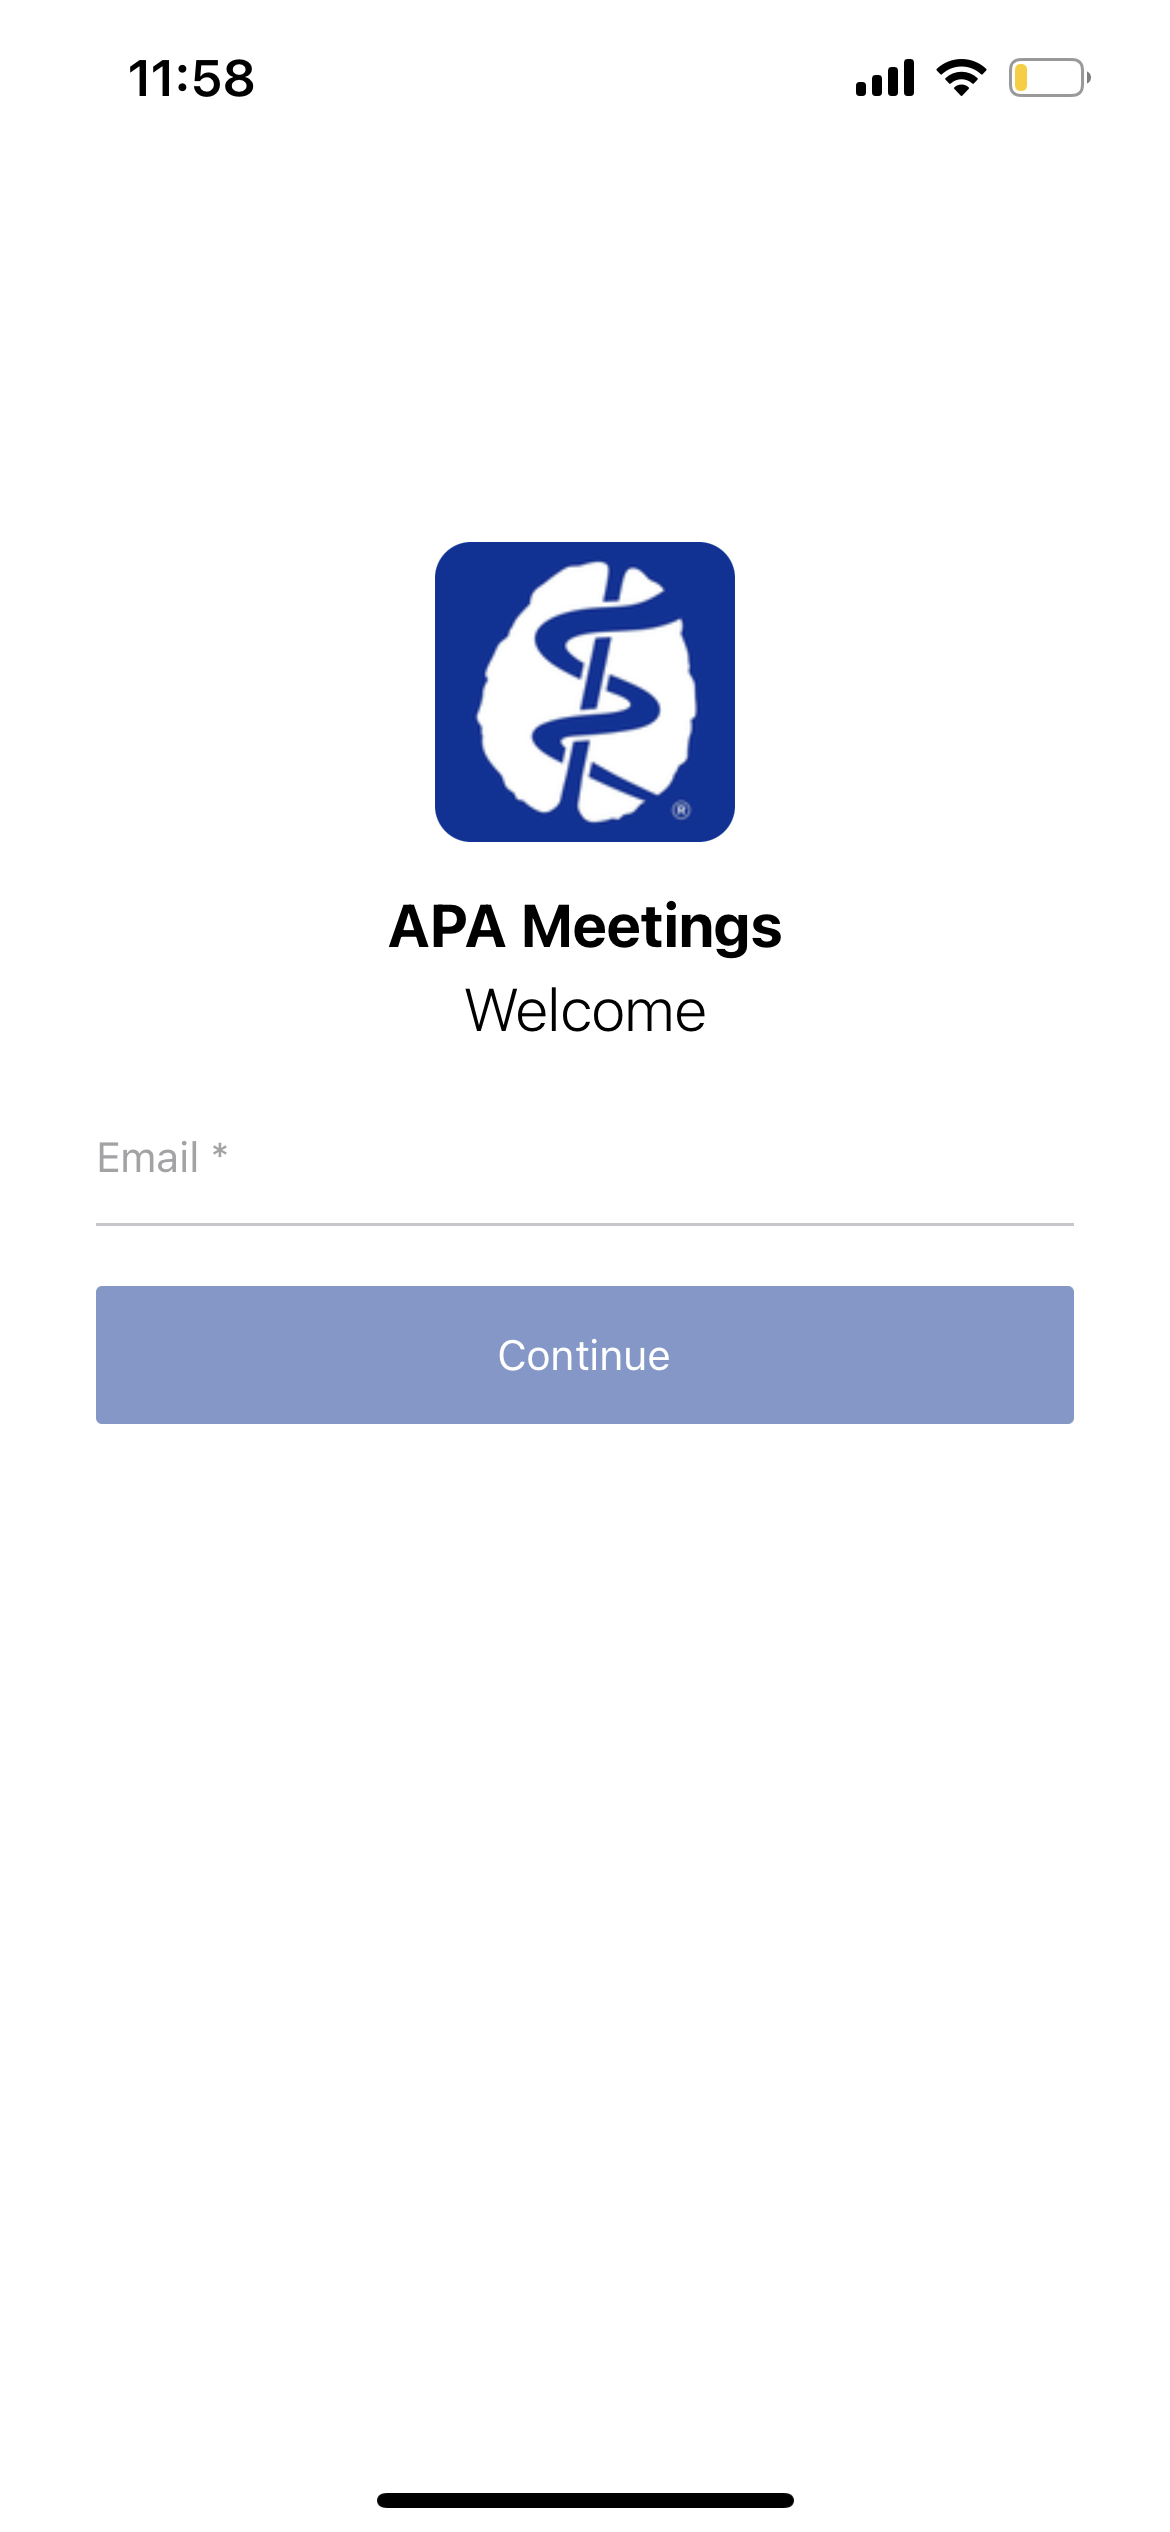
Step 1 of 3: First, enter the email you registered with in the email field, and tap the "Continue" button.
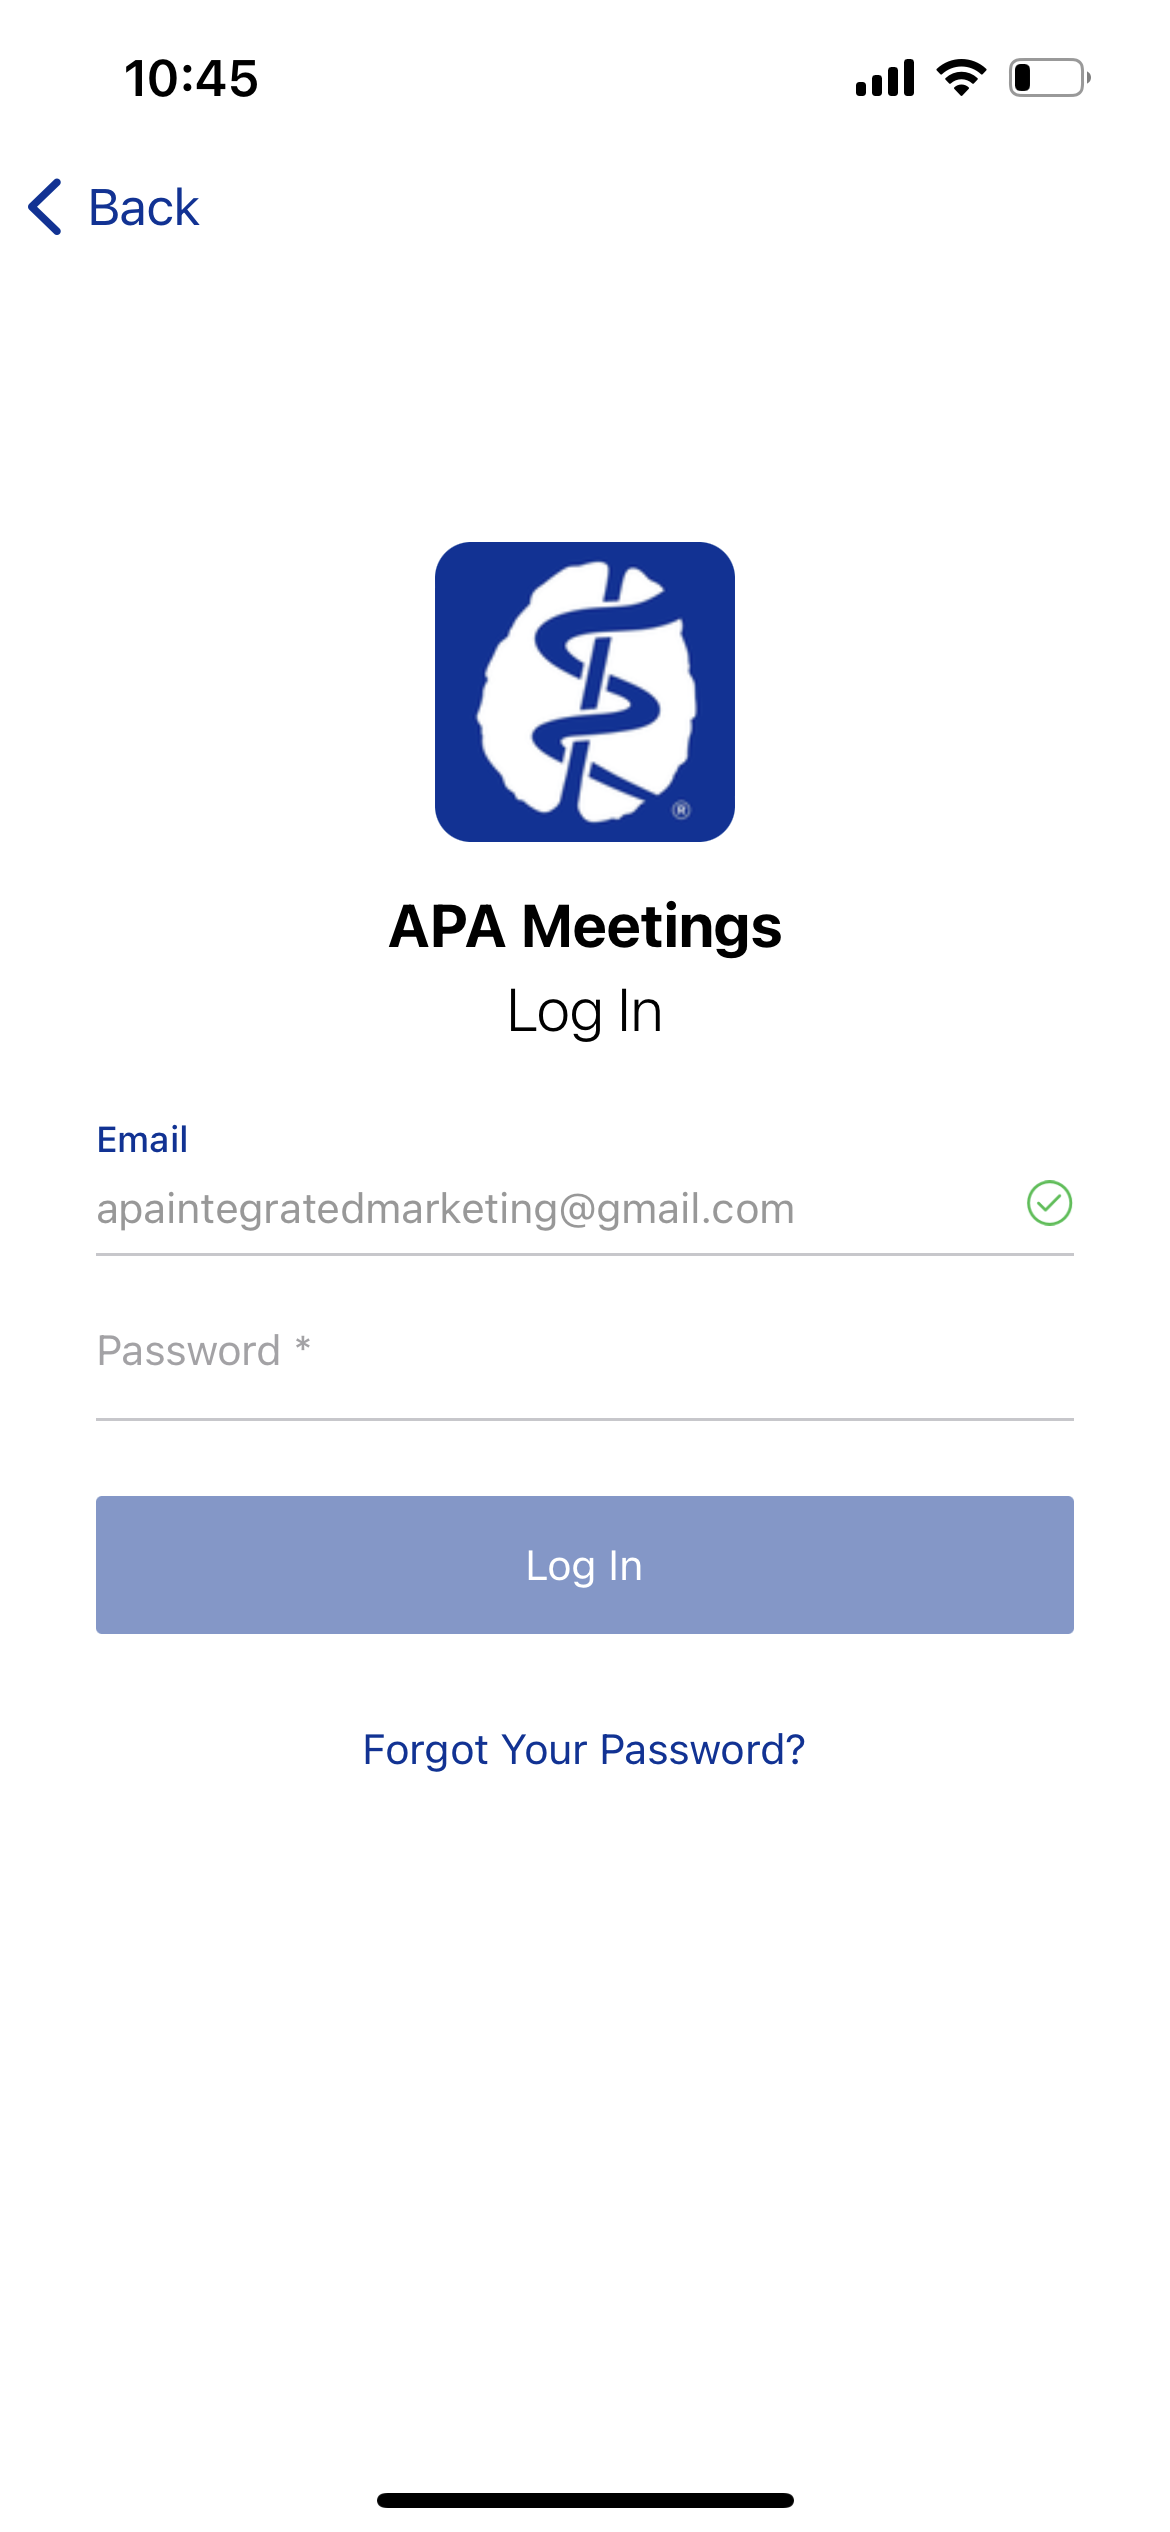
Step 2 of 3: On the next screen, tap the link "Forgot Your Password?"
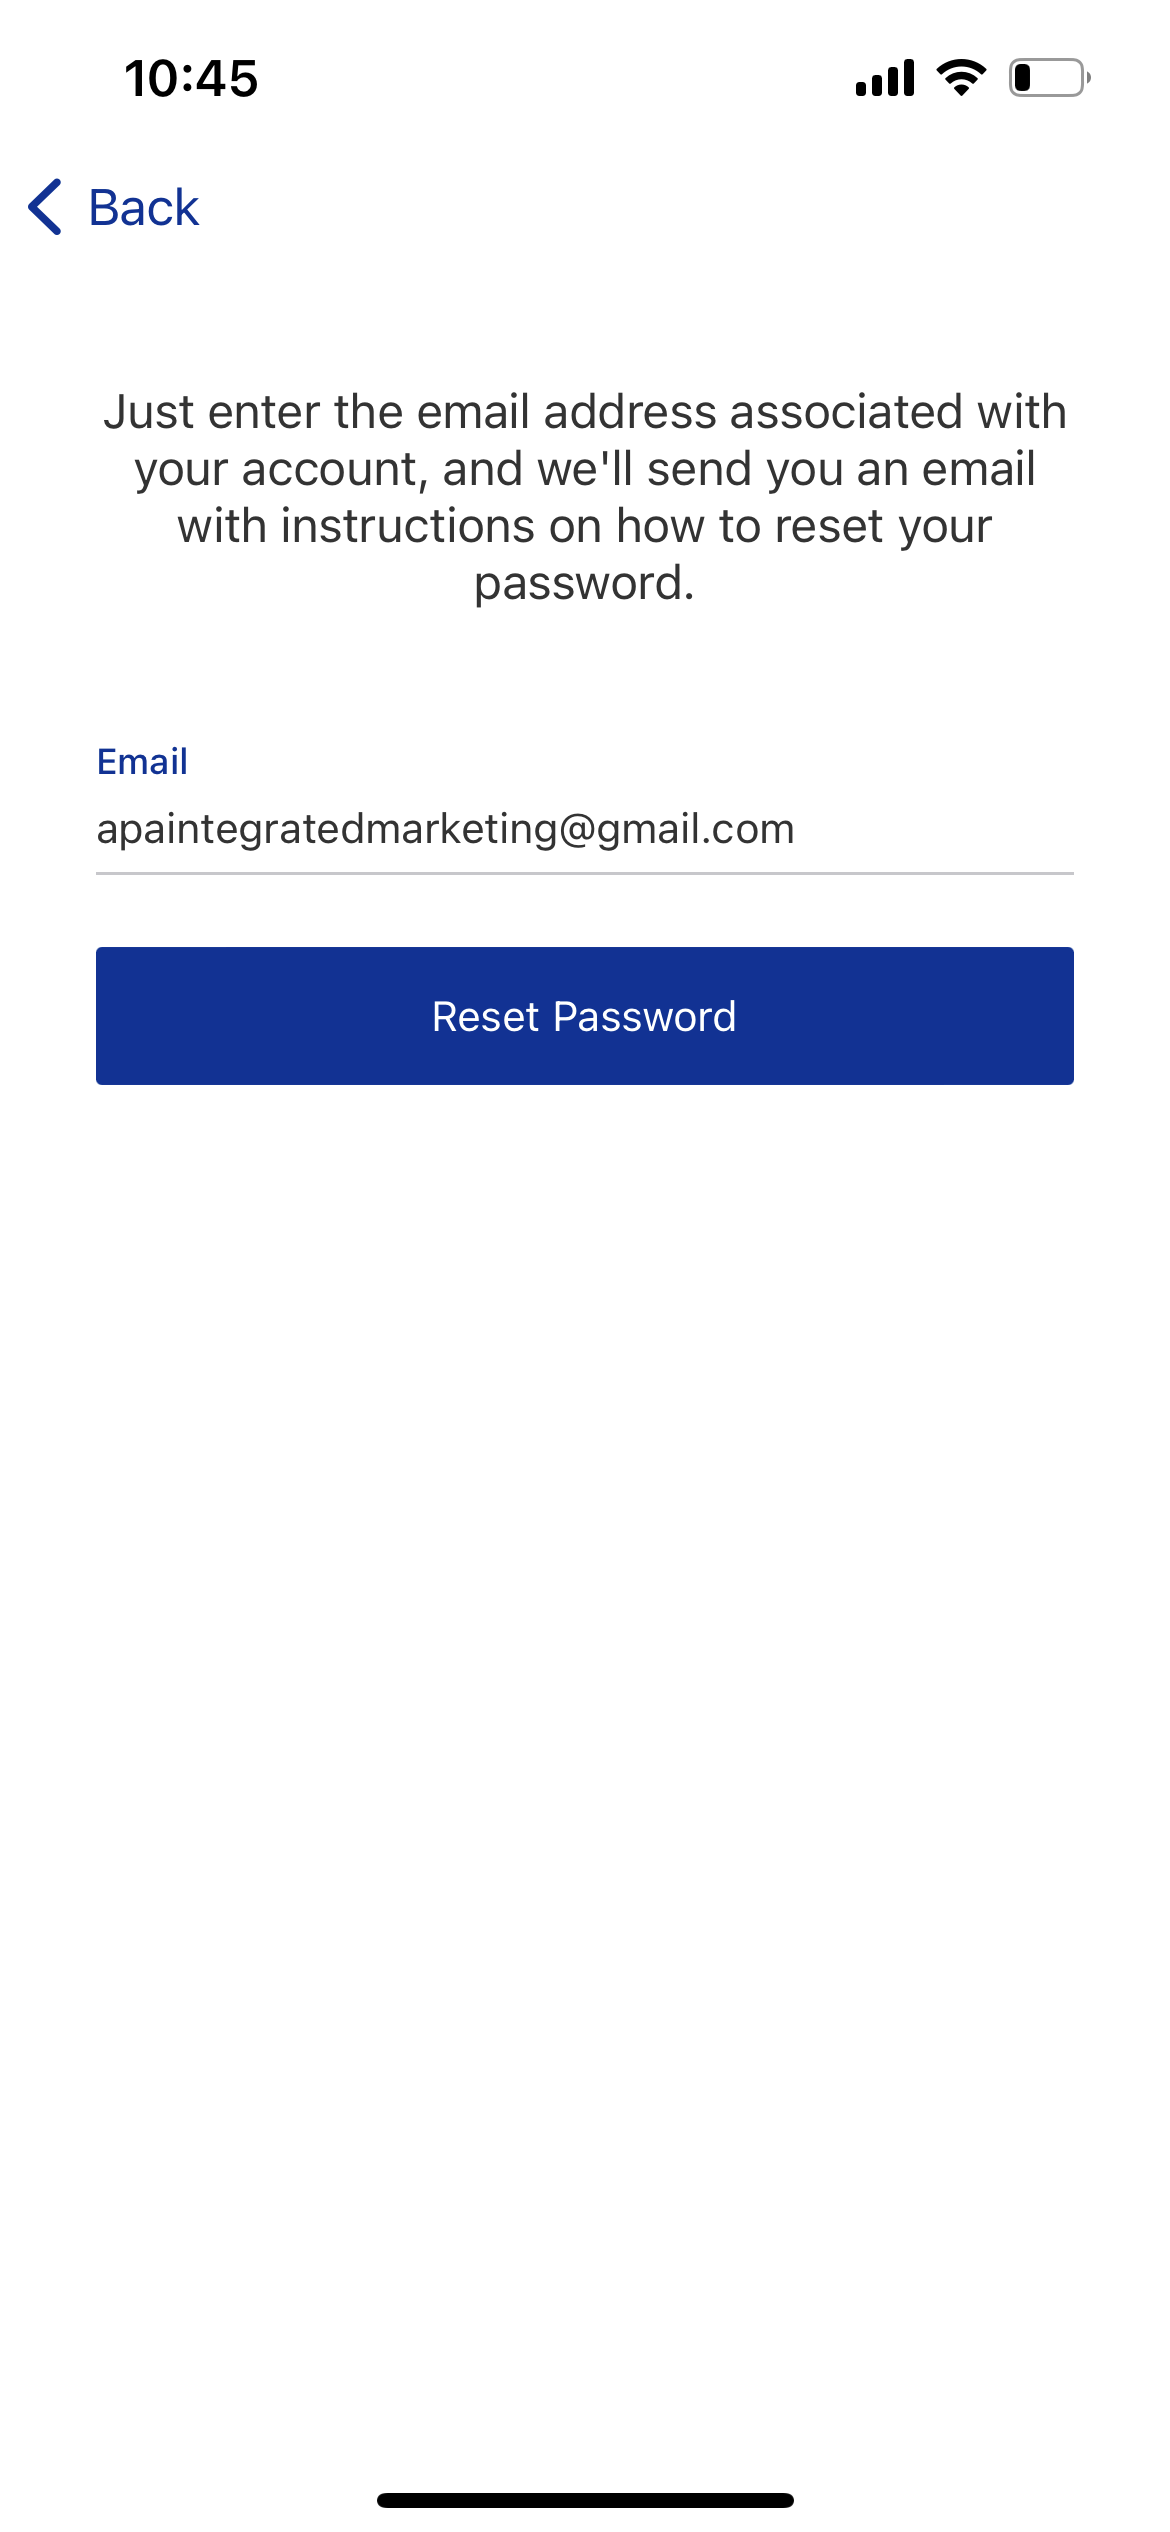
Step 3 of 3: On the next screen, enter your email address again, and tap "Reset Password." A link to reset your password will be emailed to the given email address.
Content and information in the app are continuously updated for attendees. It may take some time for content updates to refresh on attendees devices on its own. You can refresh the app data manually with the steps below to ensure you are seeing the most up-to-date information in the app.
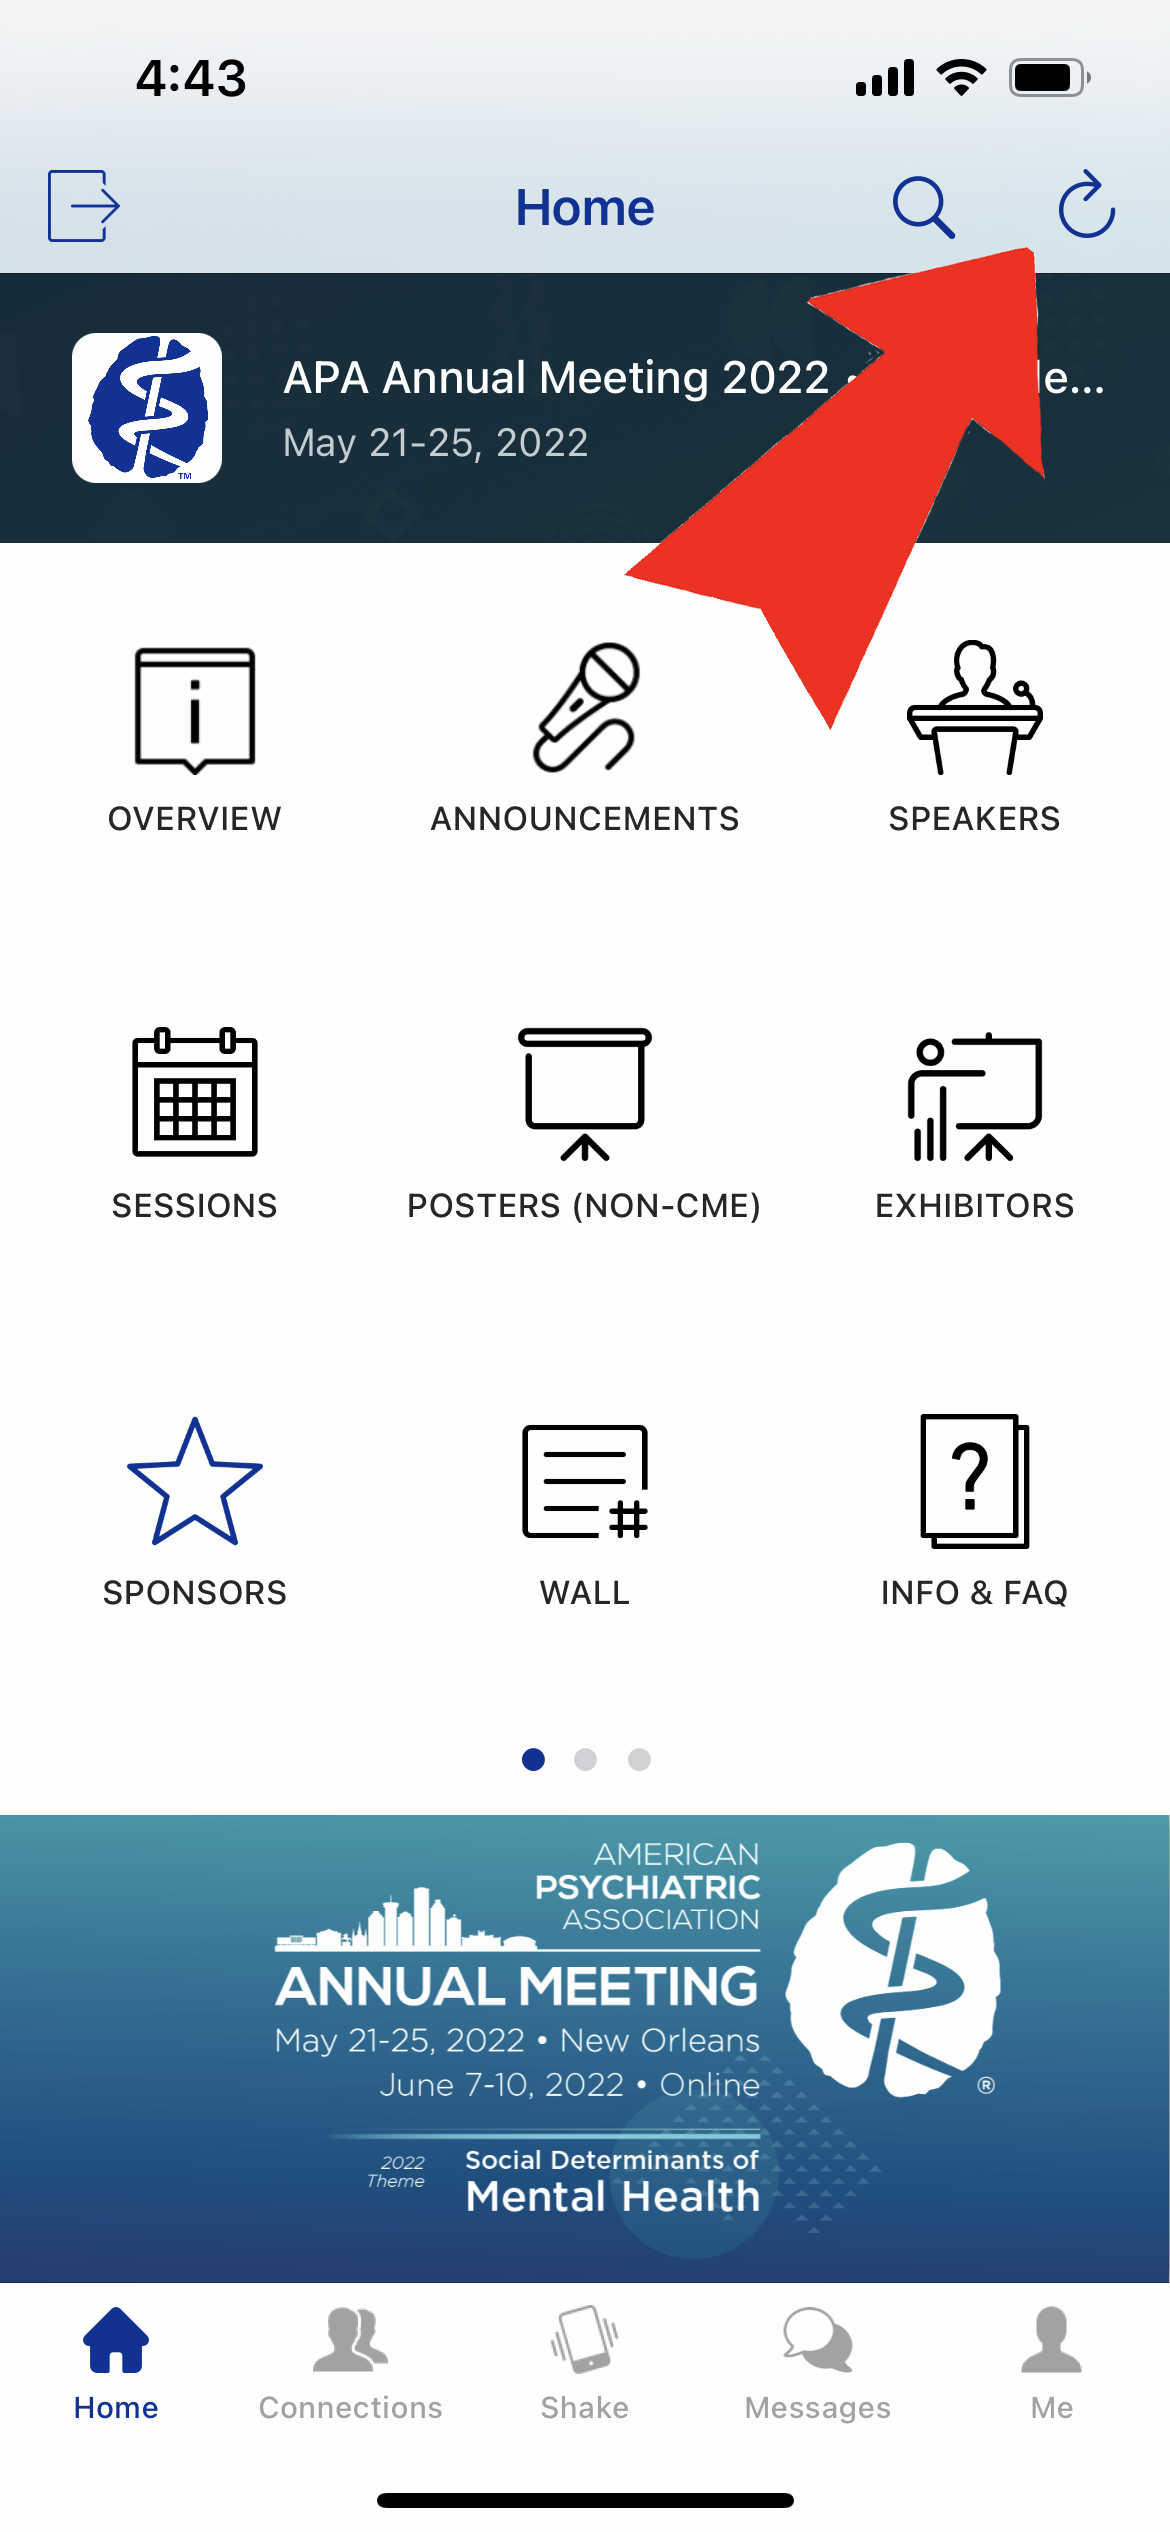
Step 1 of 1: On the home menu screen, tap the refresh data icon in the top right corner.
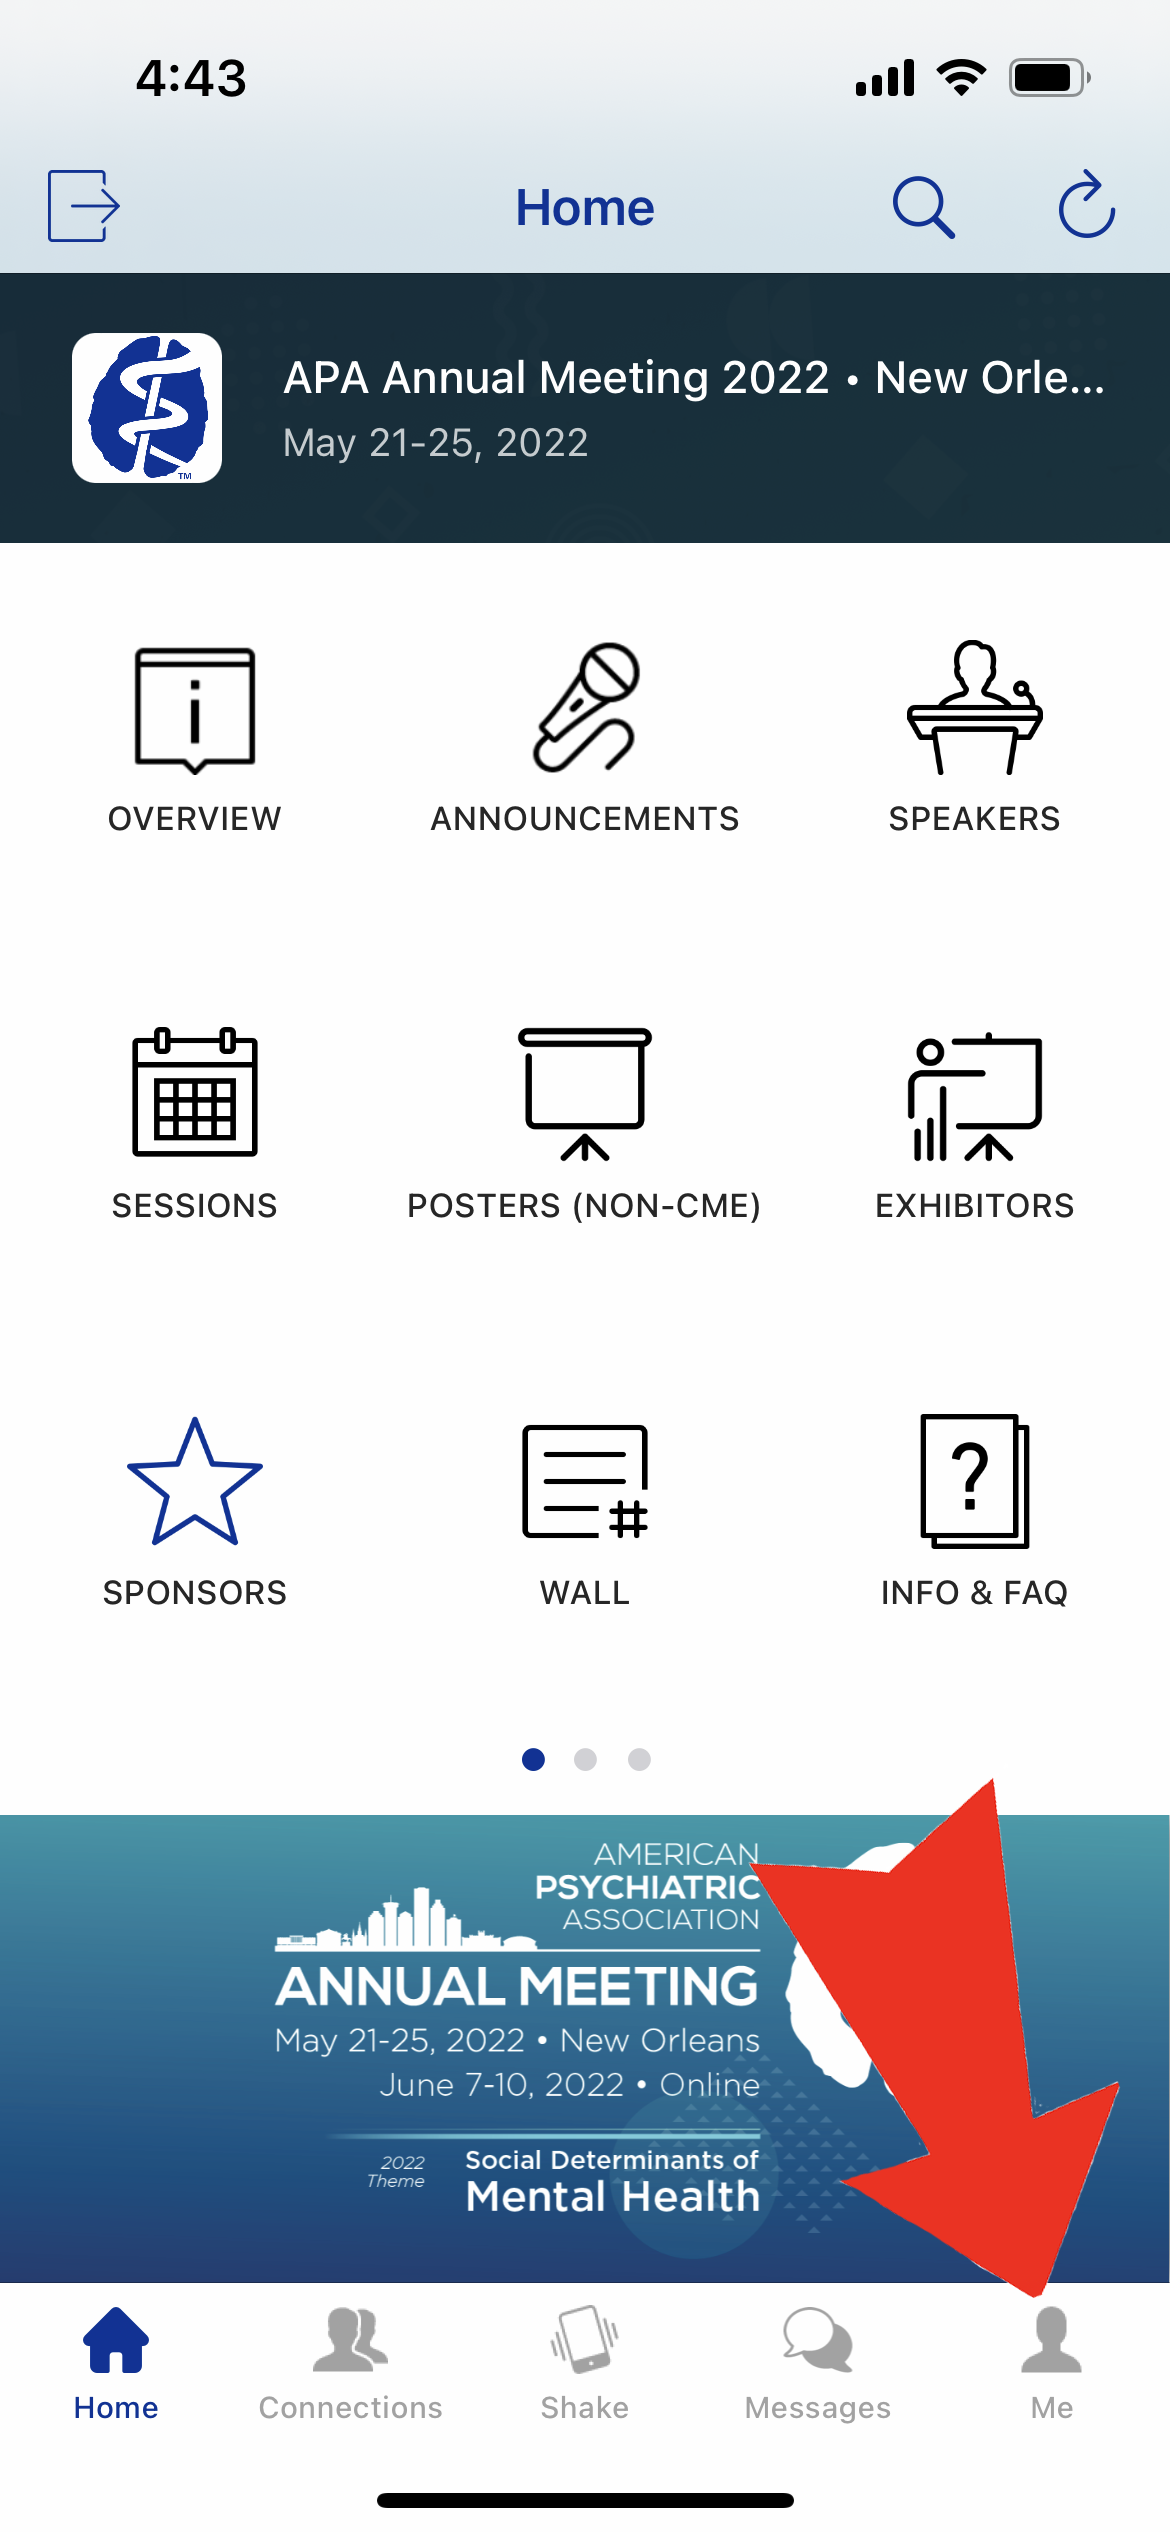
Step 1 of 3: Tap the "Me" icon on the bottom navigation pane.
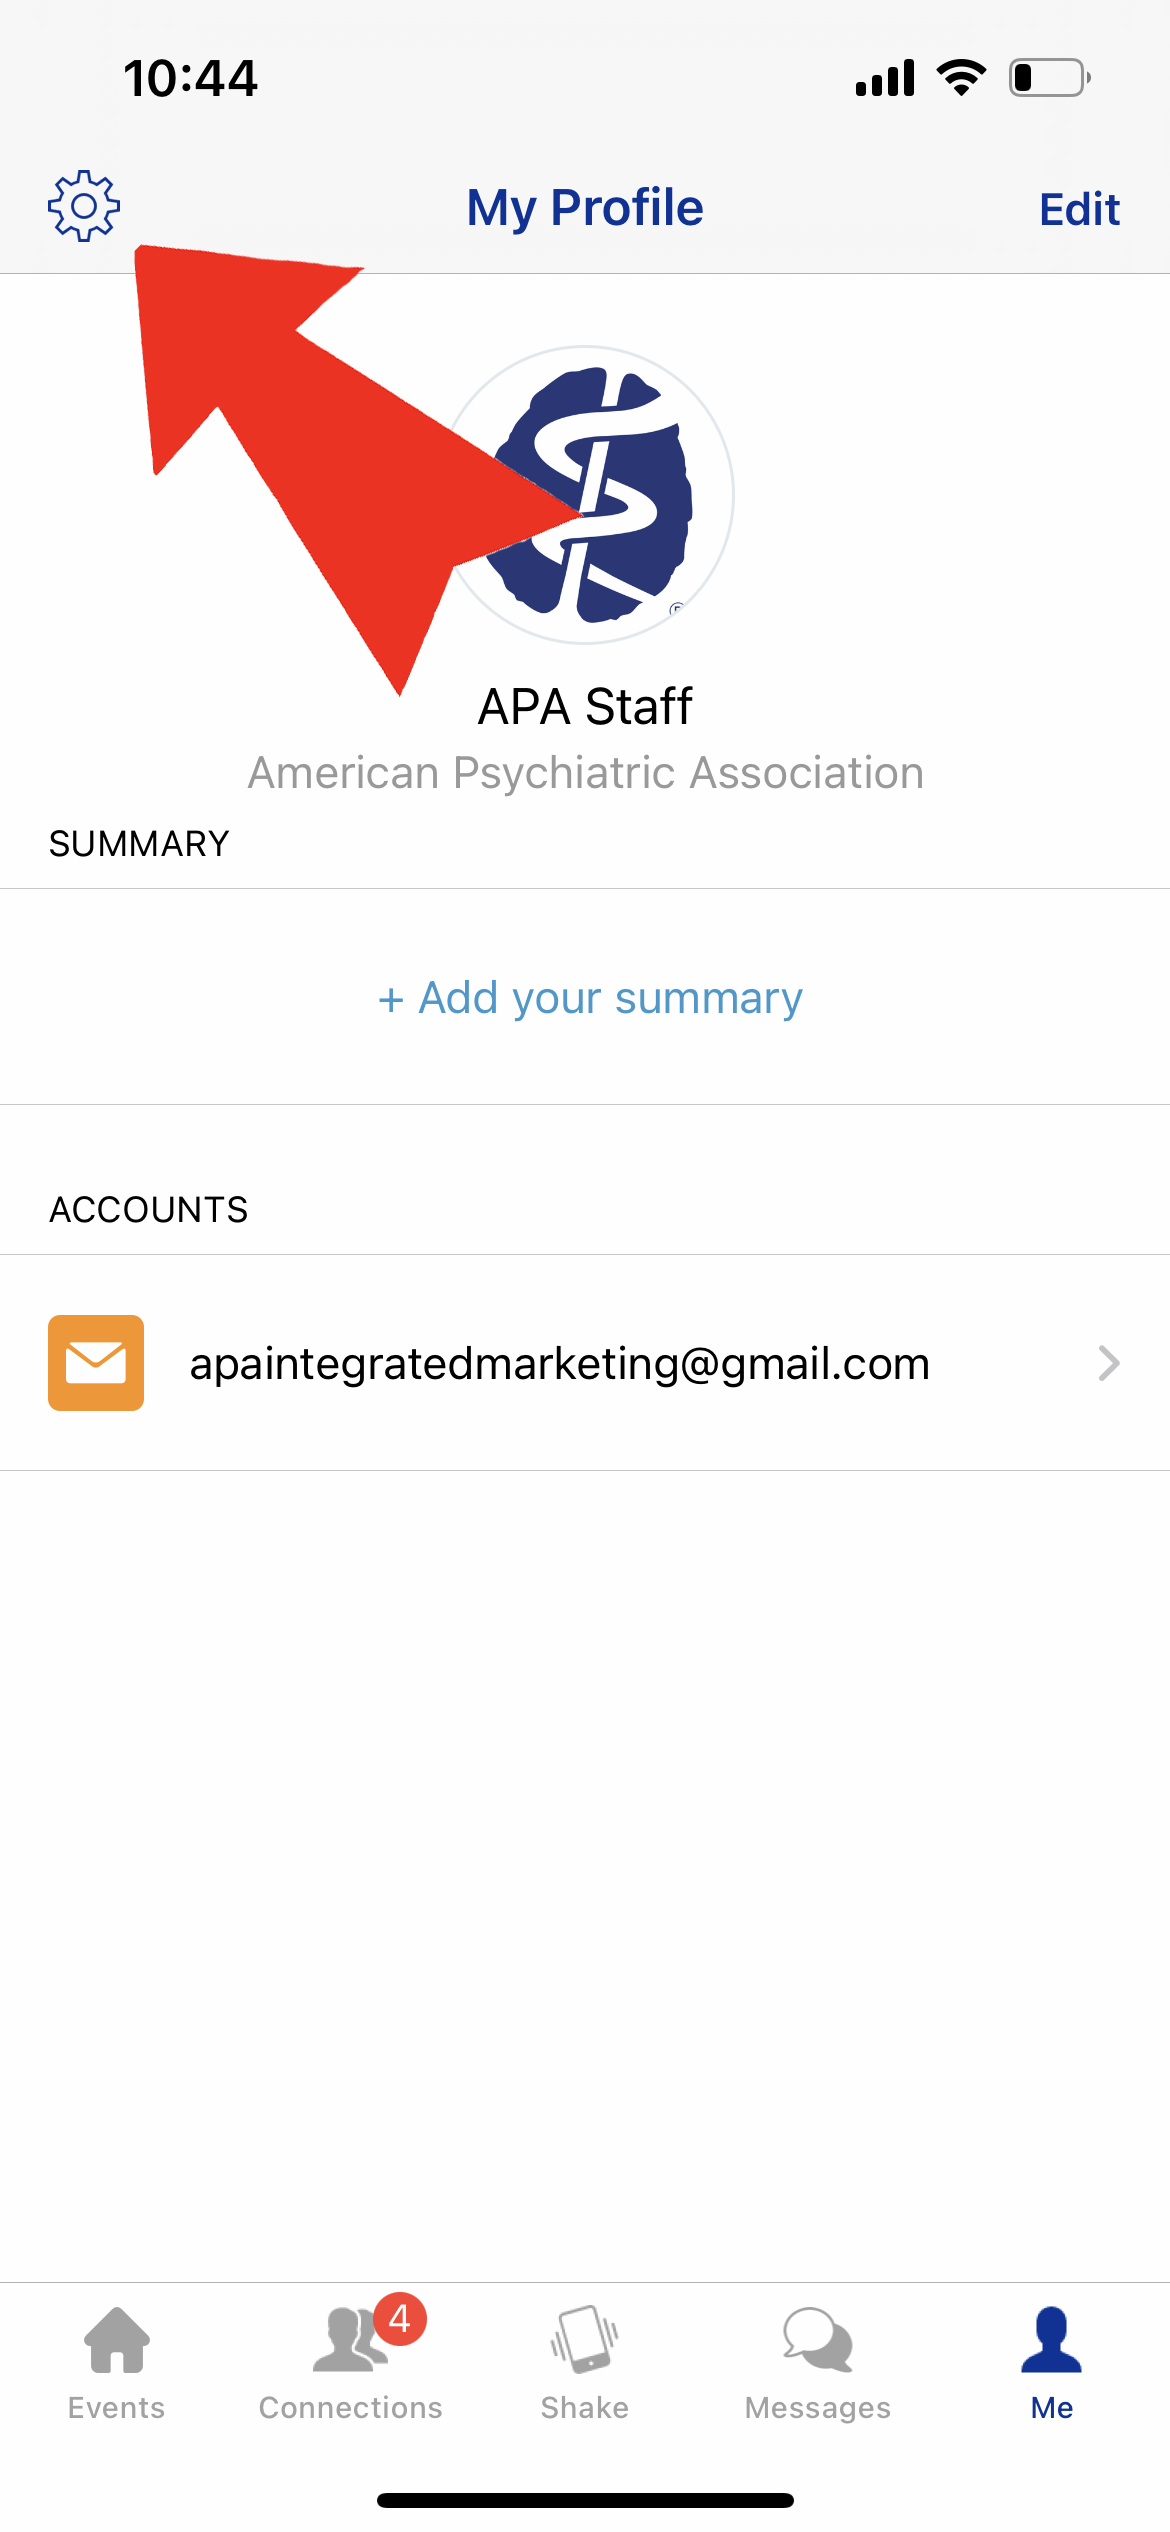
Step 2 of 3: On the next screen, tap the gear icon in the top left corner.
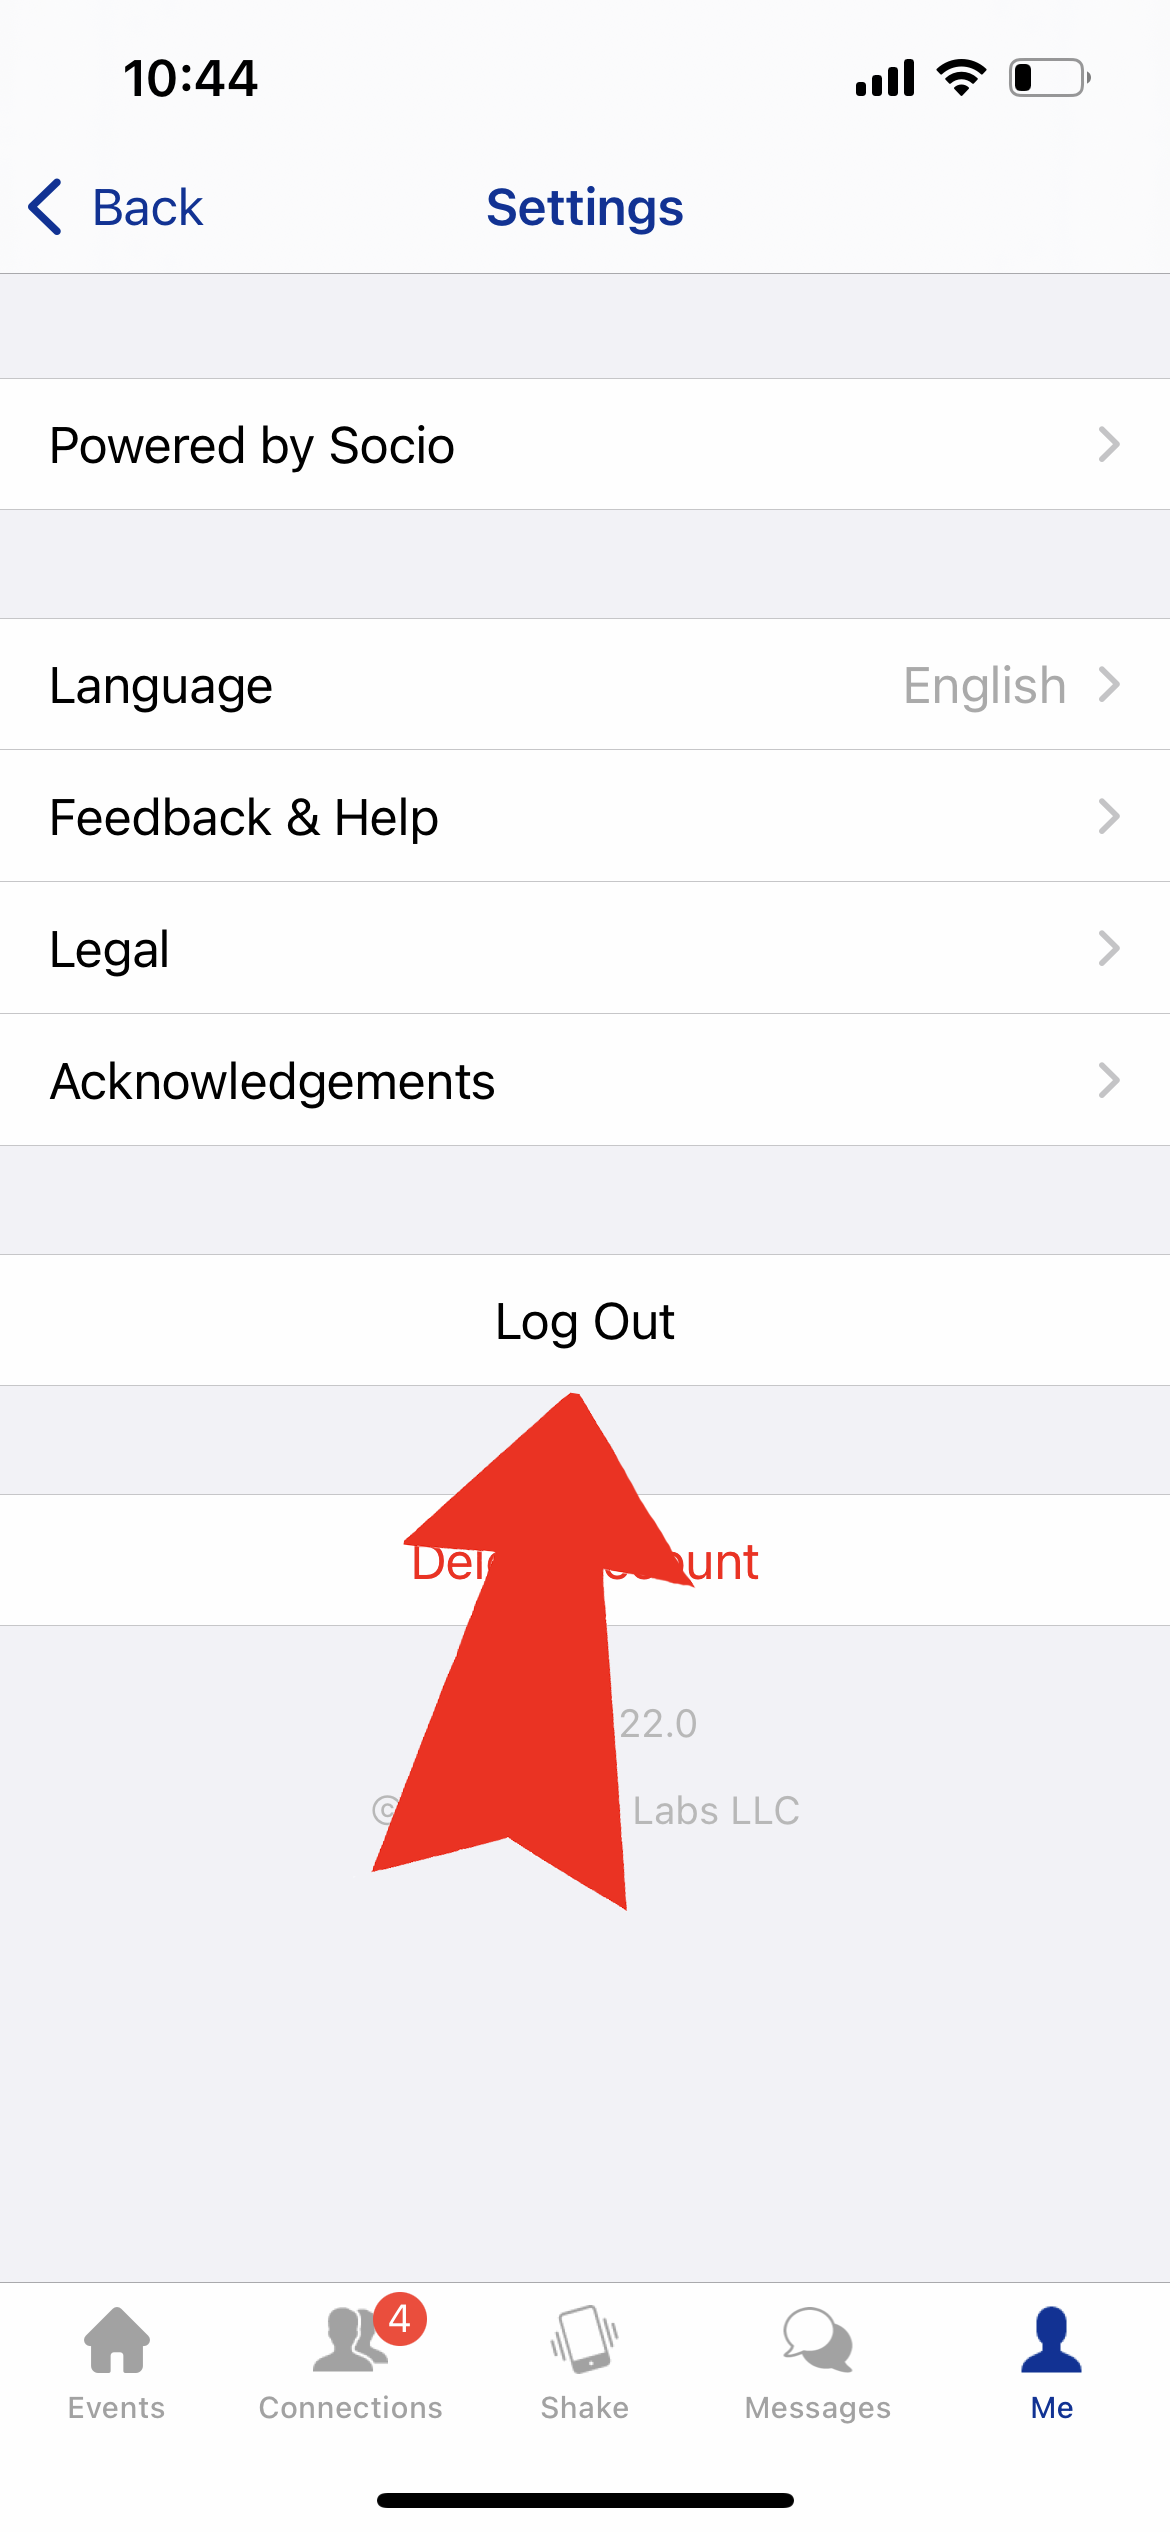
Step 3 of 3: On the next screen, tap the "Log Out" button.
Step 1 of 3: Enter the email address you registered for the event with. Tap the "Continue" button.
Step 2 of 3: Enter your password. Forgot your password? See the instructions for resetting your password above.
Step 3 of 3: Tap the event you would like to enter.
Your profile information, including name, title, and bio are visible to all attendees in the app. Your contact information is only visible to those attendees you have mutually connected with in the app.
Step 1 of 5: Tap the "Me" icon on the bottom navigation pane.
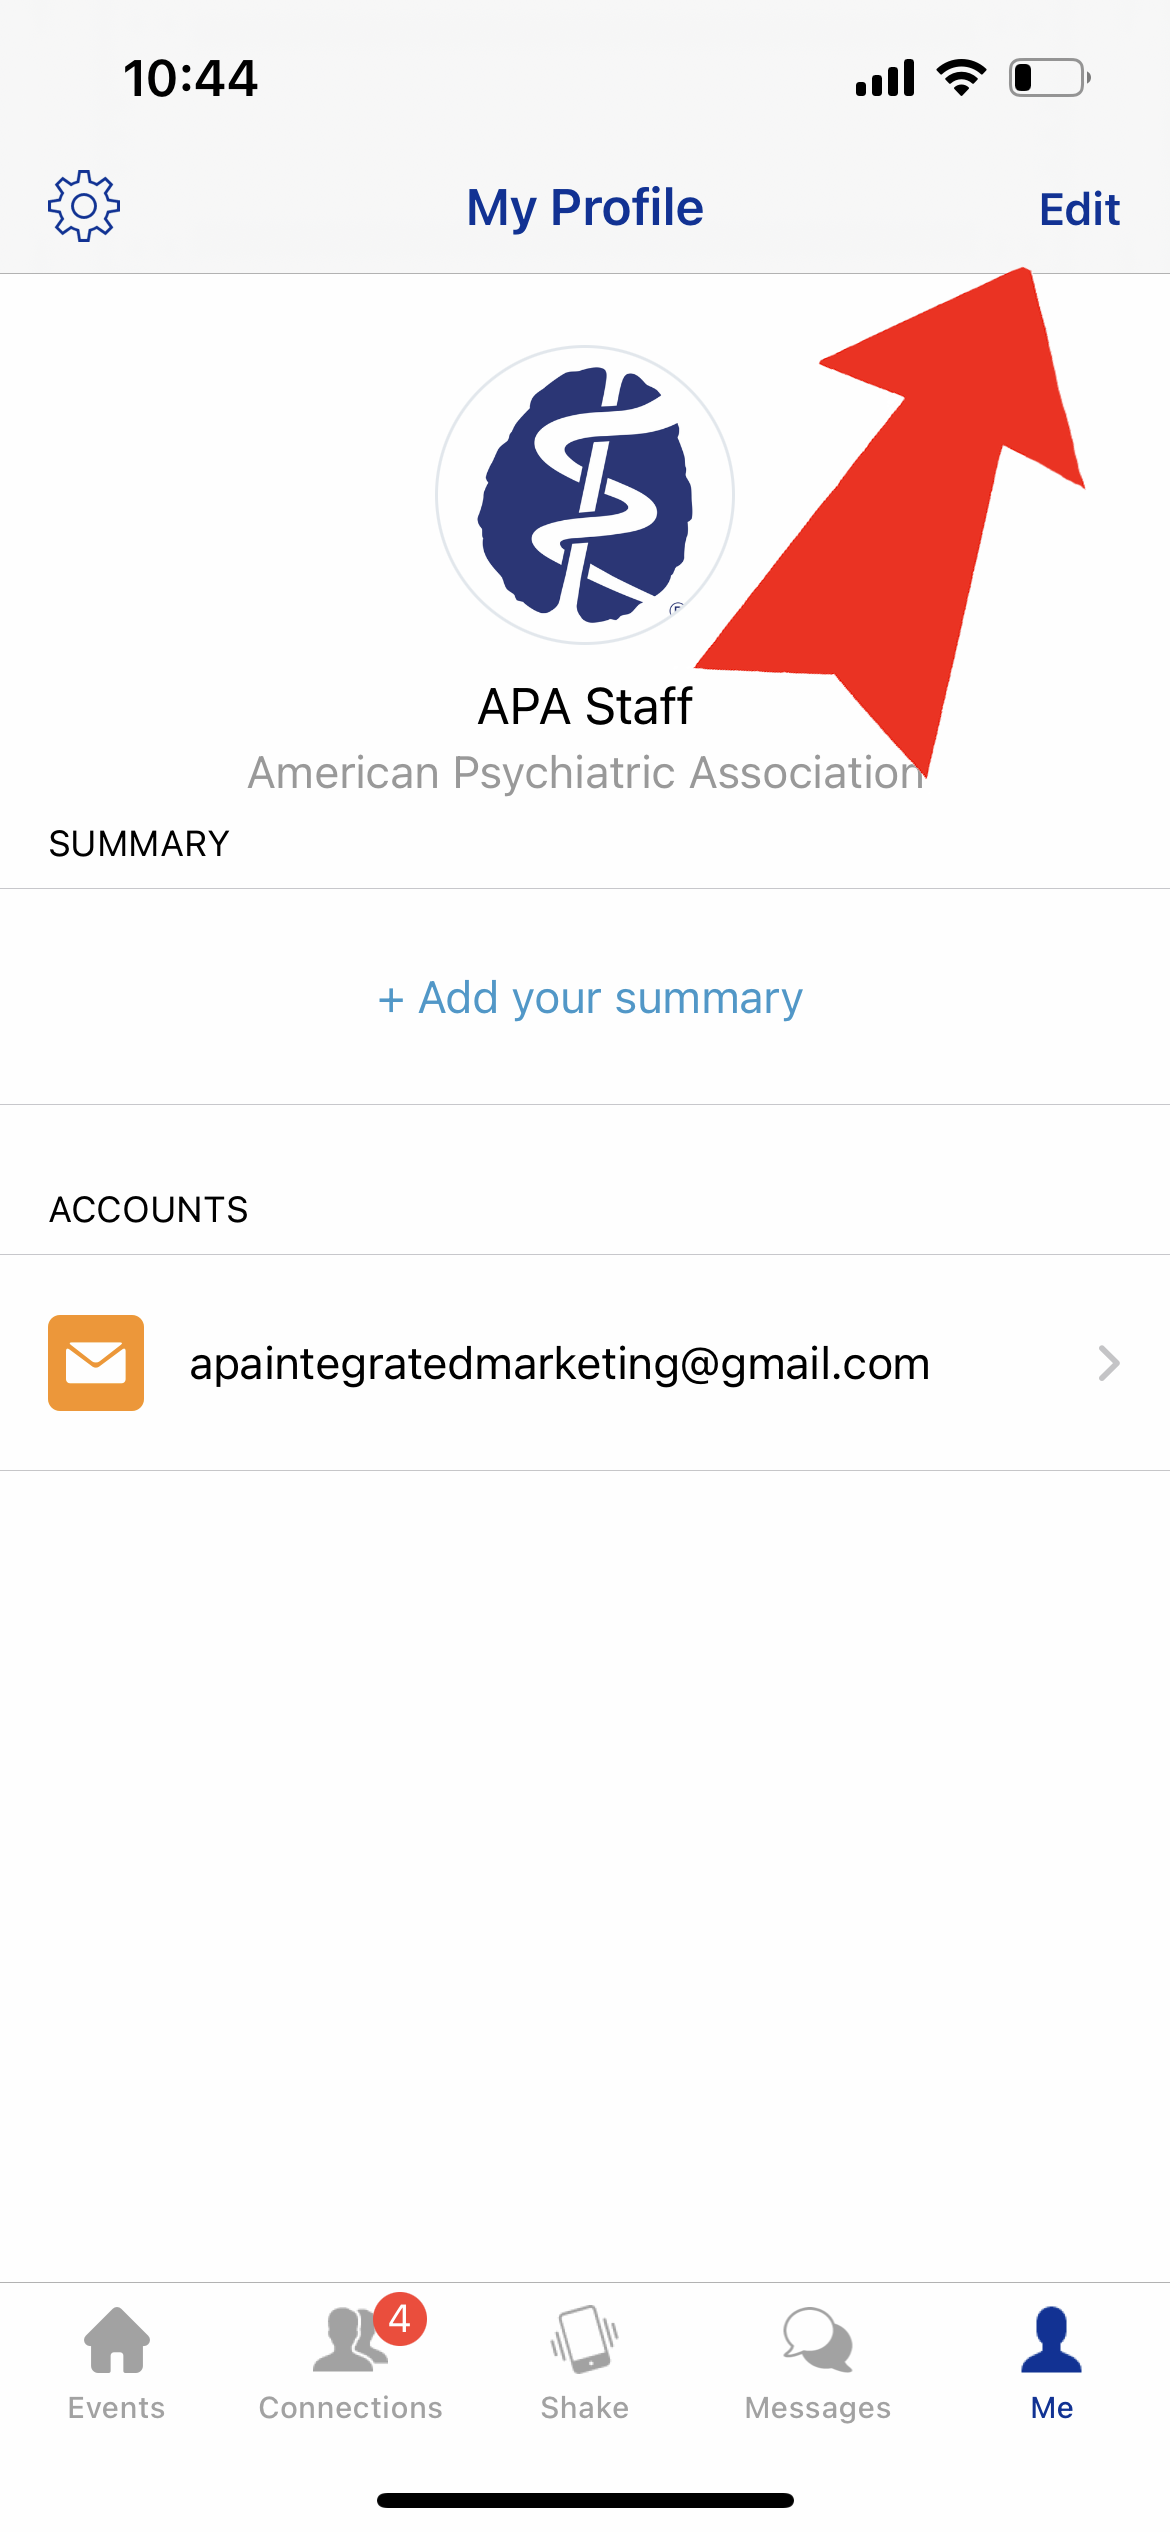
Step 2 of 5: Tap the "Edit" link in the top right corner of the screen.
Step 3 of 5: Tap the "Edit" link next to your profile picture.
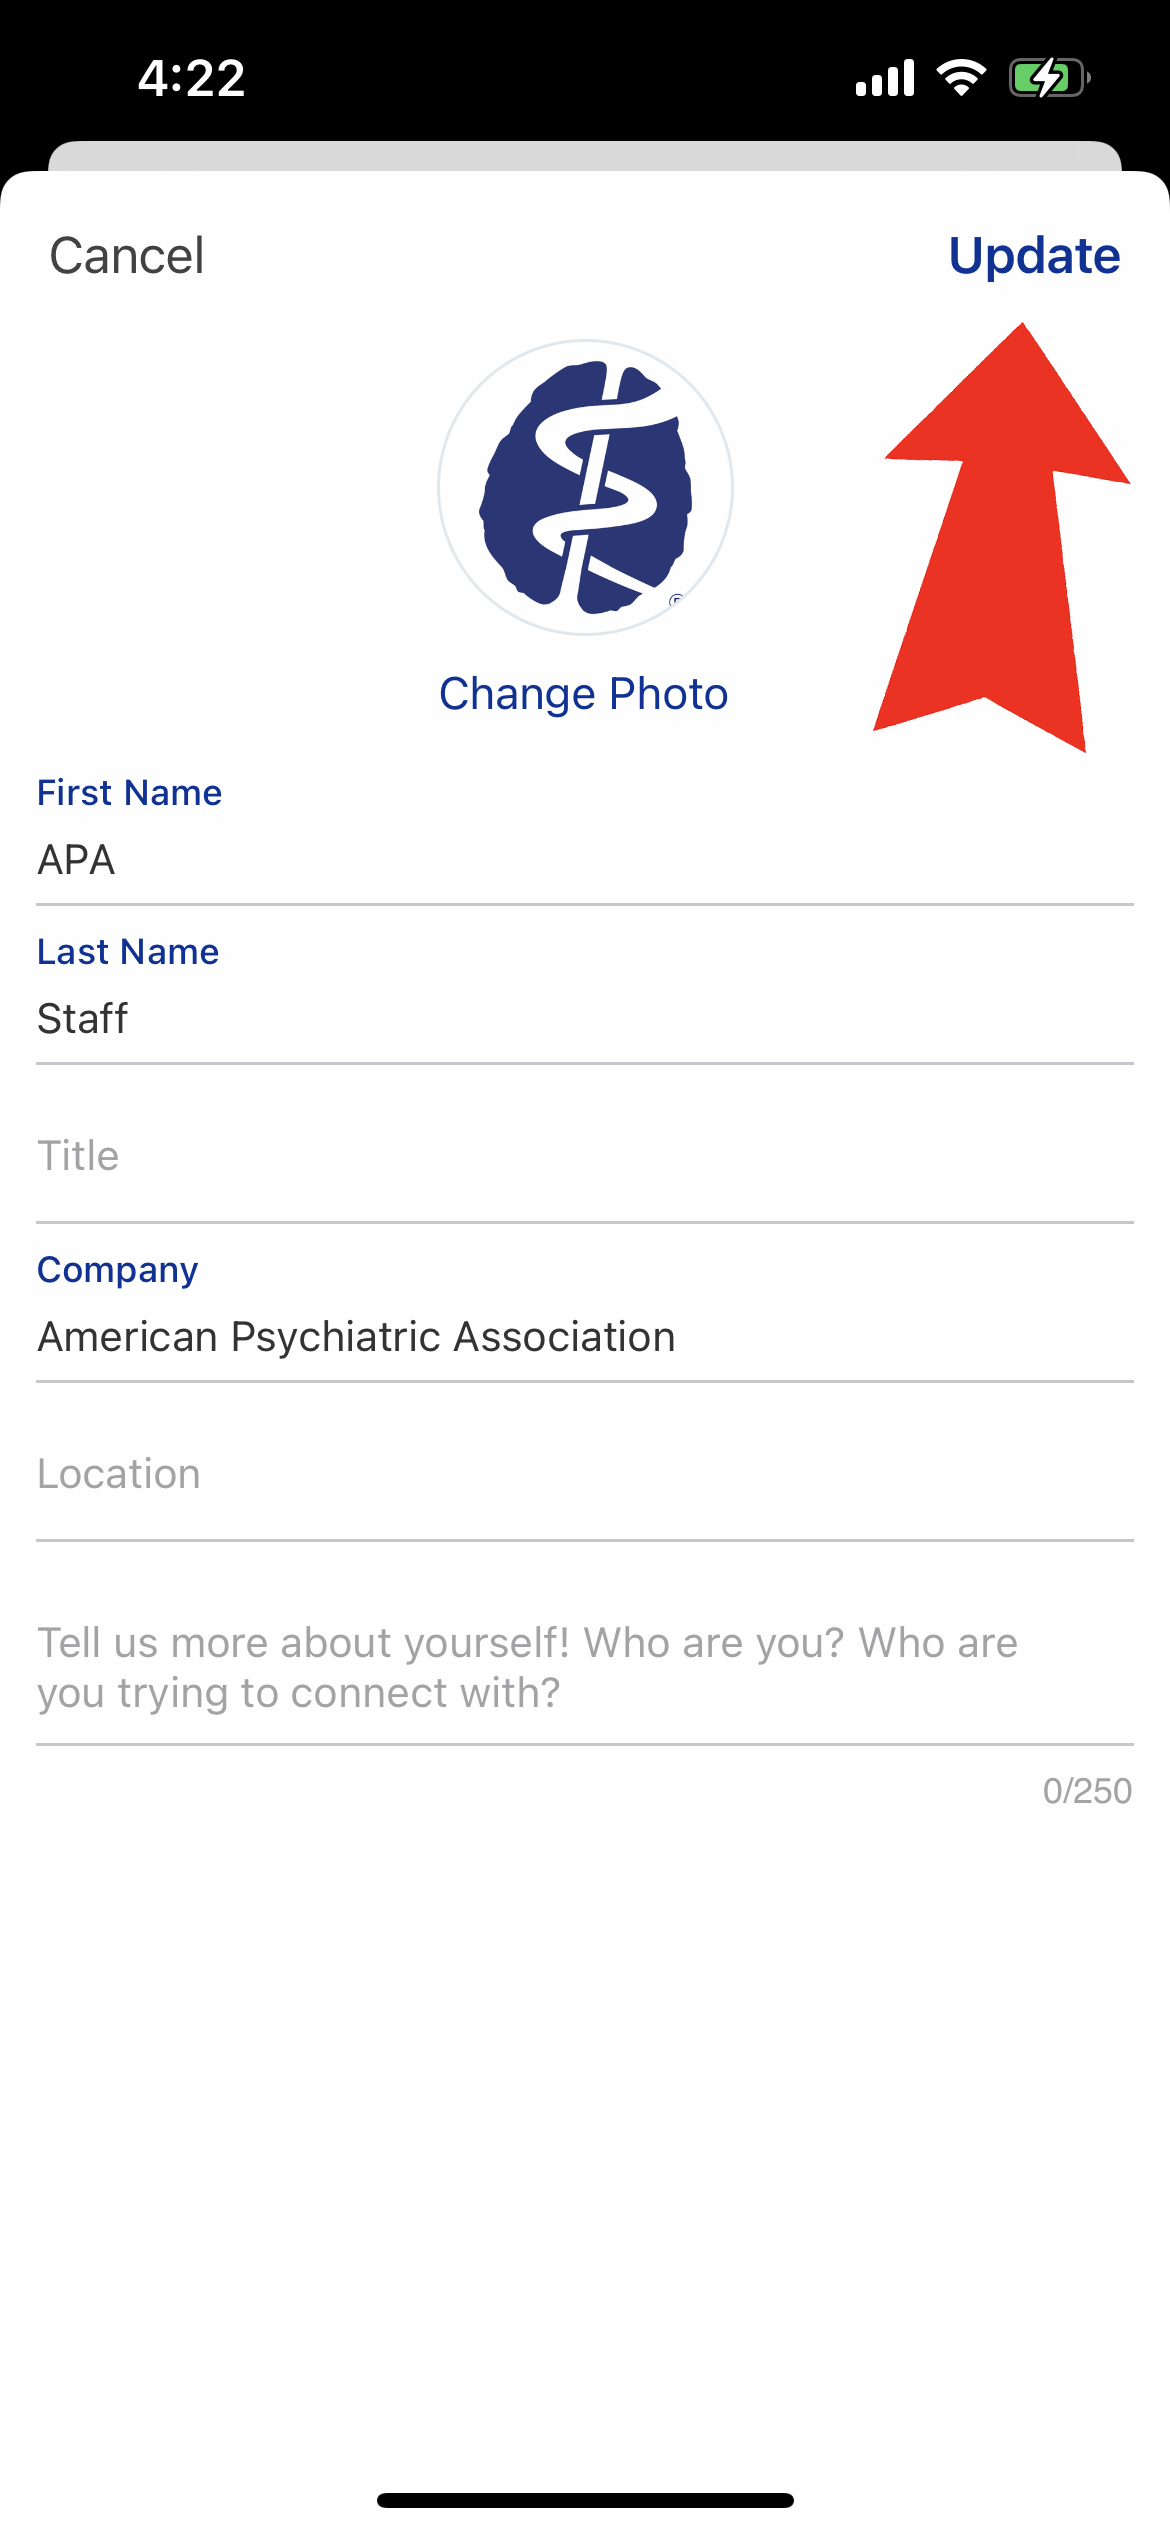
Step 4 of 5: Tap the fields to edit your name, title, company/organization, location and bio. Tap the "Change Photo" link to change your profile photo. When you are done, tap the "Update" link in the top right corner.
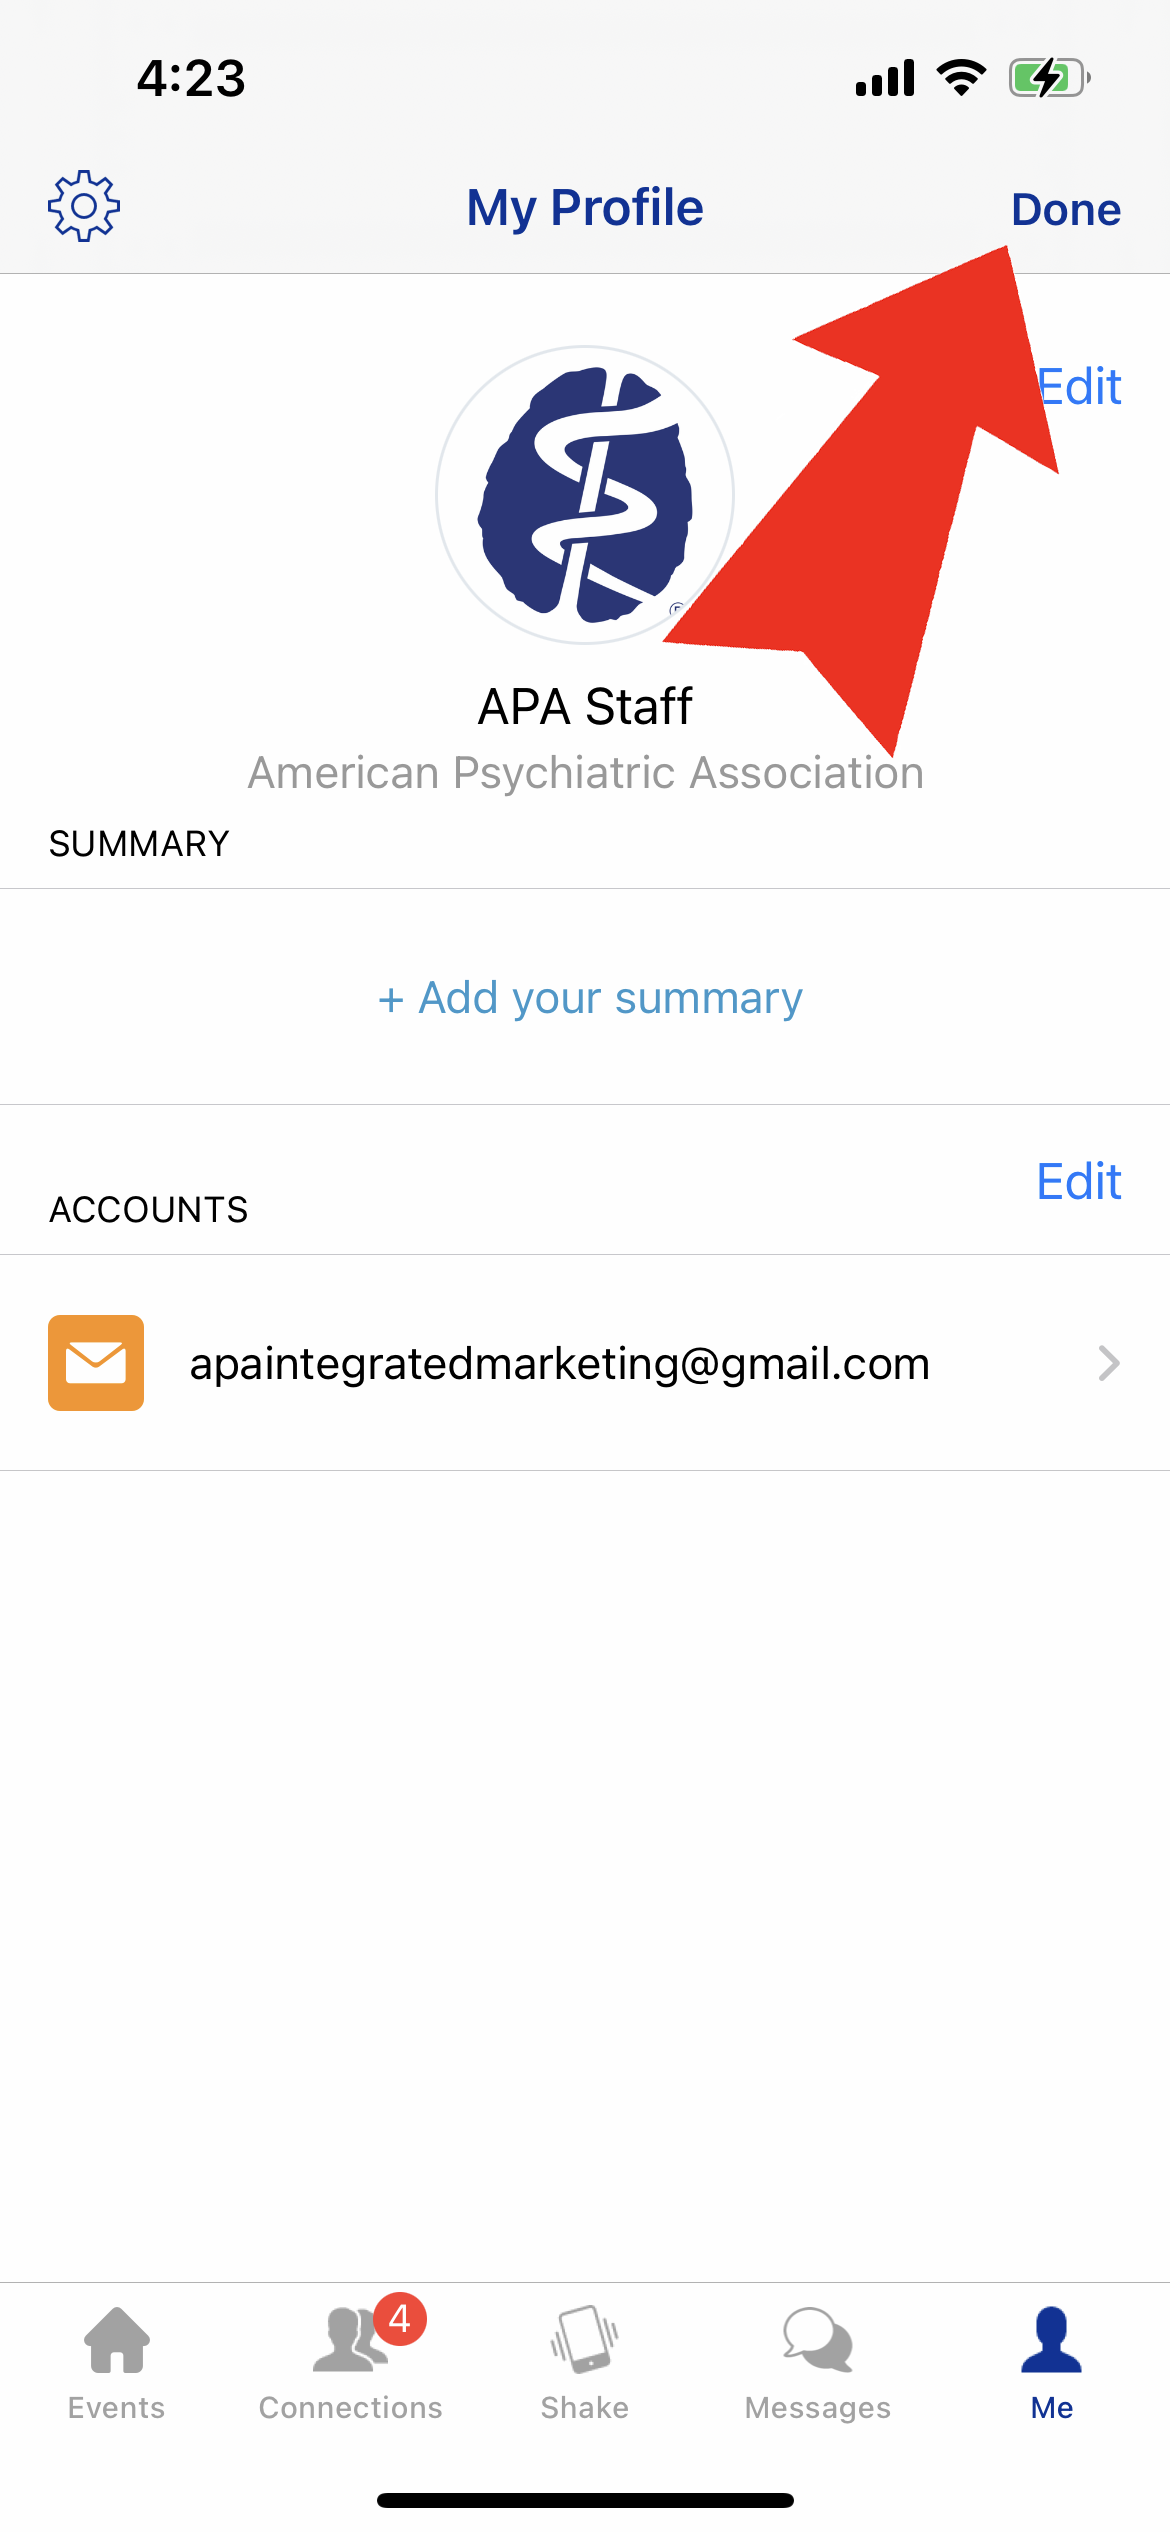
Step 5 of 5: Tap the "Done" link in the top right corner. Use the bottom navigation pane to navigate back to the app meeting content.
Your profile information, including name, title, and bio are visible to all attendees in the app. Your contact information is only visible to those attendees you have mutually connected with in the app.
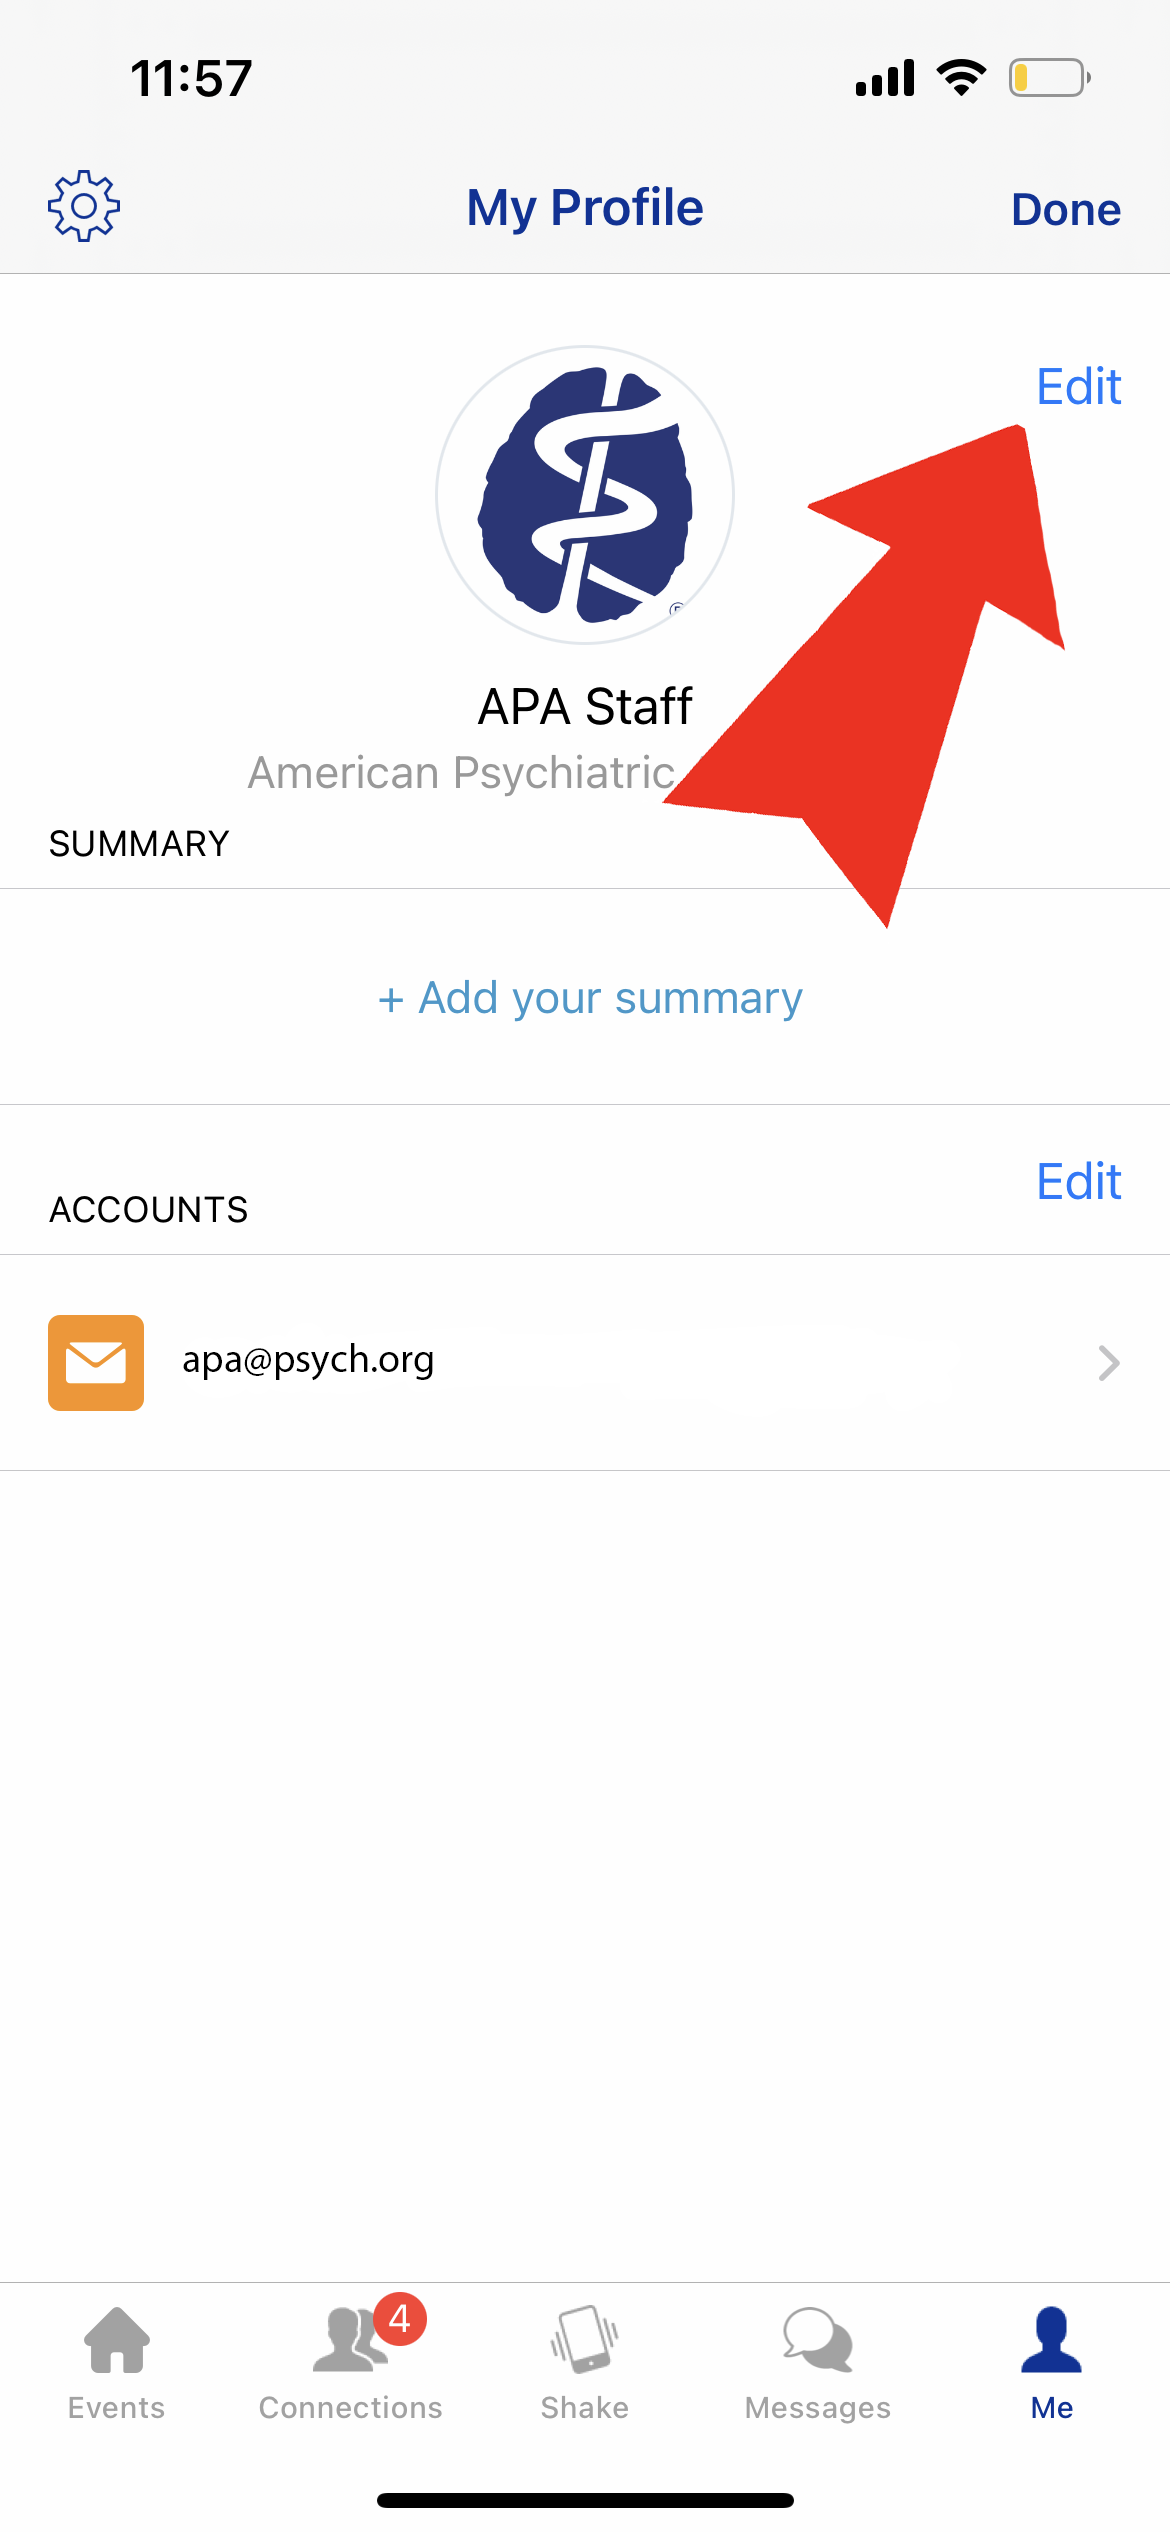
Step 1 of 7: Tap the "Me" icon on the bottom navigation pane.
Step 2 of 7: Tap the "Edit" link in the top right corner of the screen.
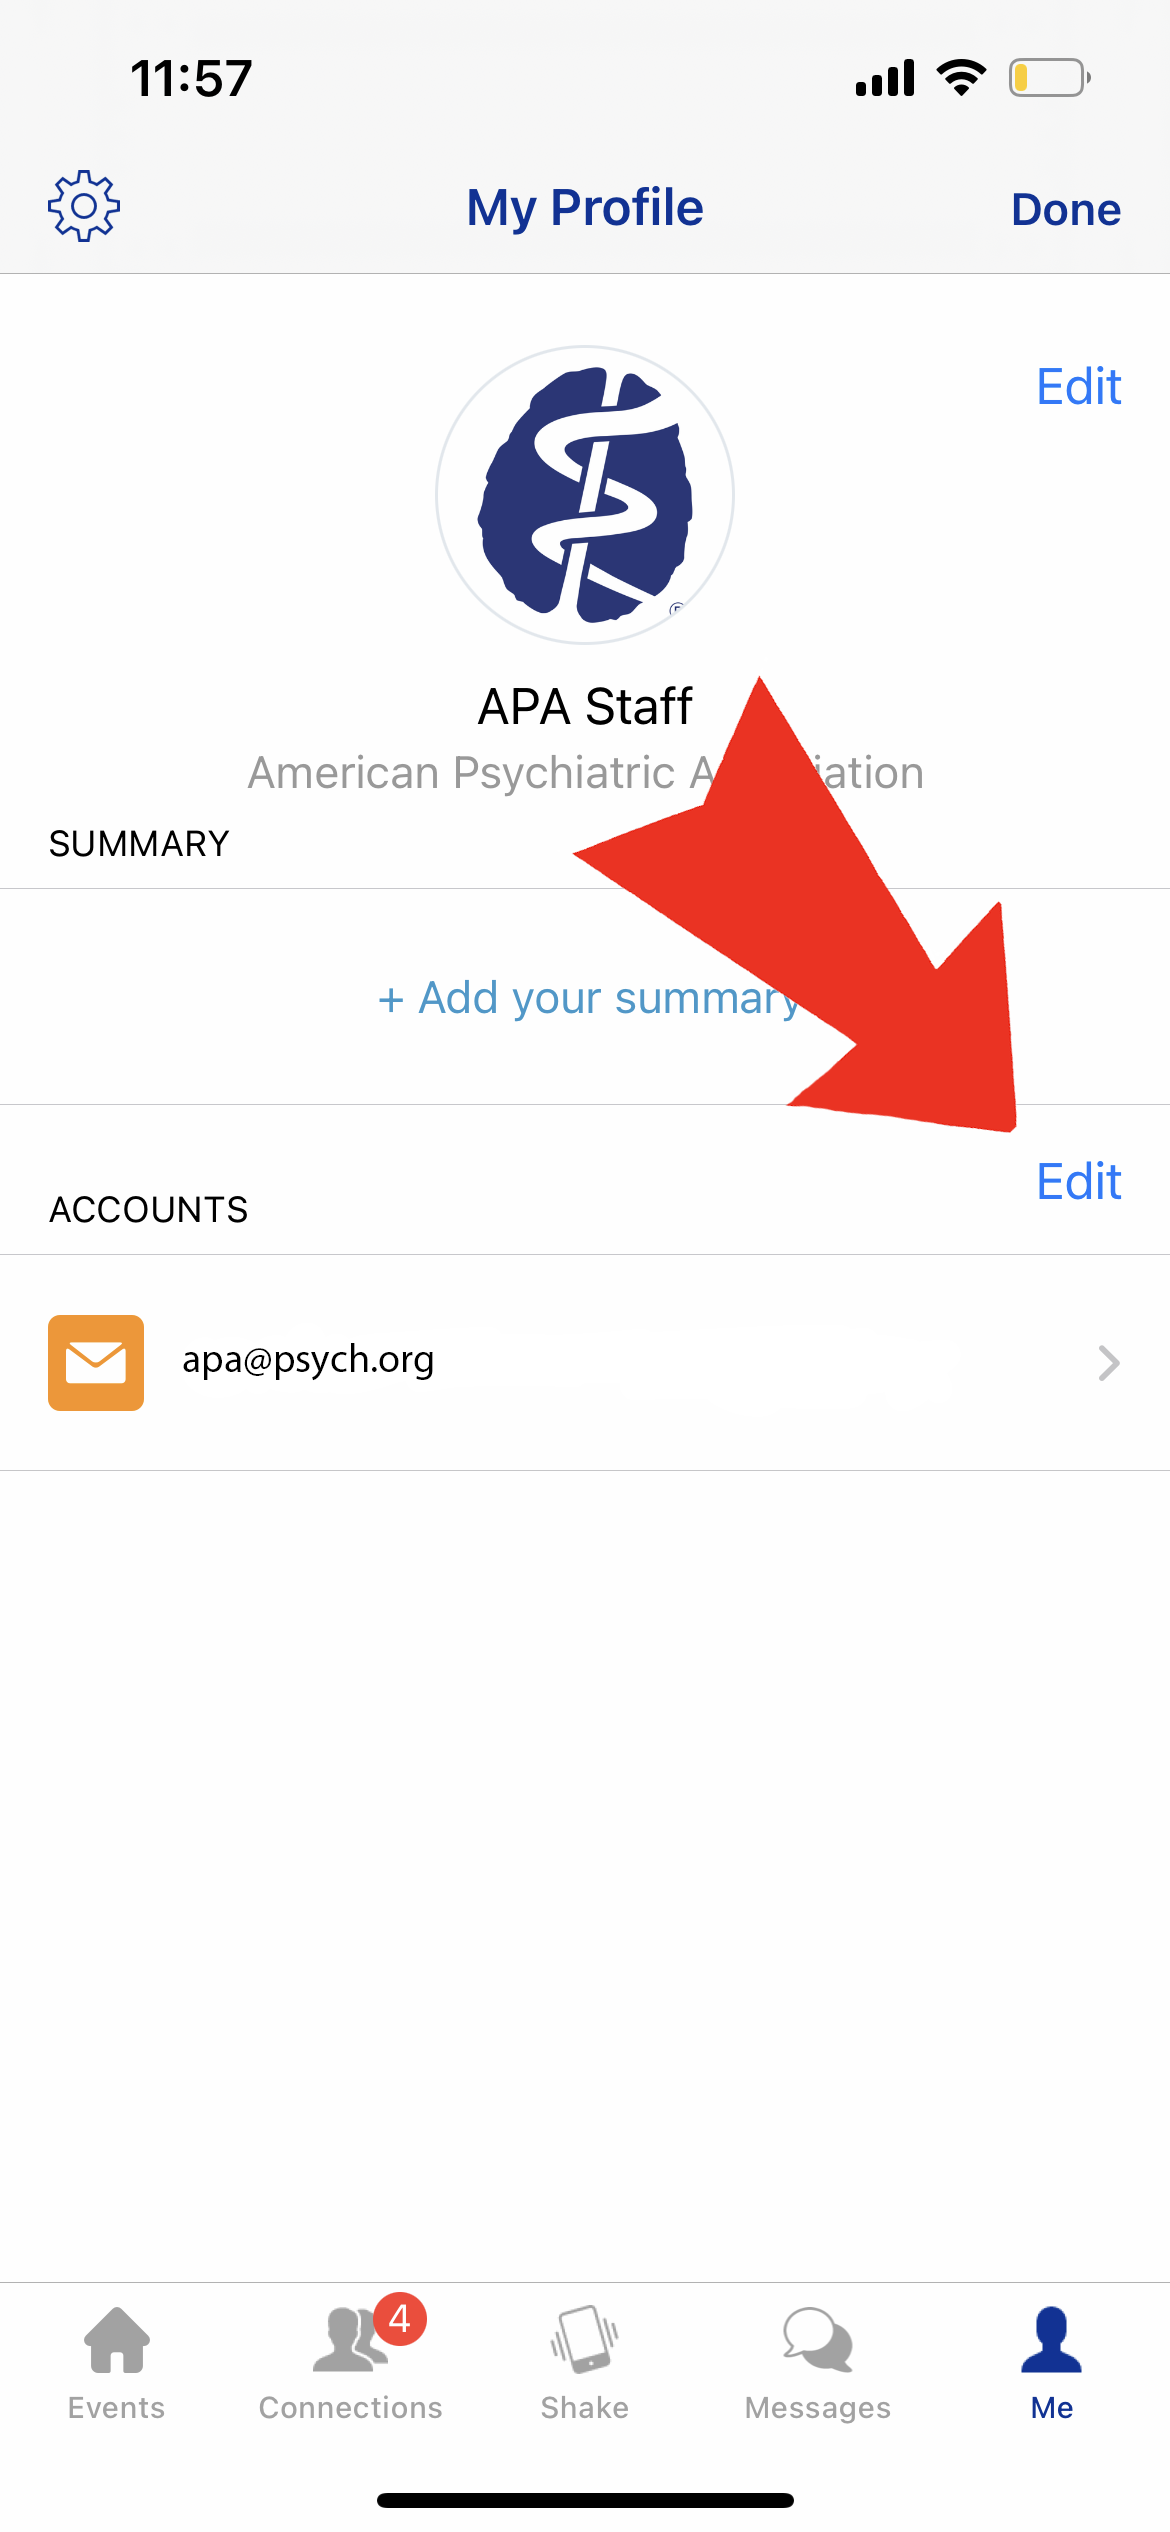
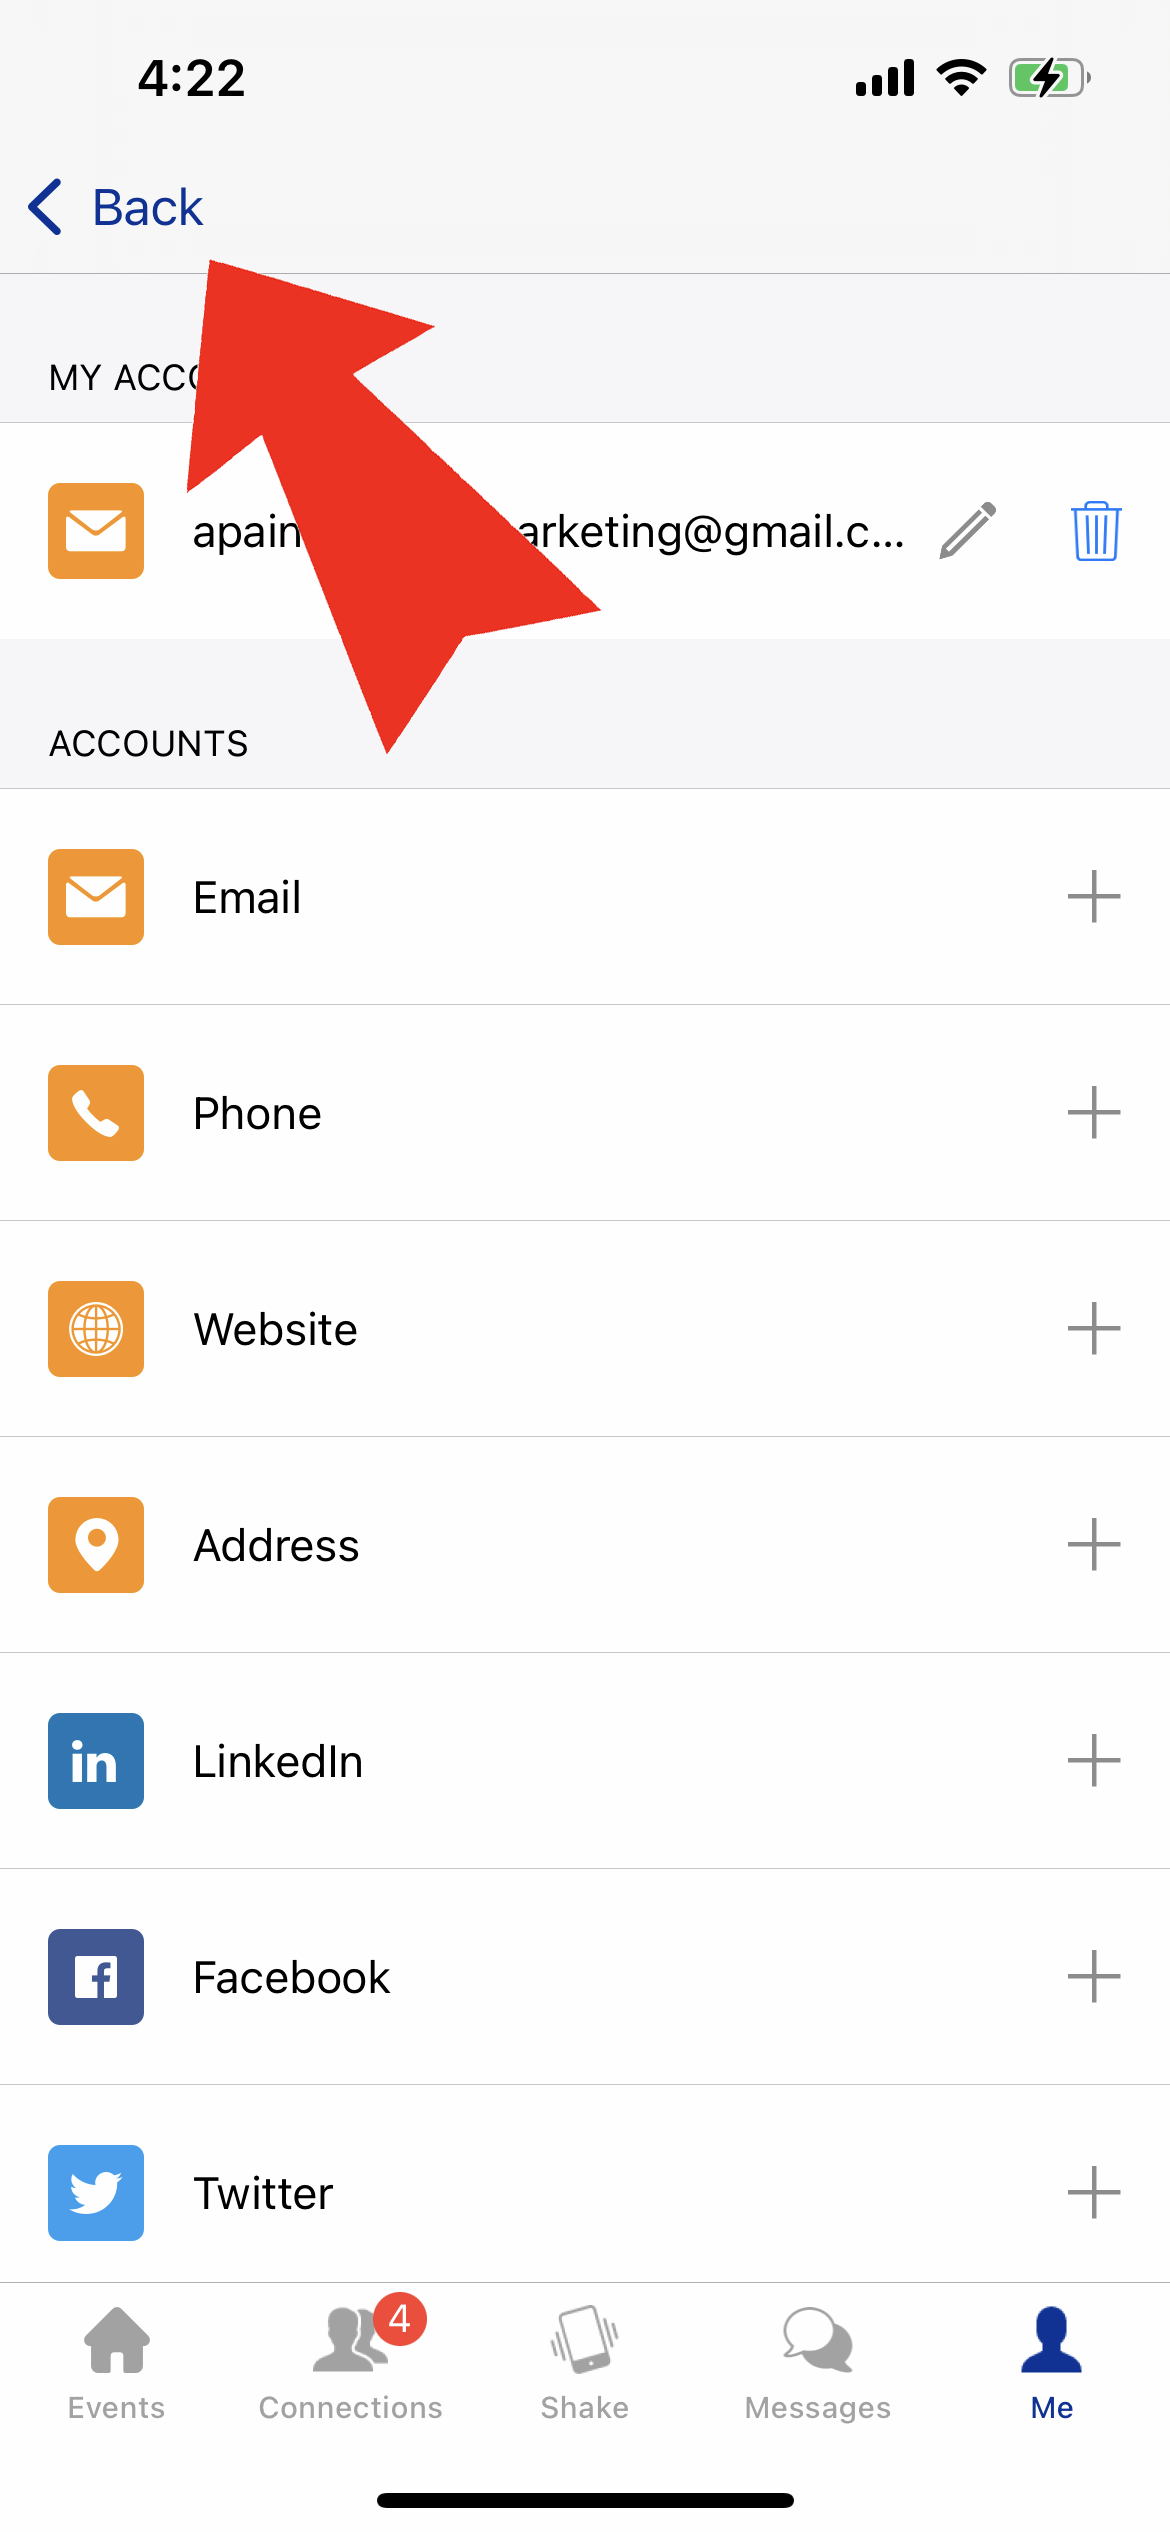
Step 3 of 7: Tap the "Edit" link next to the Accounts field.
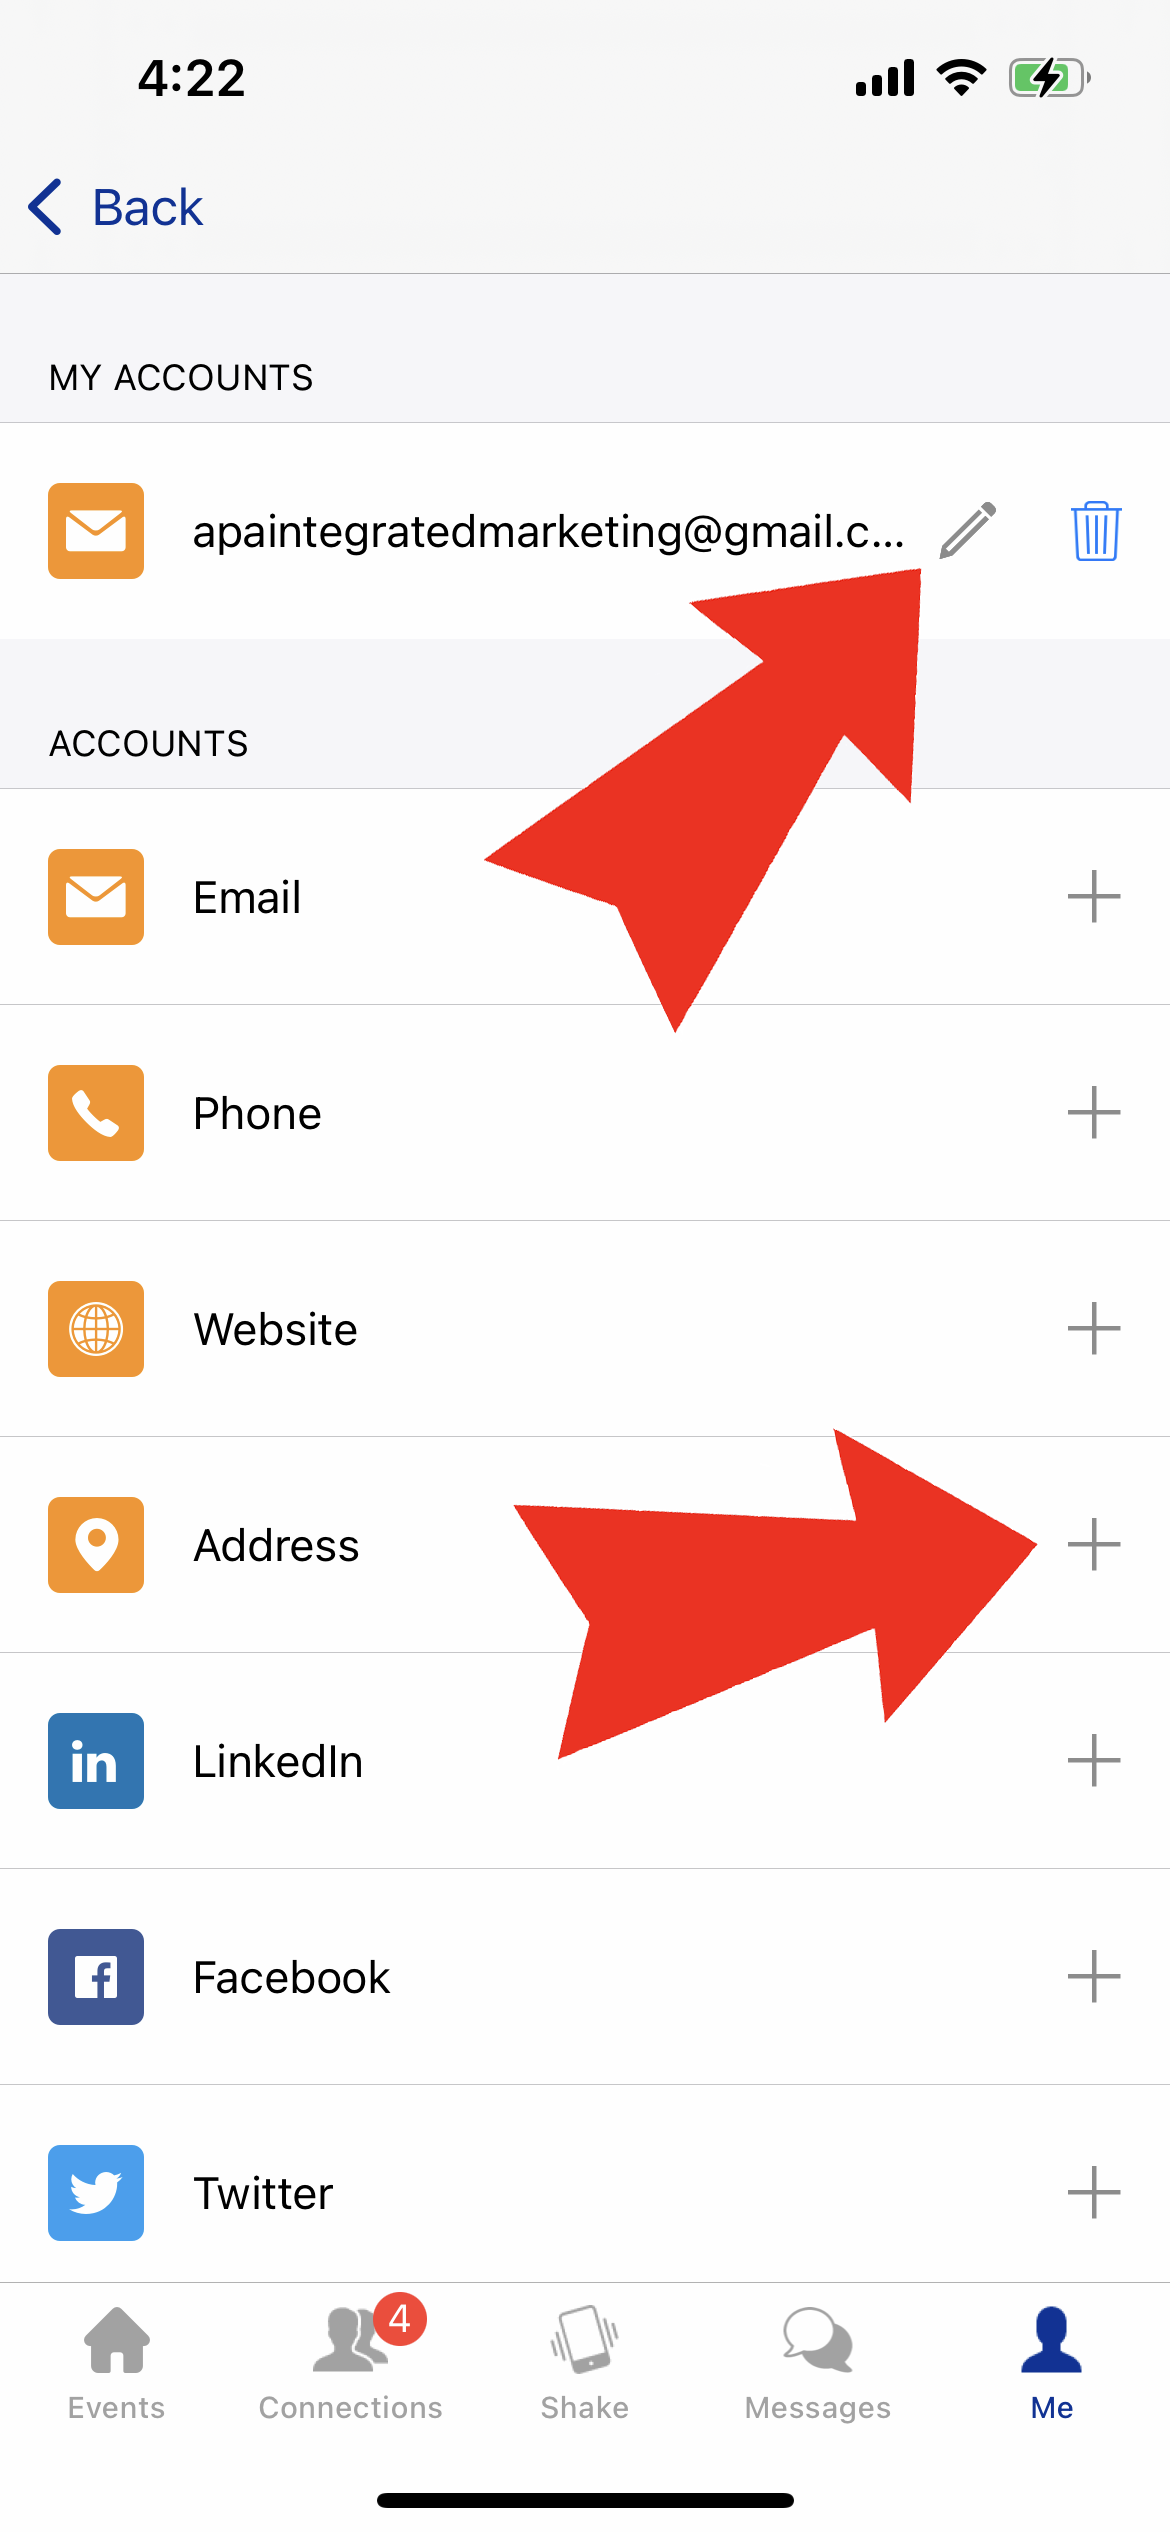
Step 4 of 7: Tap the pencil icon to edit already added contact information. Tap the "+" icons to add additional contact accounts from email, phone, website, address, LinkedIn, Facebook and more.
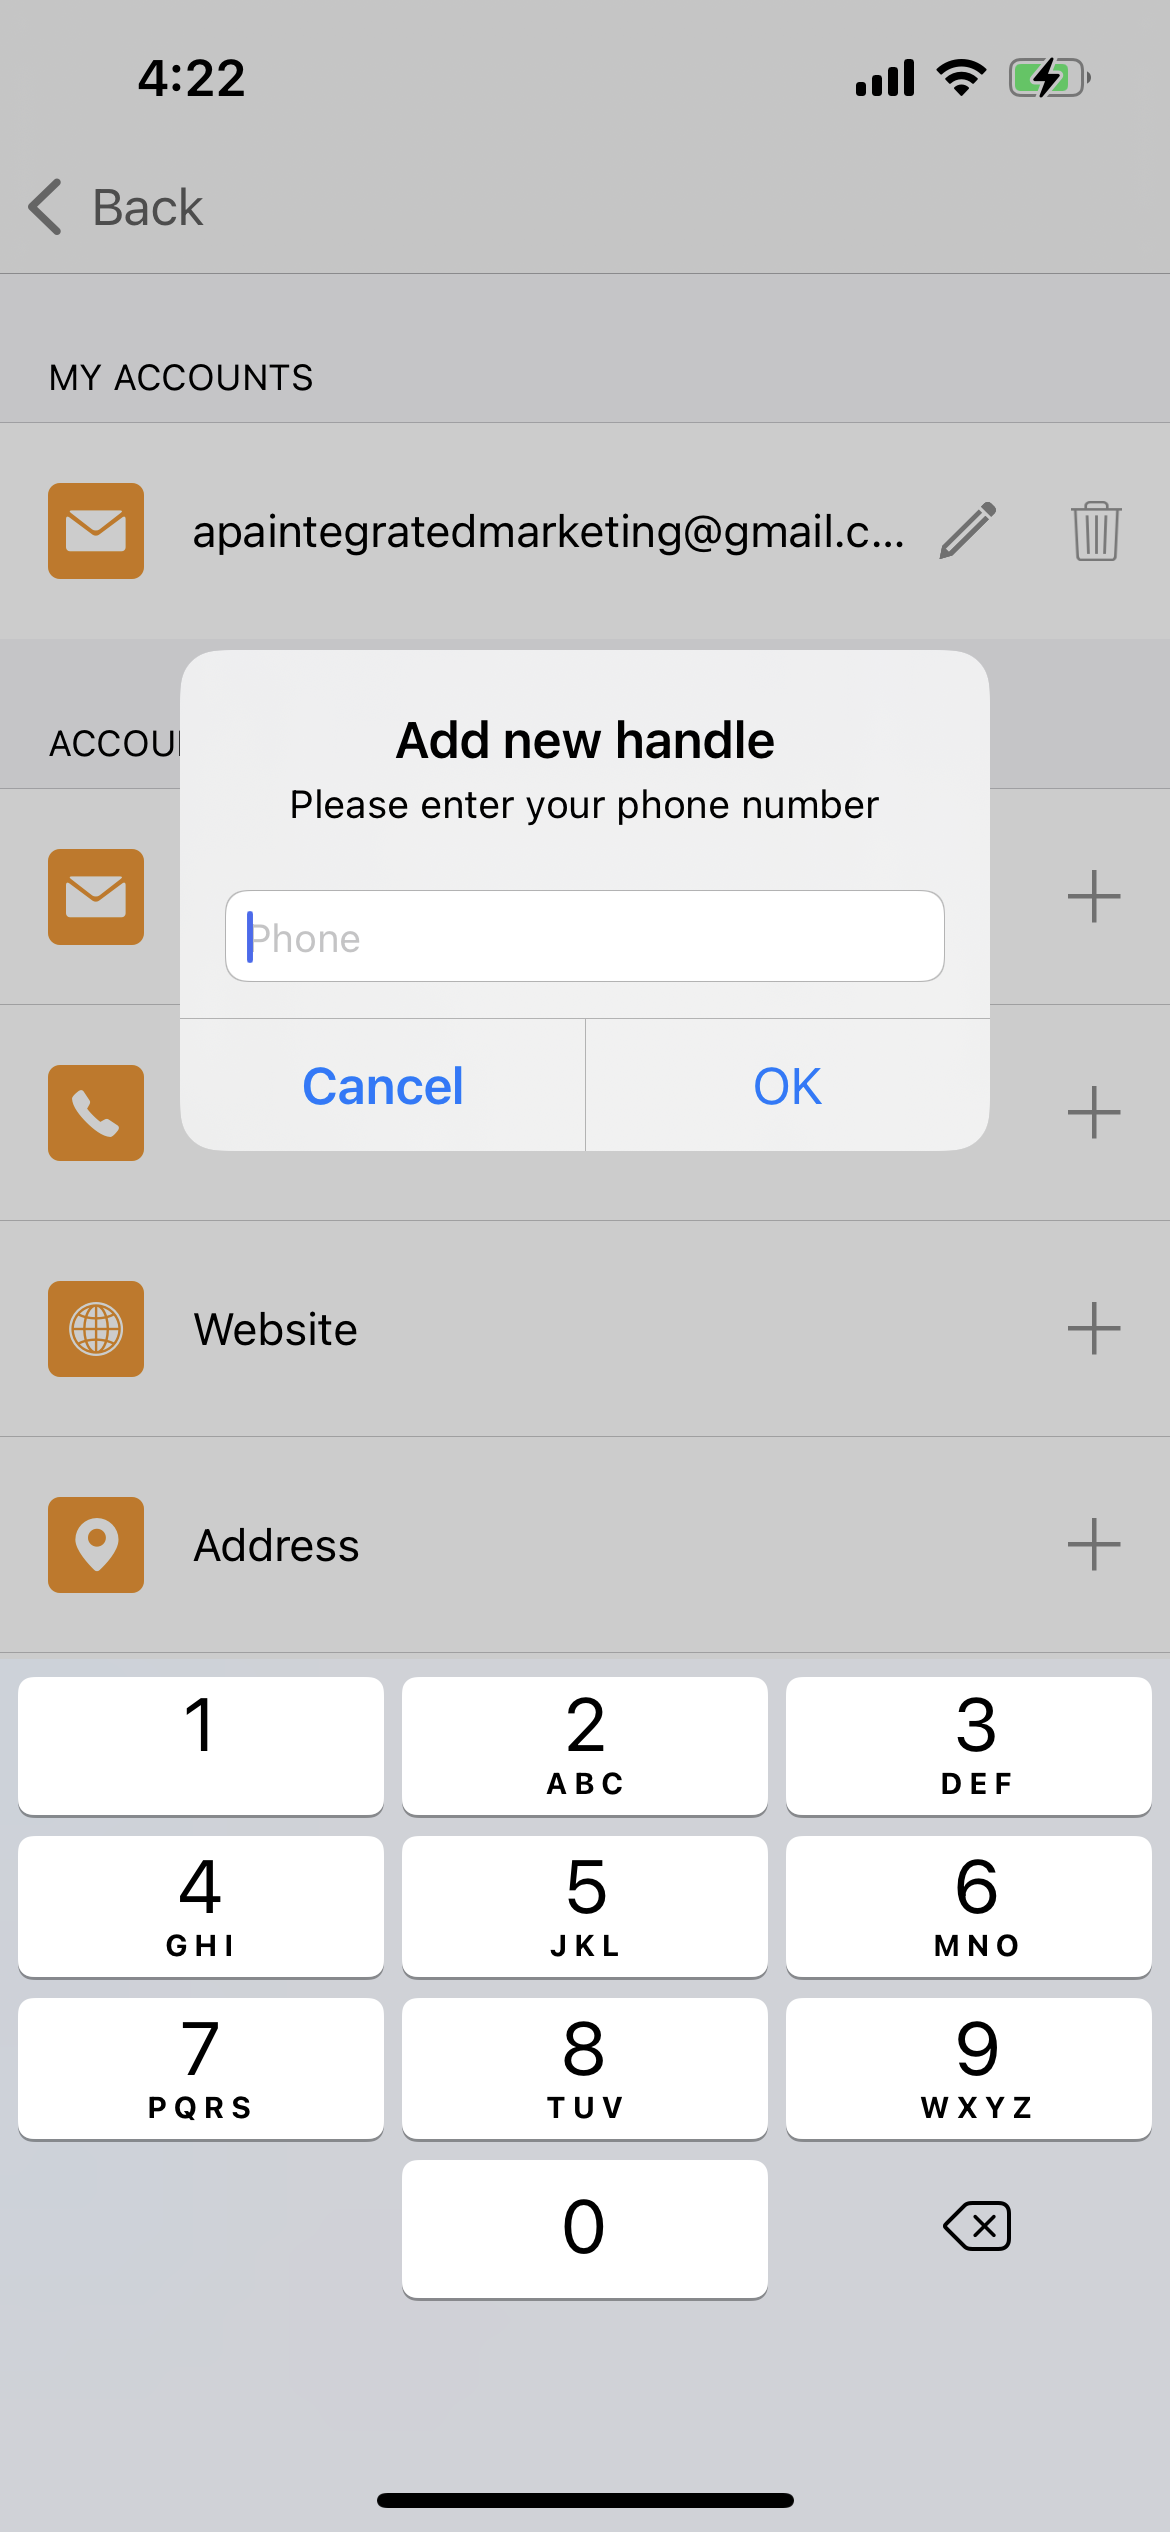
Step 5 of 7: When you select the "+" icon to add a contact field, a pop up will prompt you to enter your relevant contact information. For social media accounts, you will be requested to add the sharable profile URL to your account.
Step 6 of 7: Tap the "Back link in the top left corner.
Step 7 of 7: Tap the "Done" link in the top right corner. Use the bottom navigation pane to navigate back to the app meeting content.
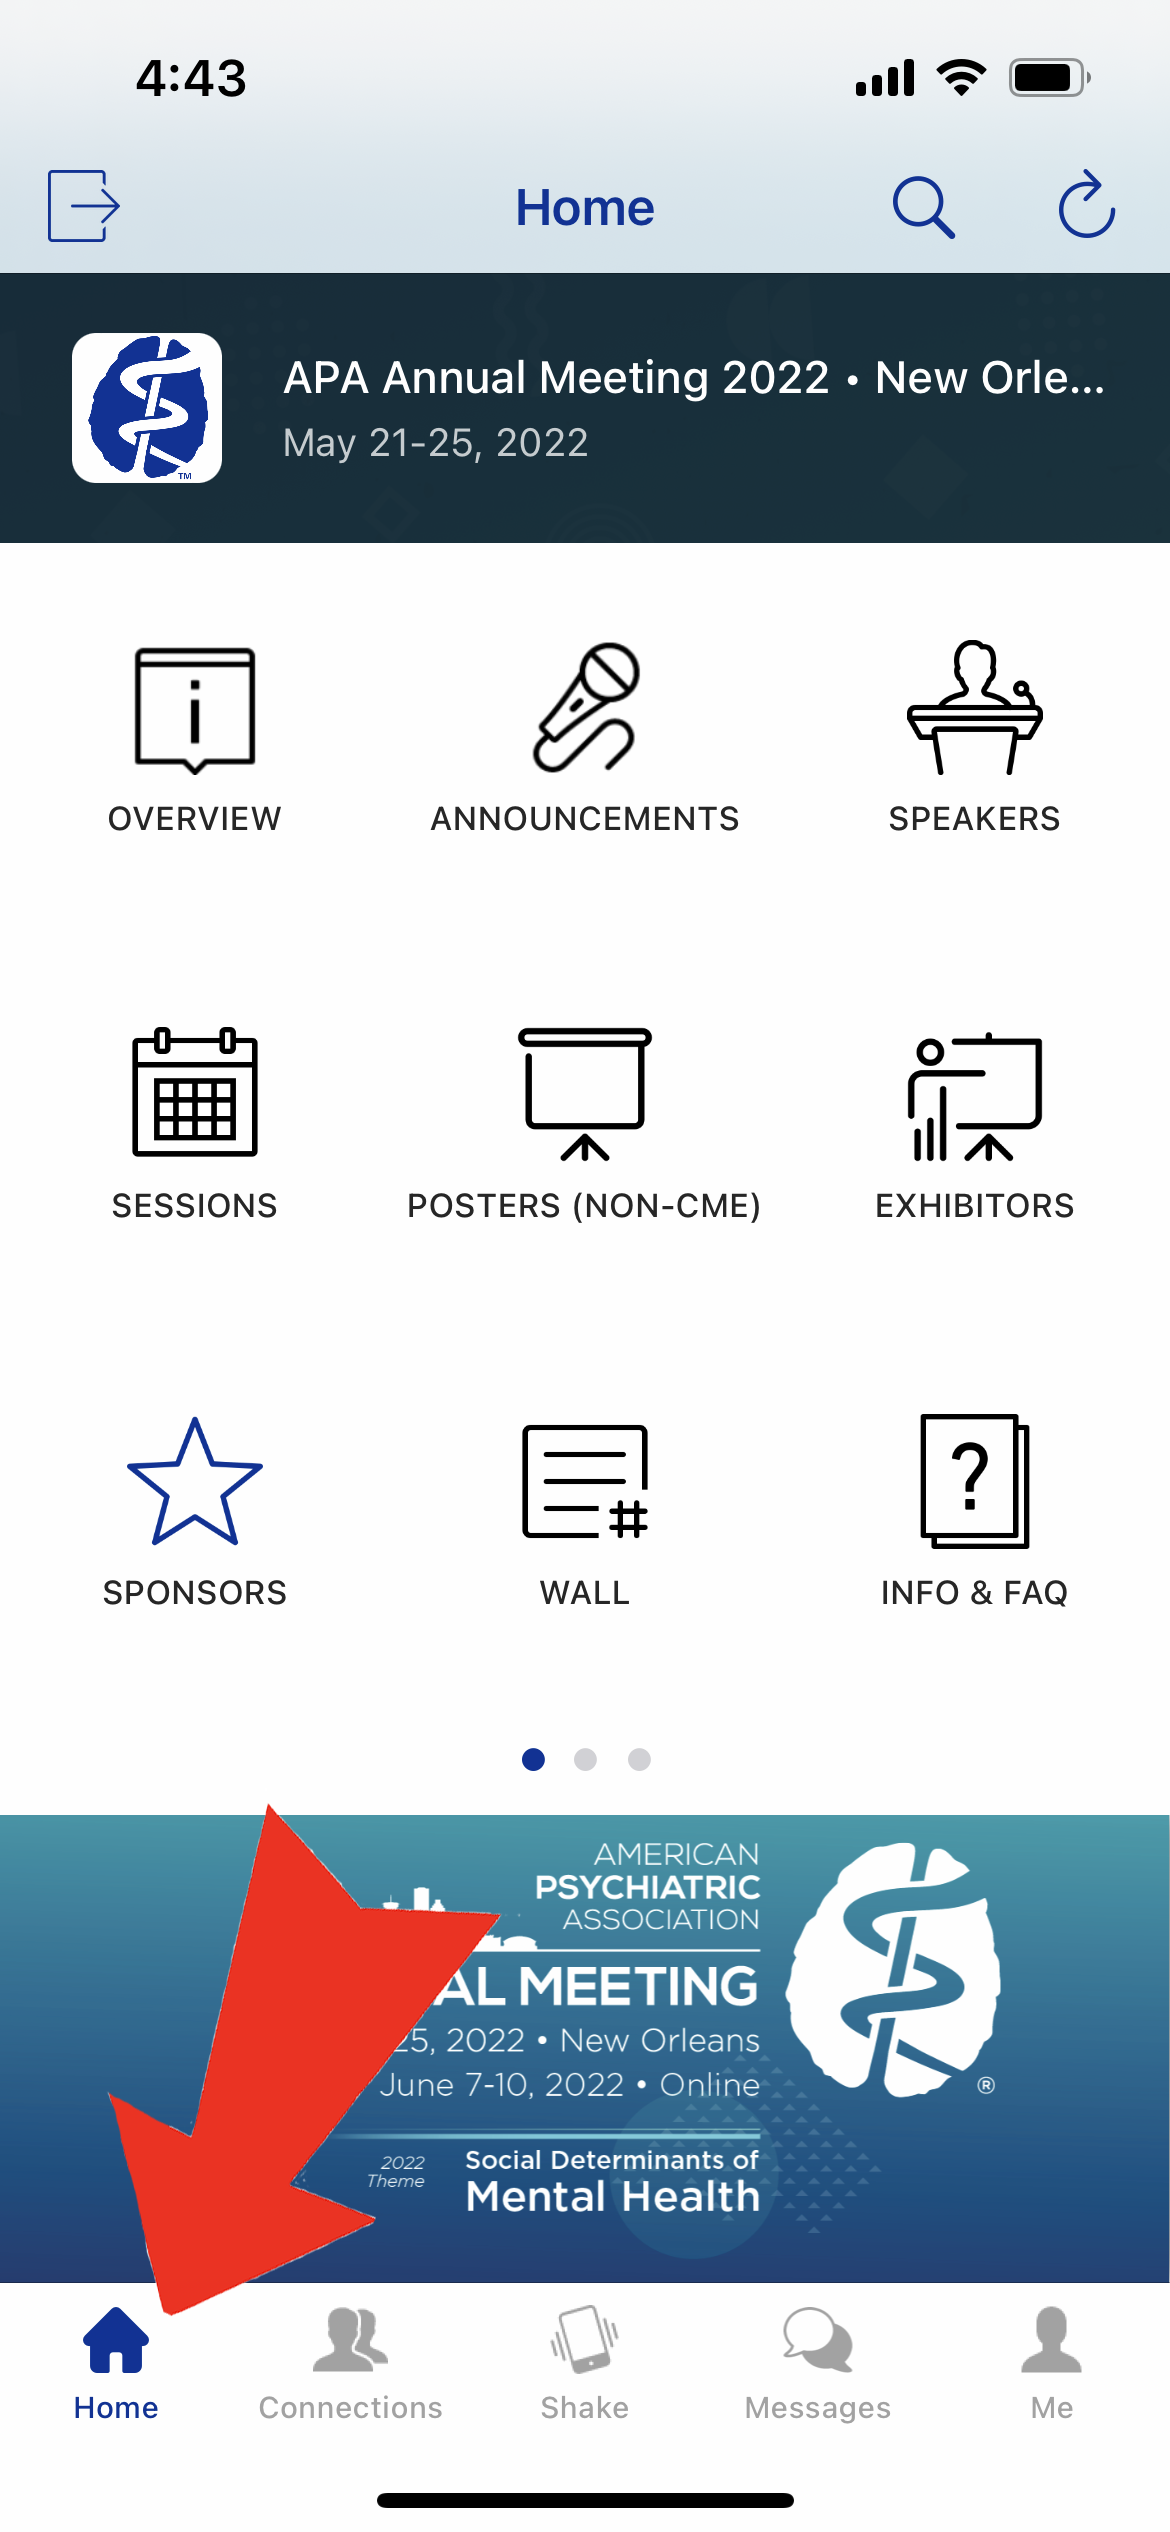
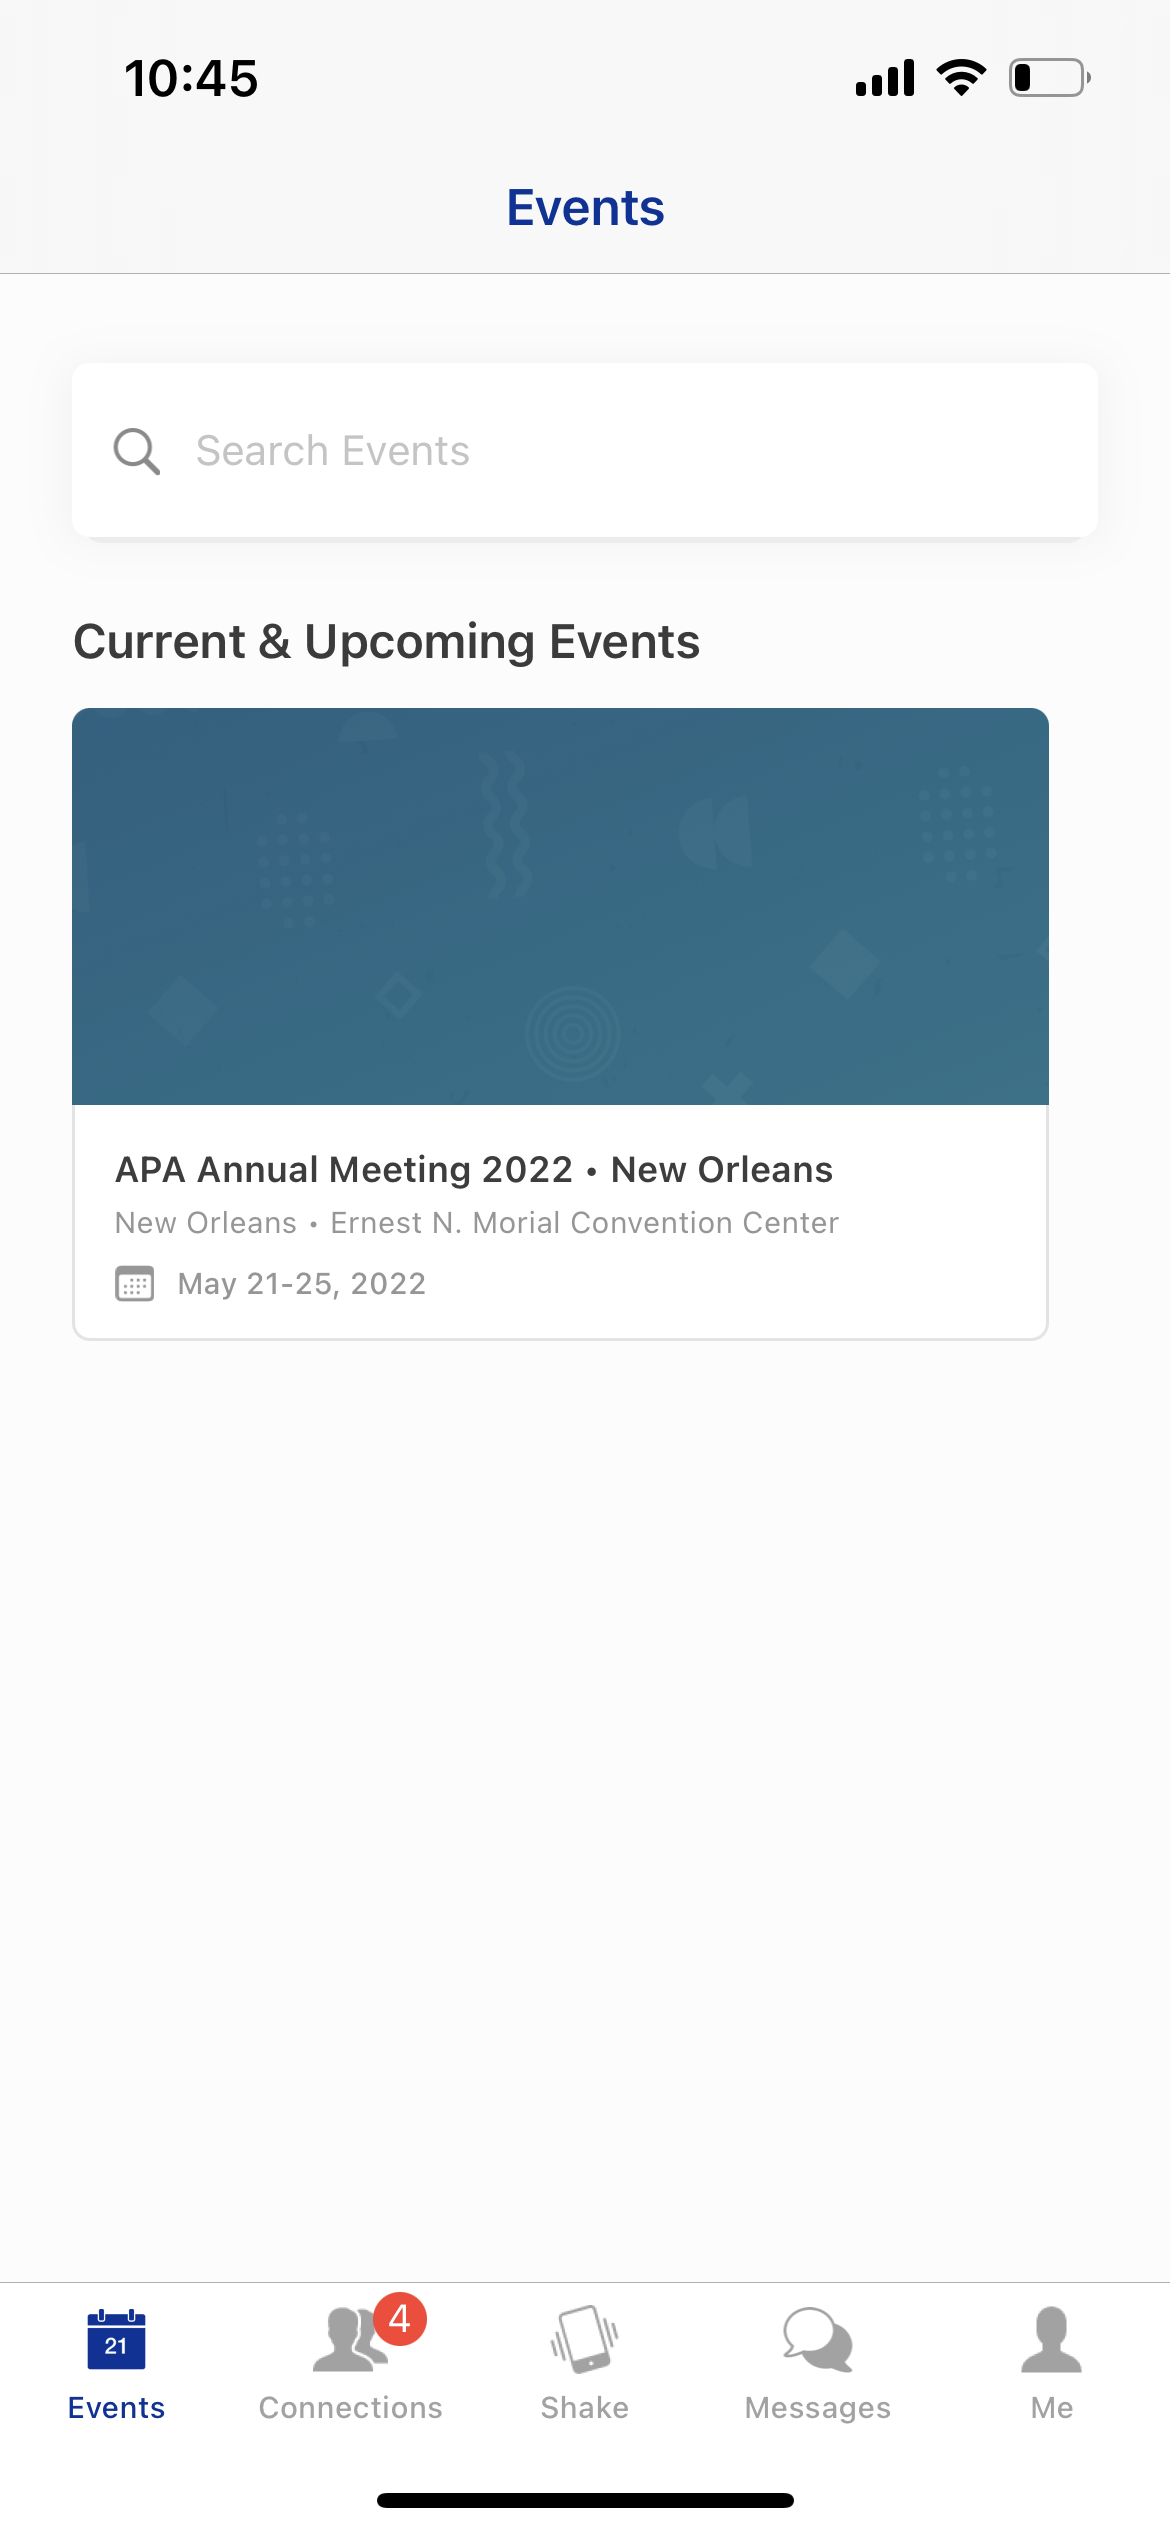
Step 1 of 1: Tap the "Home" icon in the bottom navigation pane to get back to the main app menu. You may have to tap the Home icon more than once to see the full menu screen.
Connect with Attendees
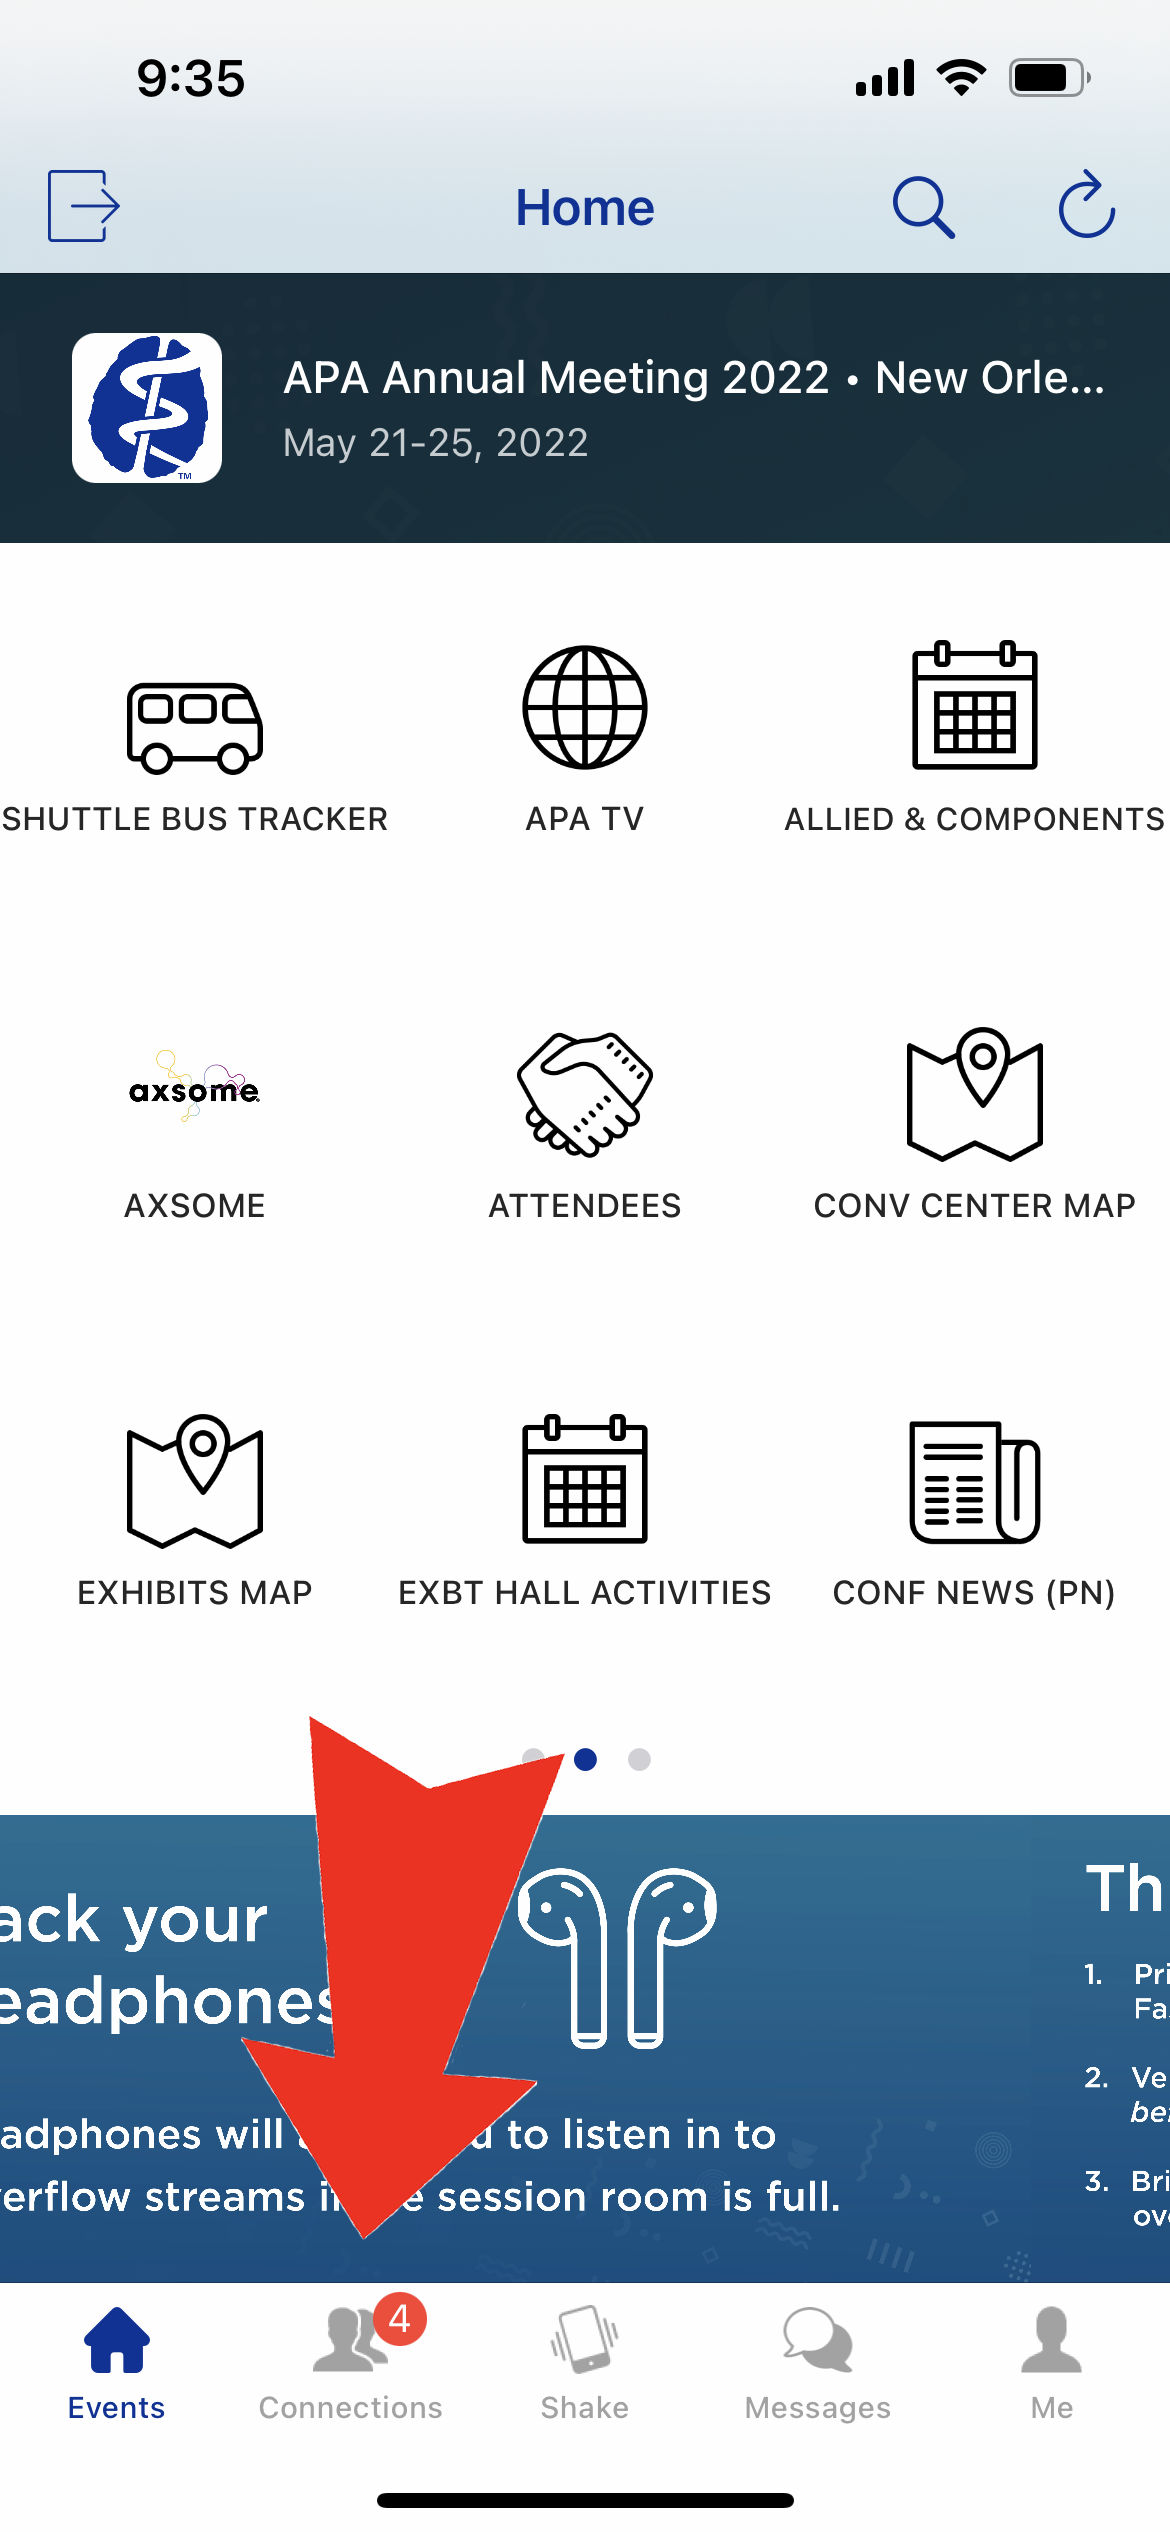
Step 1 of 5: On the home menu screen swipe the screen to the left to view more menu items.
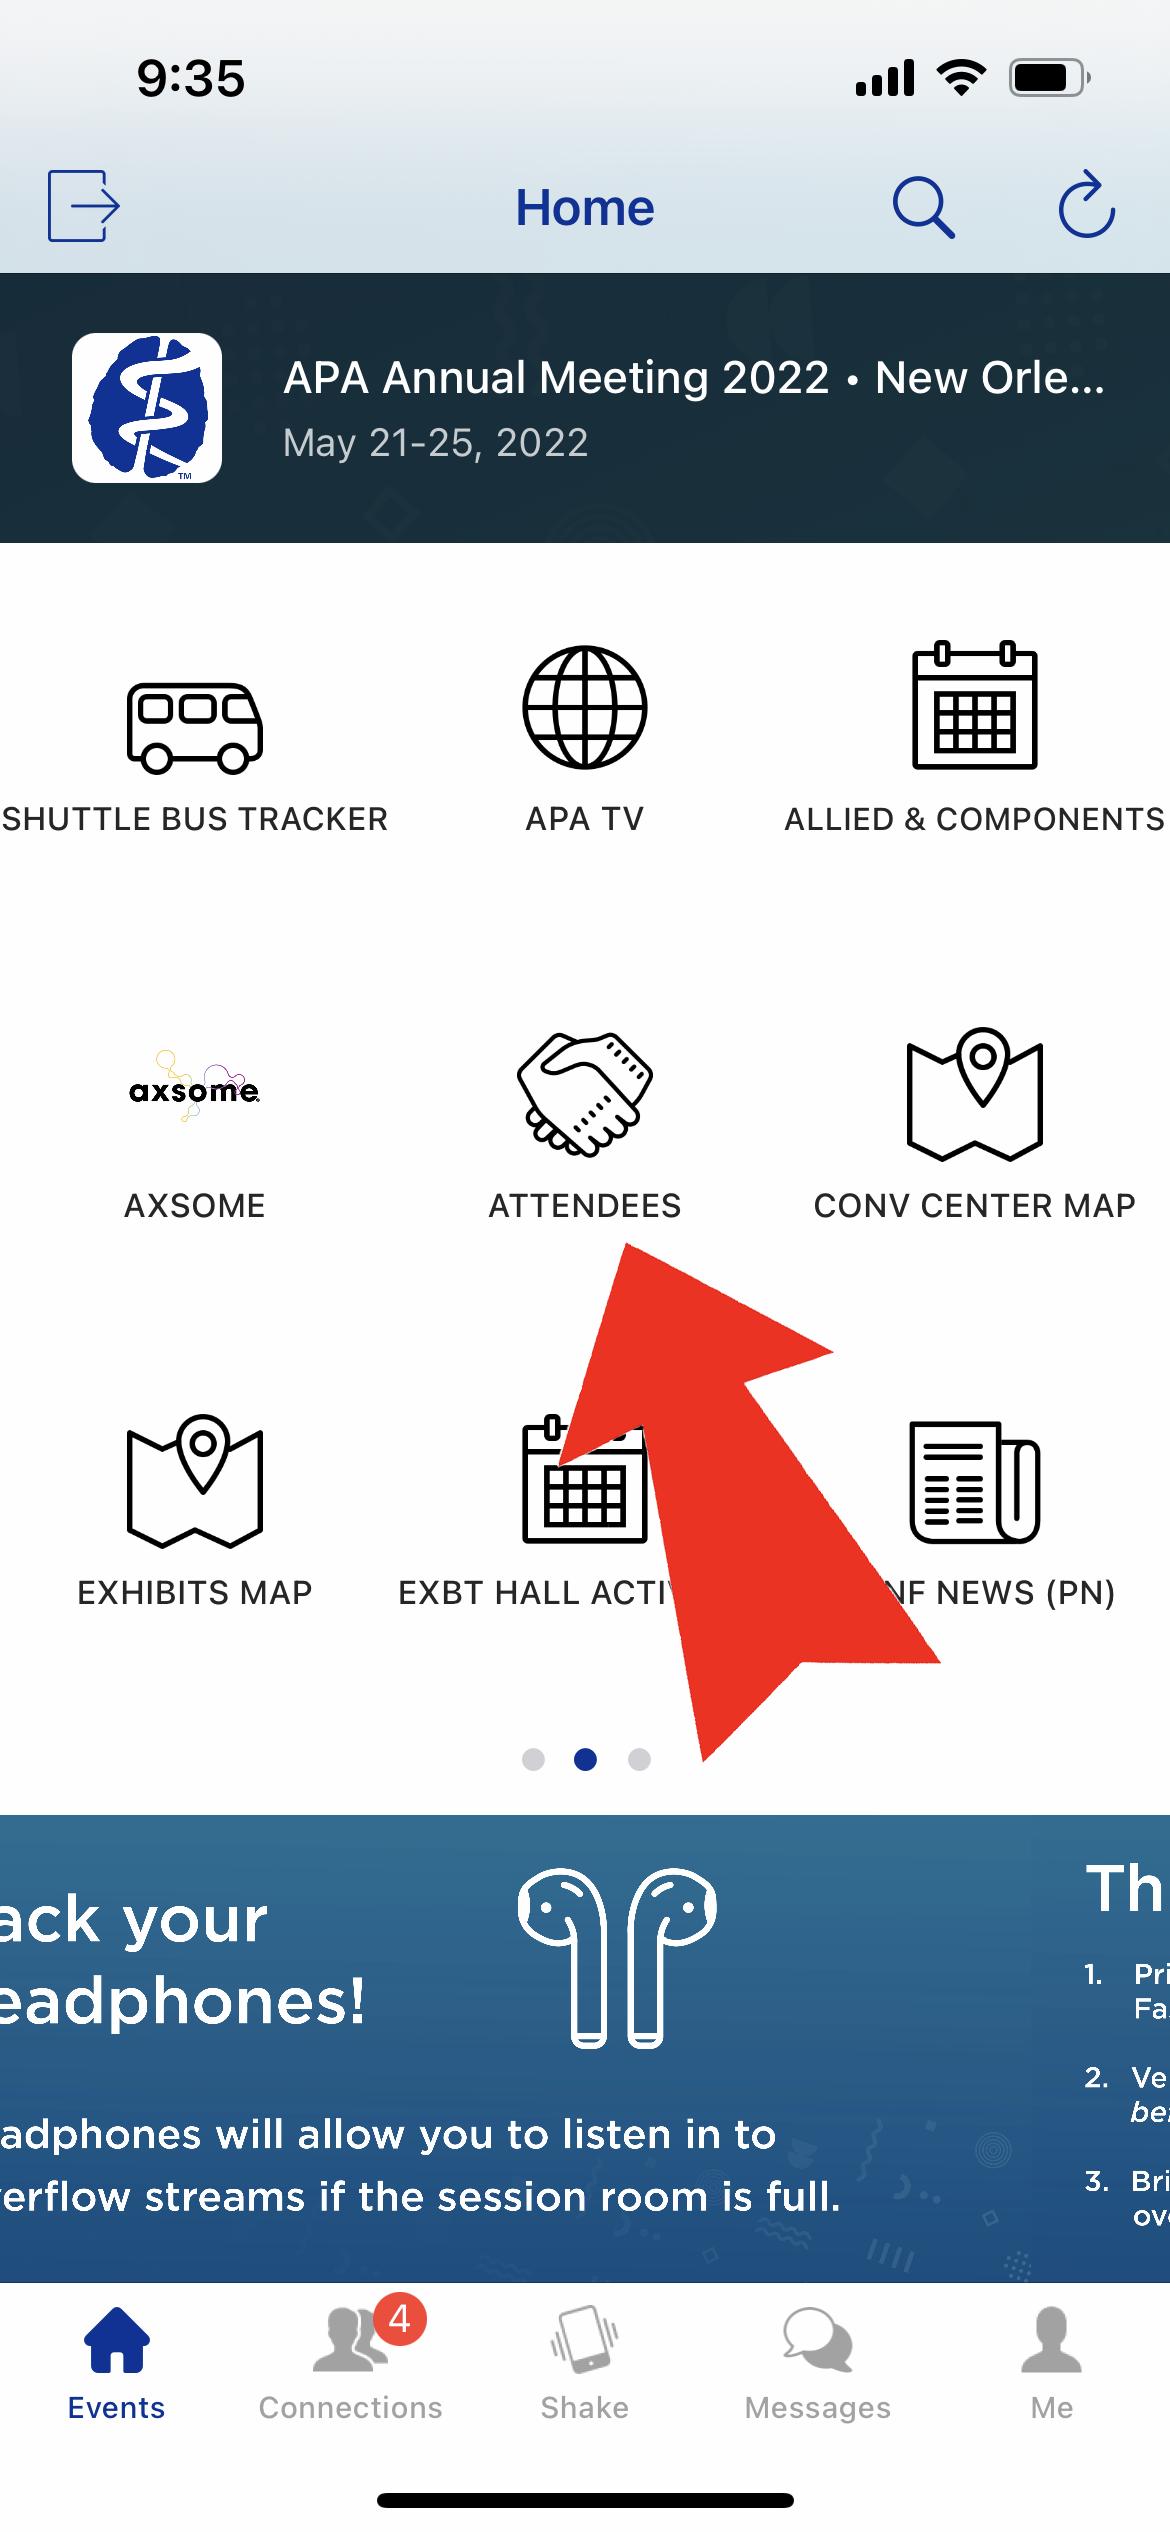
Step 2 of 5: Tap the "Attendees" icon.
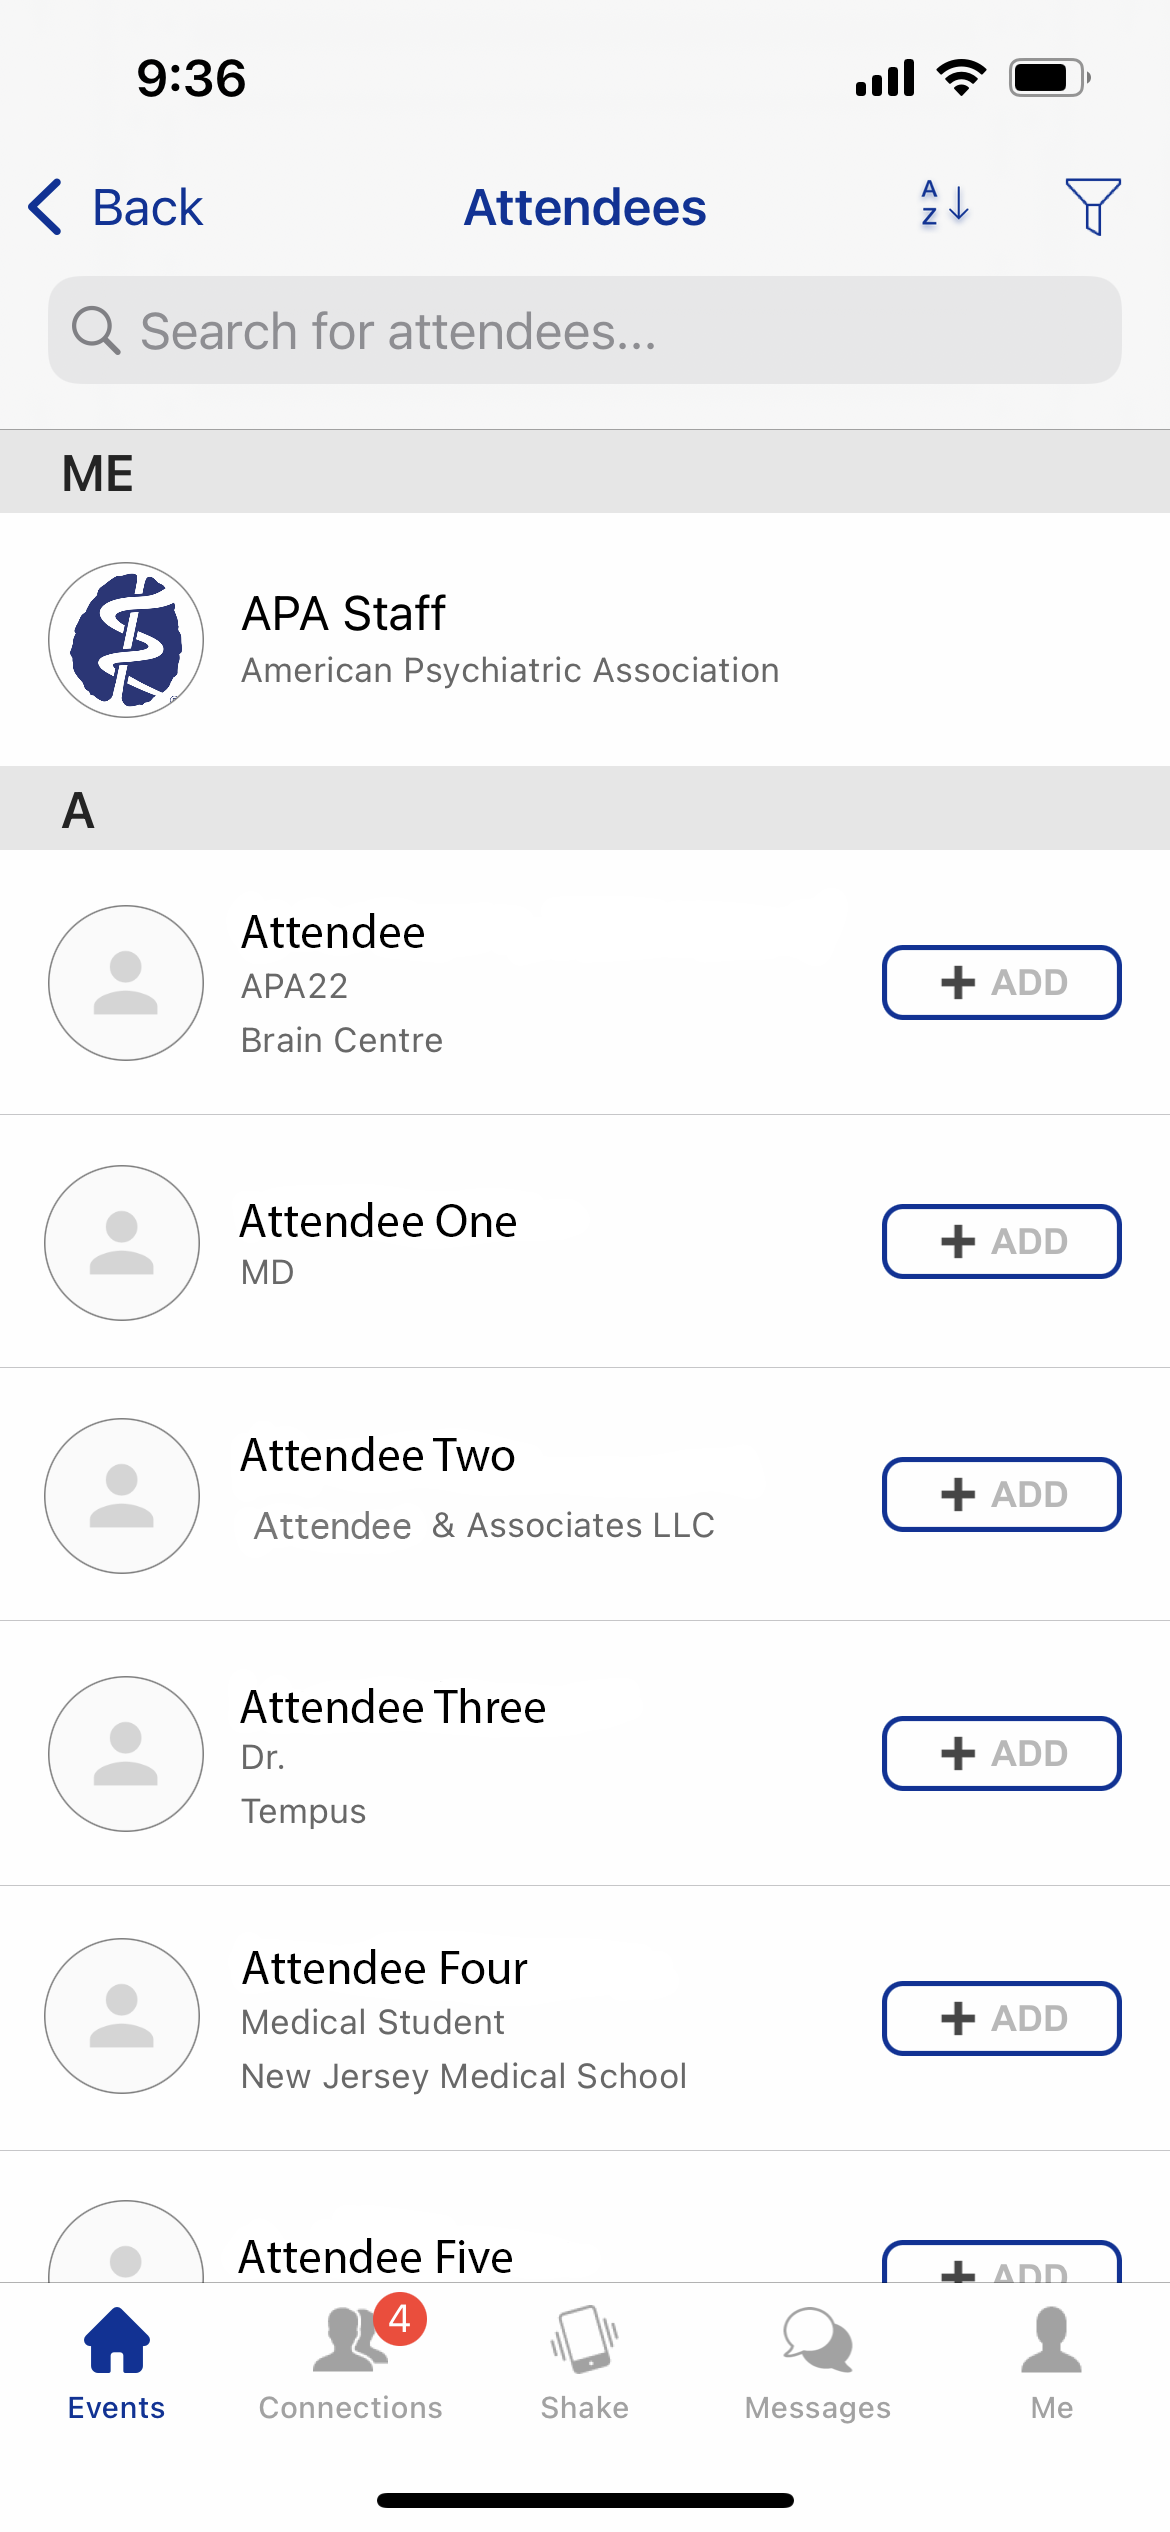
Step 3 of 5: Scroll through the list of attendees who are using the app.
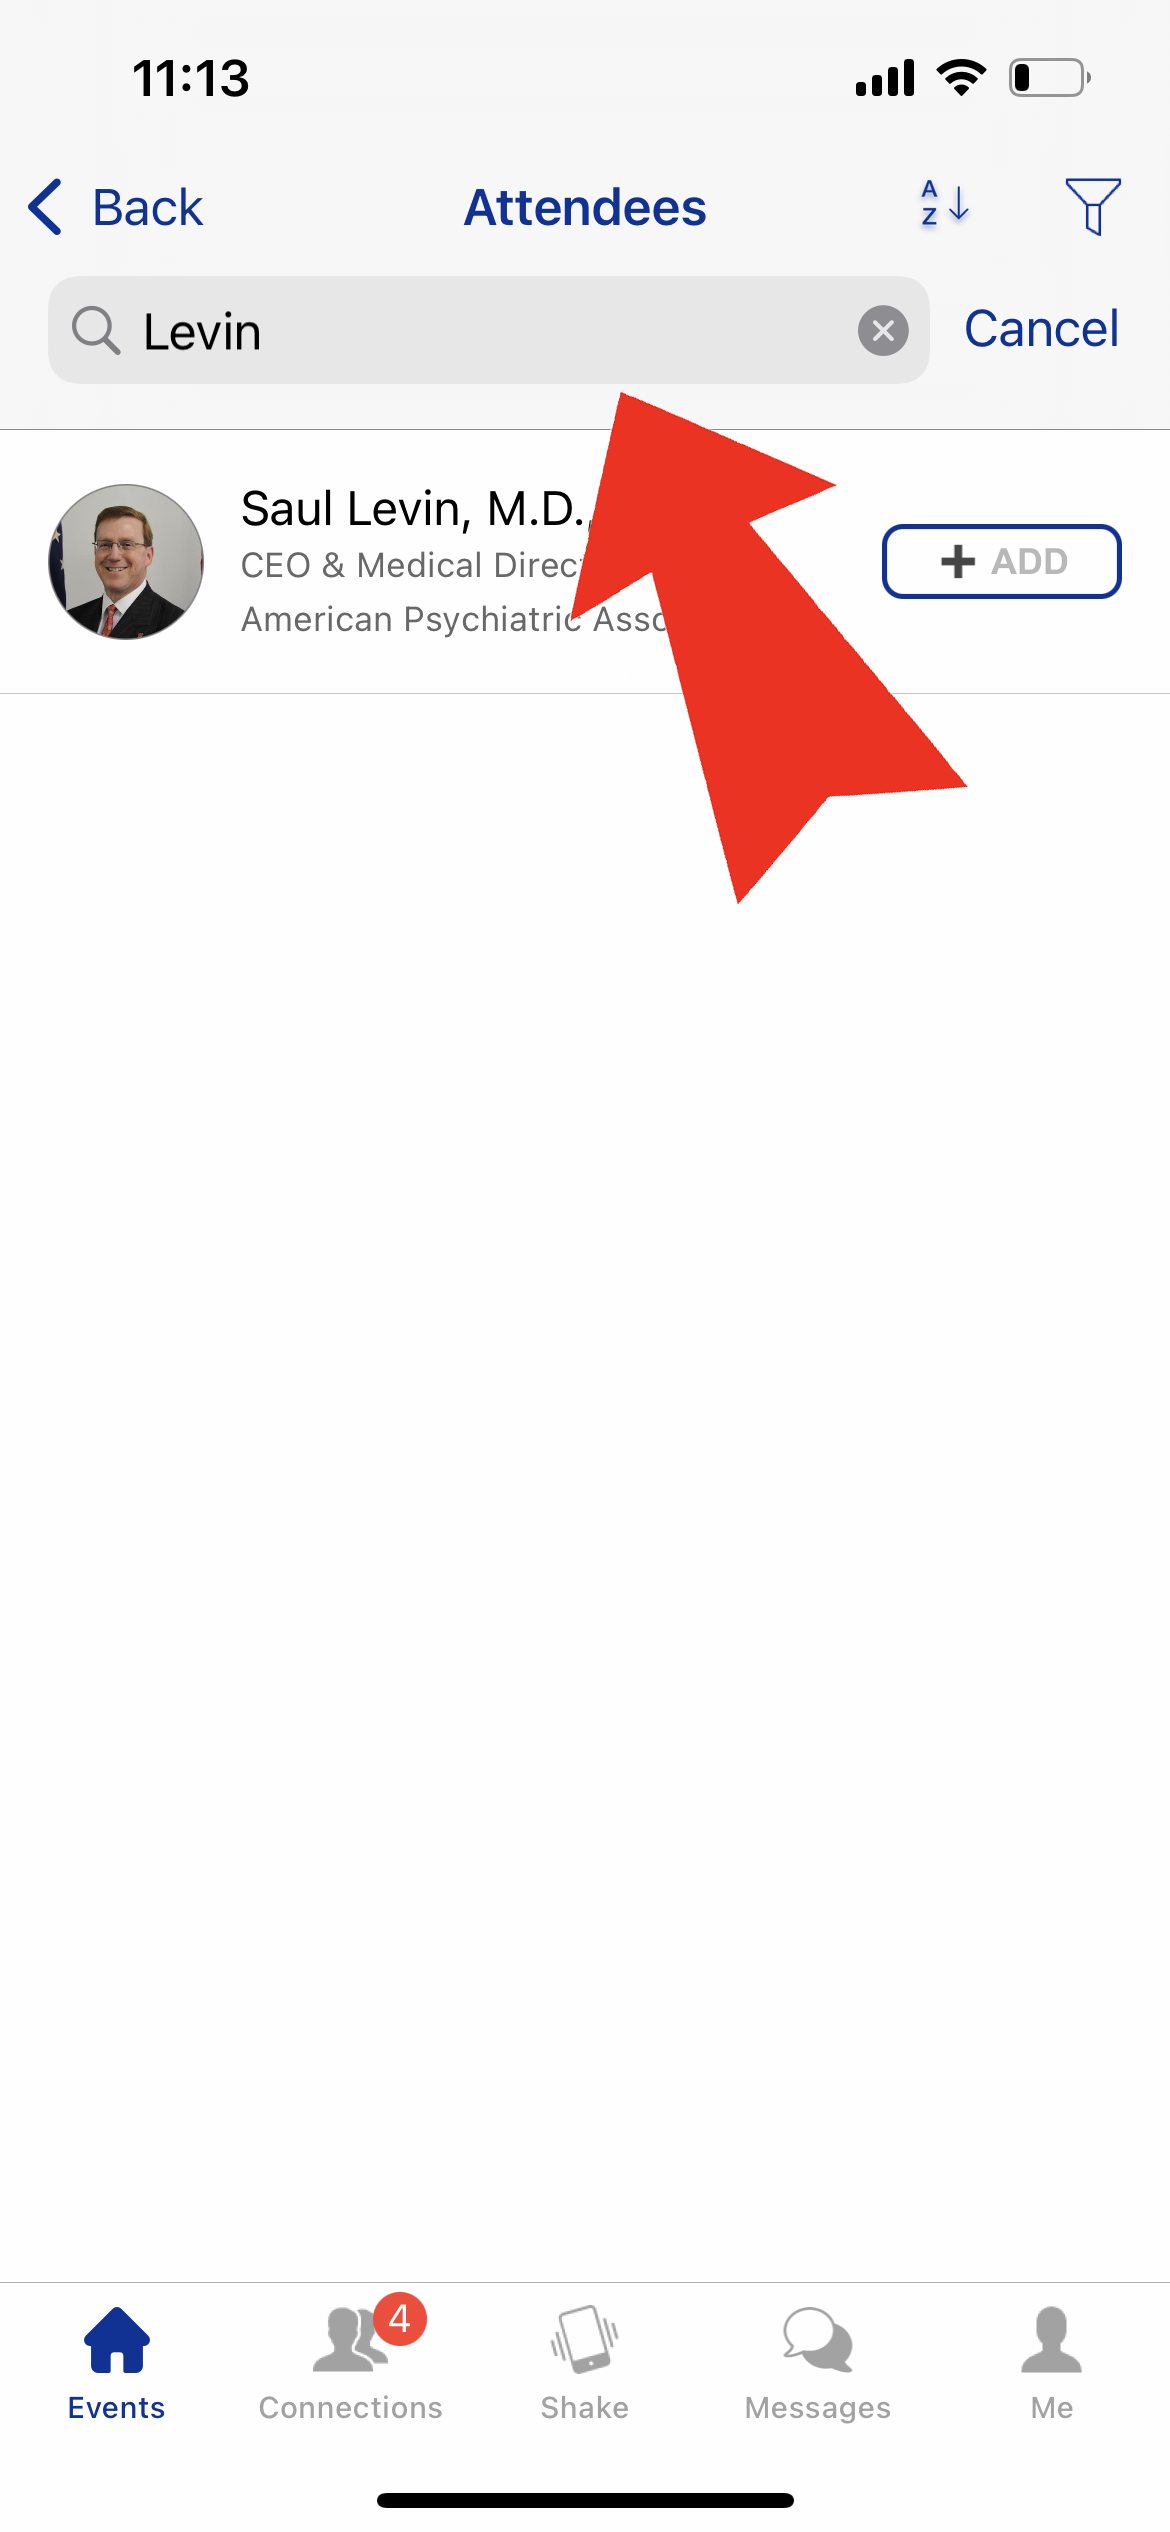
Step 4 of 5: Use the search bar to search for specific attendees by name, organization, title or bio keyword.
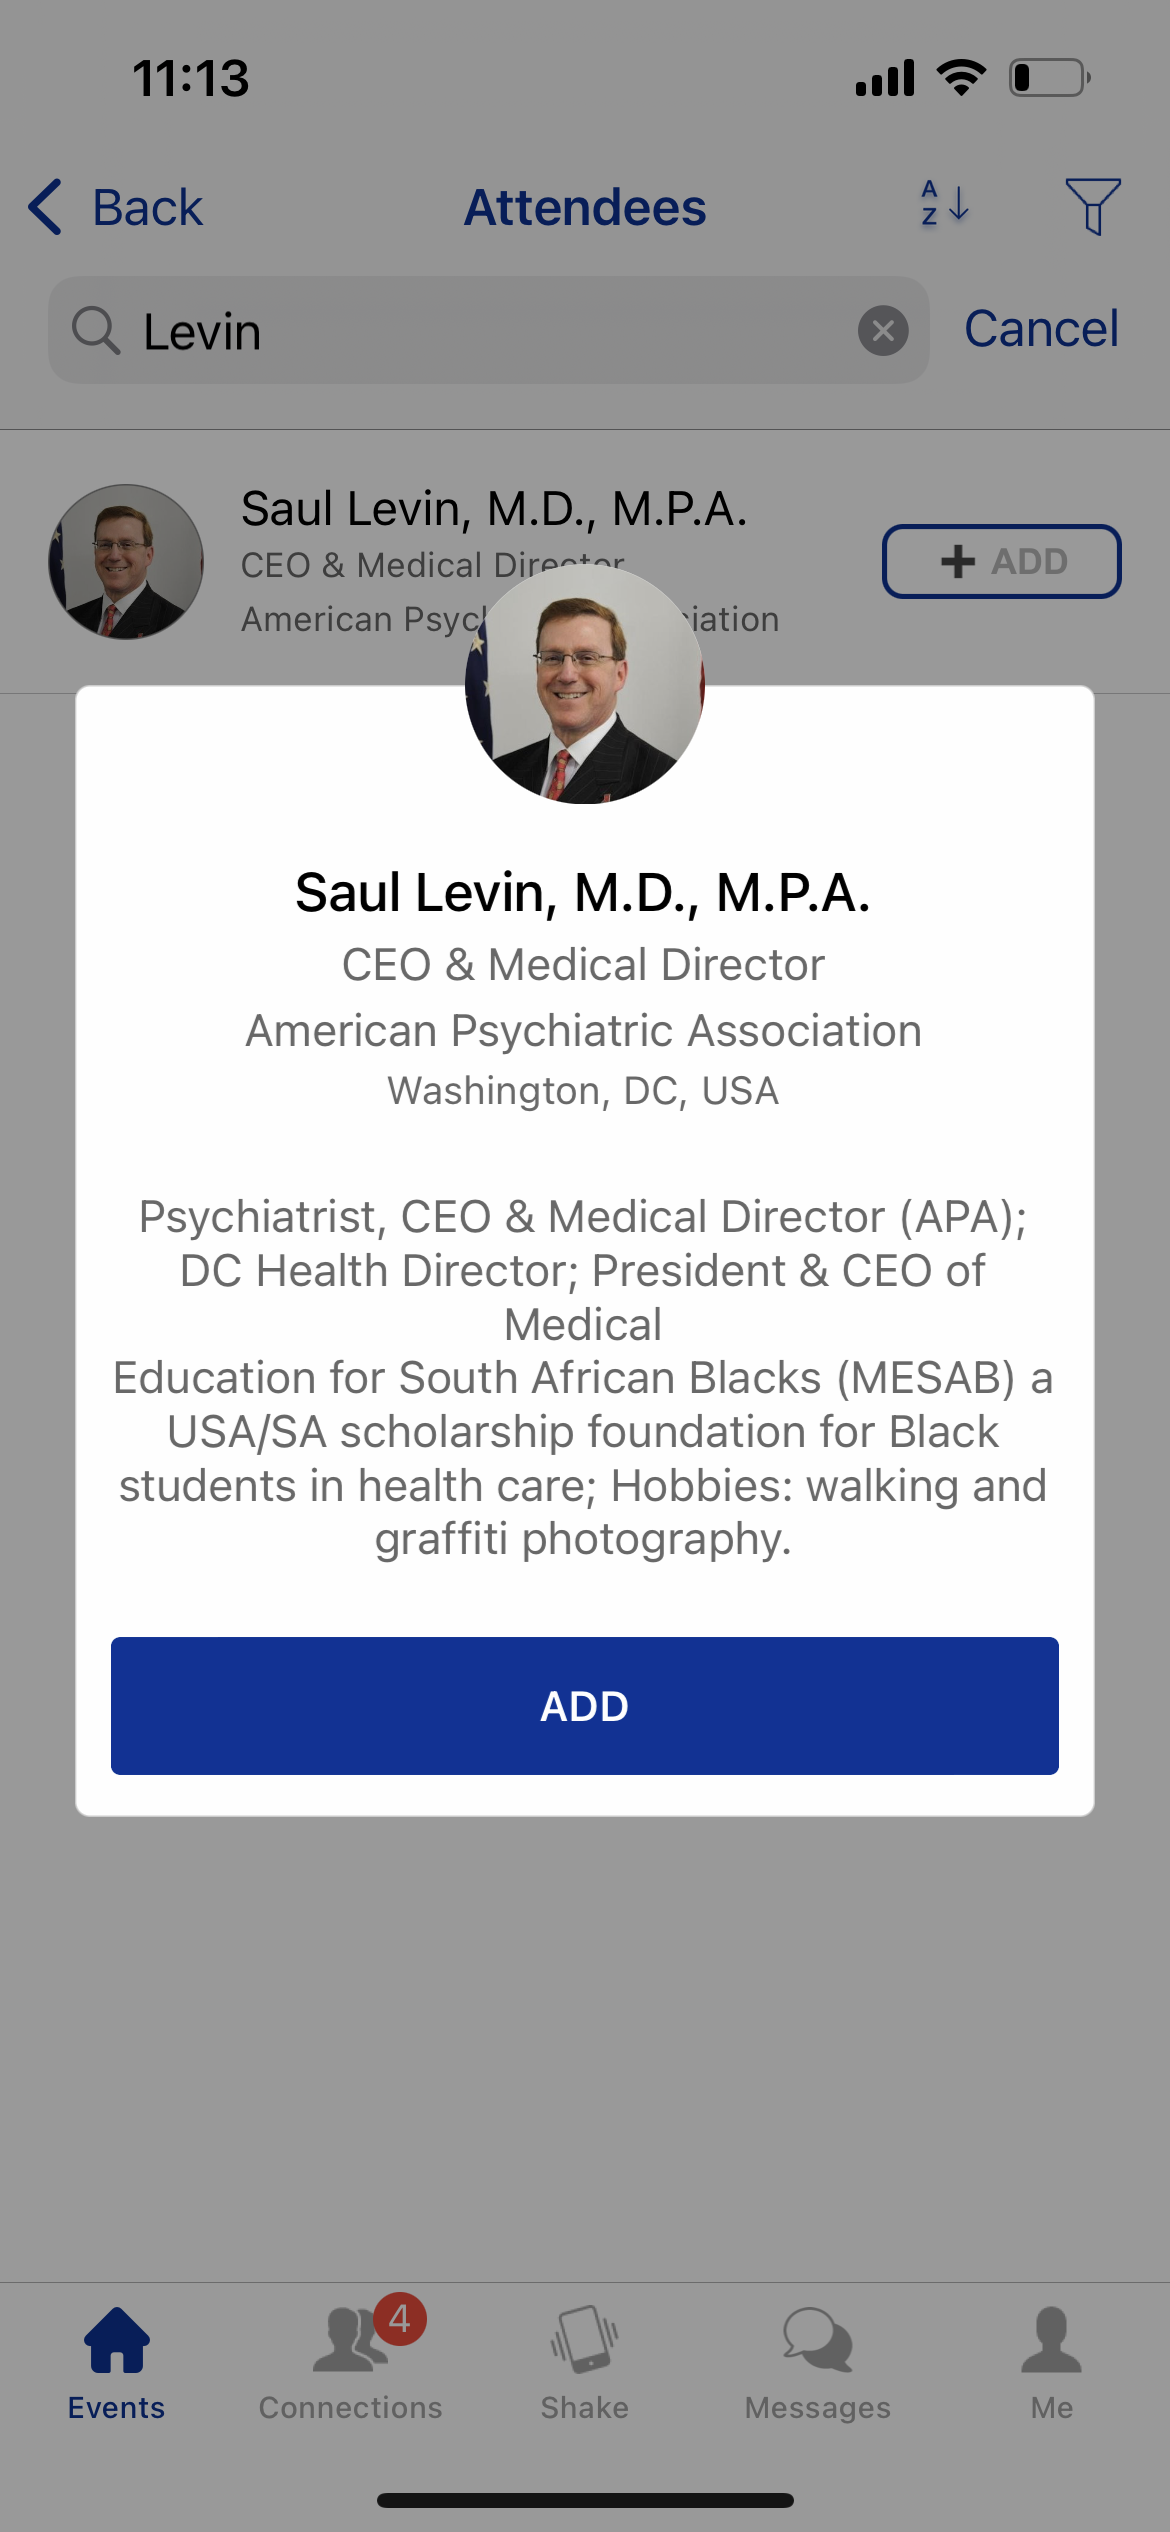
Step 5 of 5: Tap an attendees name to expand their public details, including name, organization, title or bio keyword.
Adding attendees to your Connections in the app allows you to message each other, view private contact information and schedule meet ups. Attendees are only added to your Connections when both parties have accepted or requested a connection.
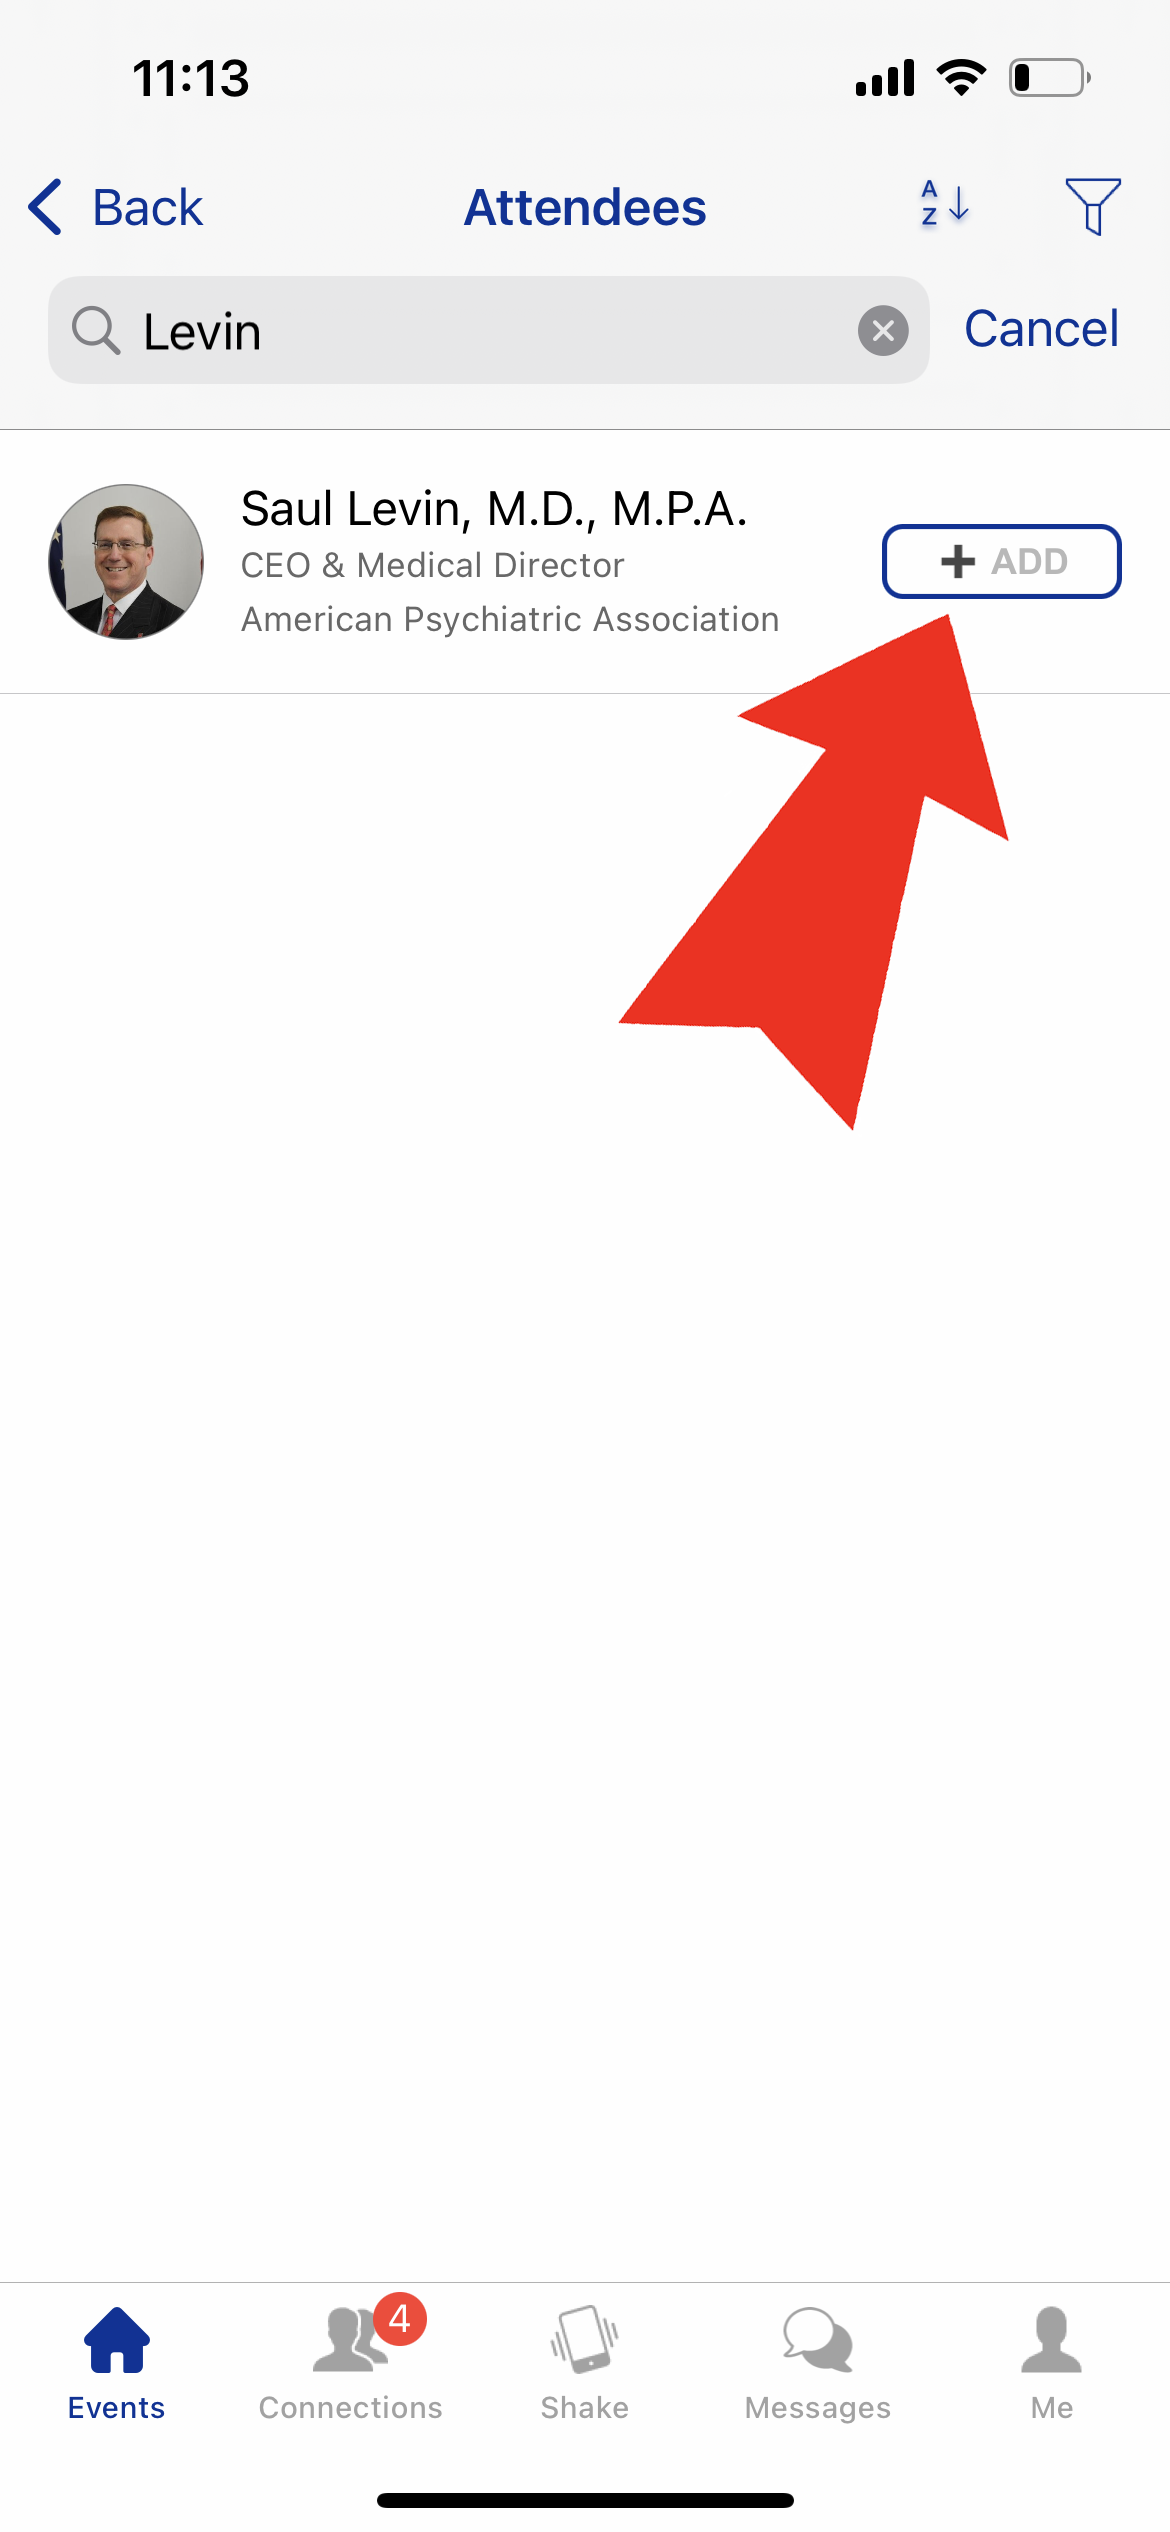
Step 1 of 5: When you find an attendee in the app you would like to connect with, tap the "+Add" button next to their name.
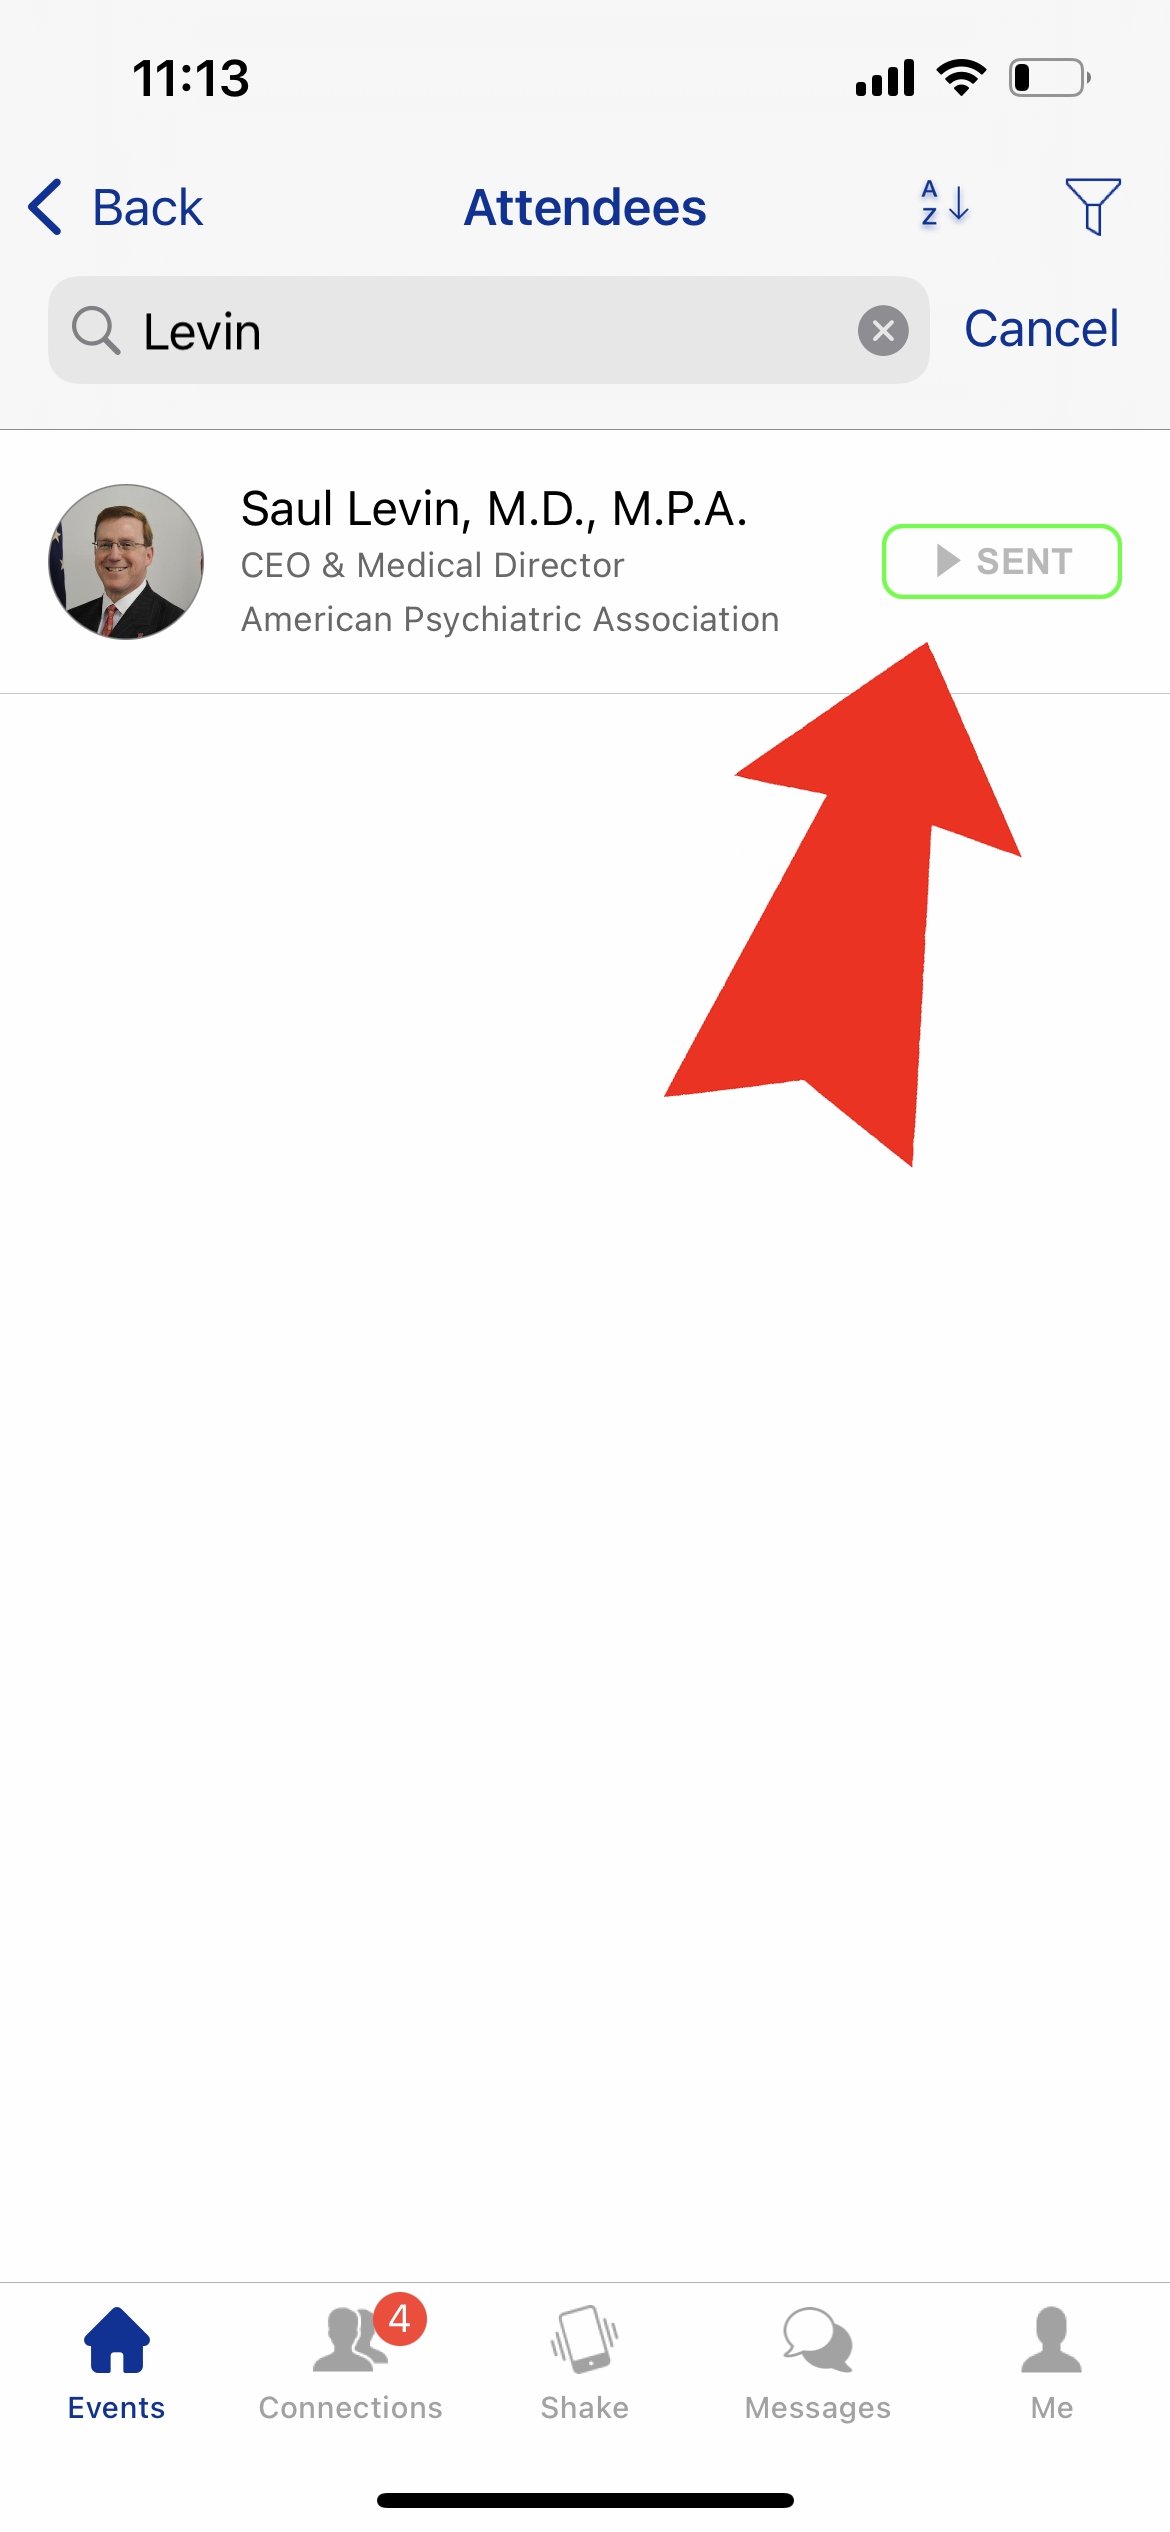
Step 2 of 5: When you have sent an attendee a connection request, the button will turn green with the words "Sent".
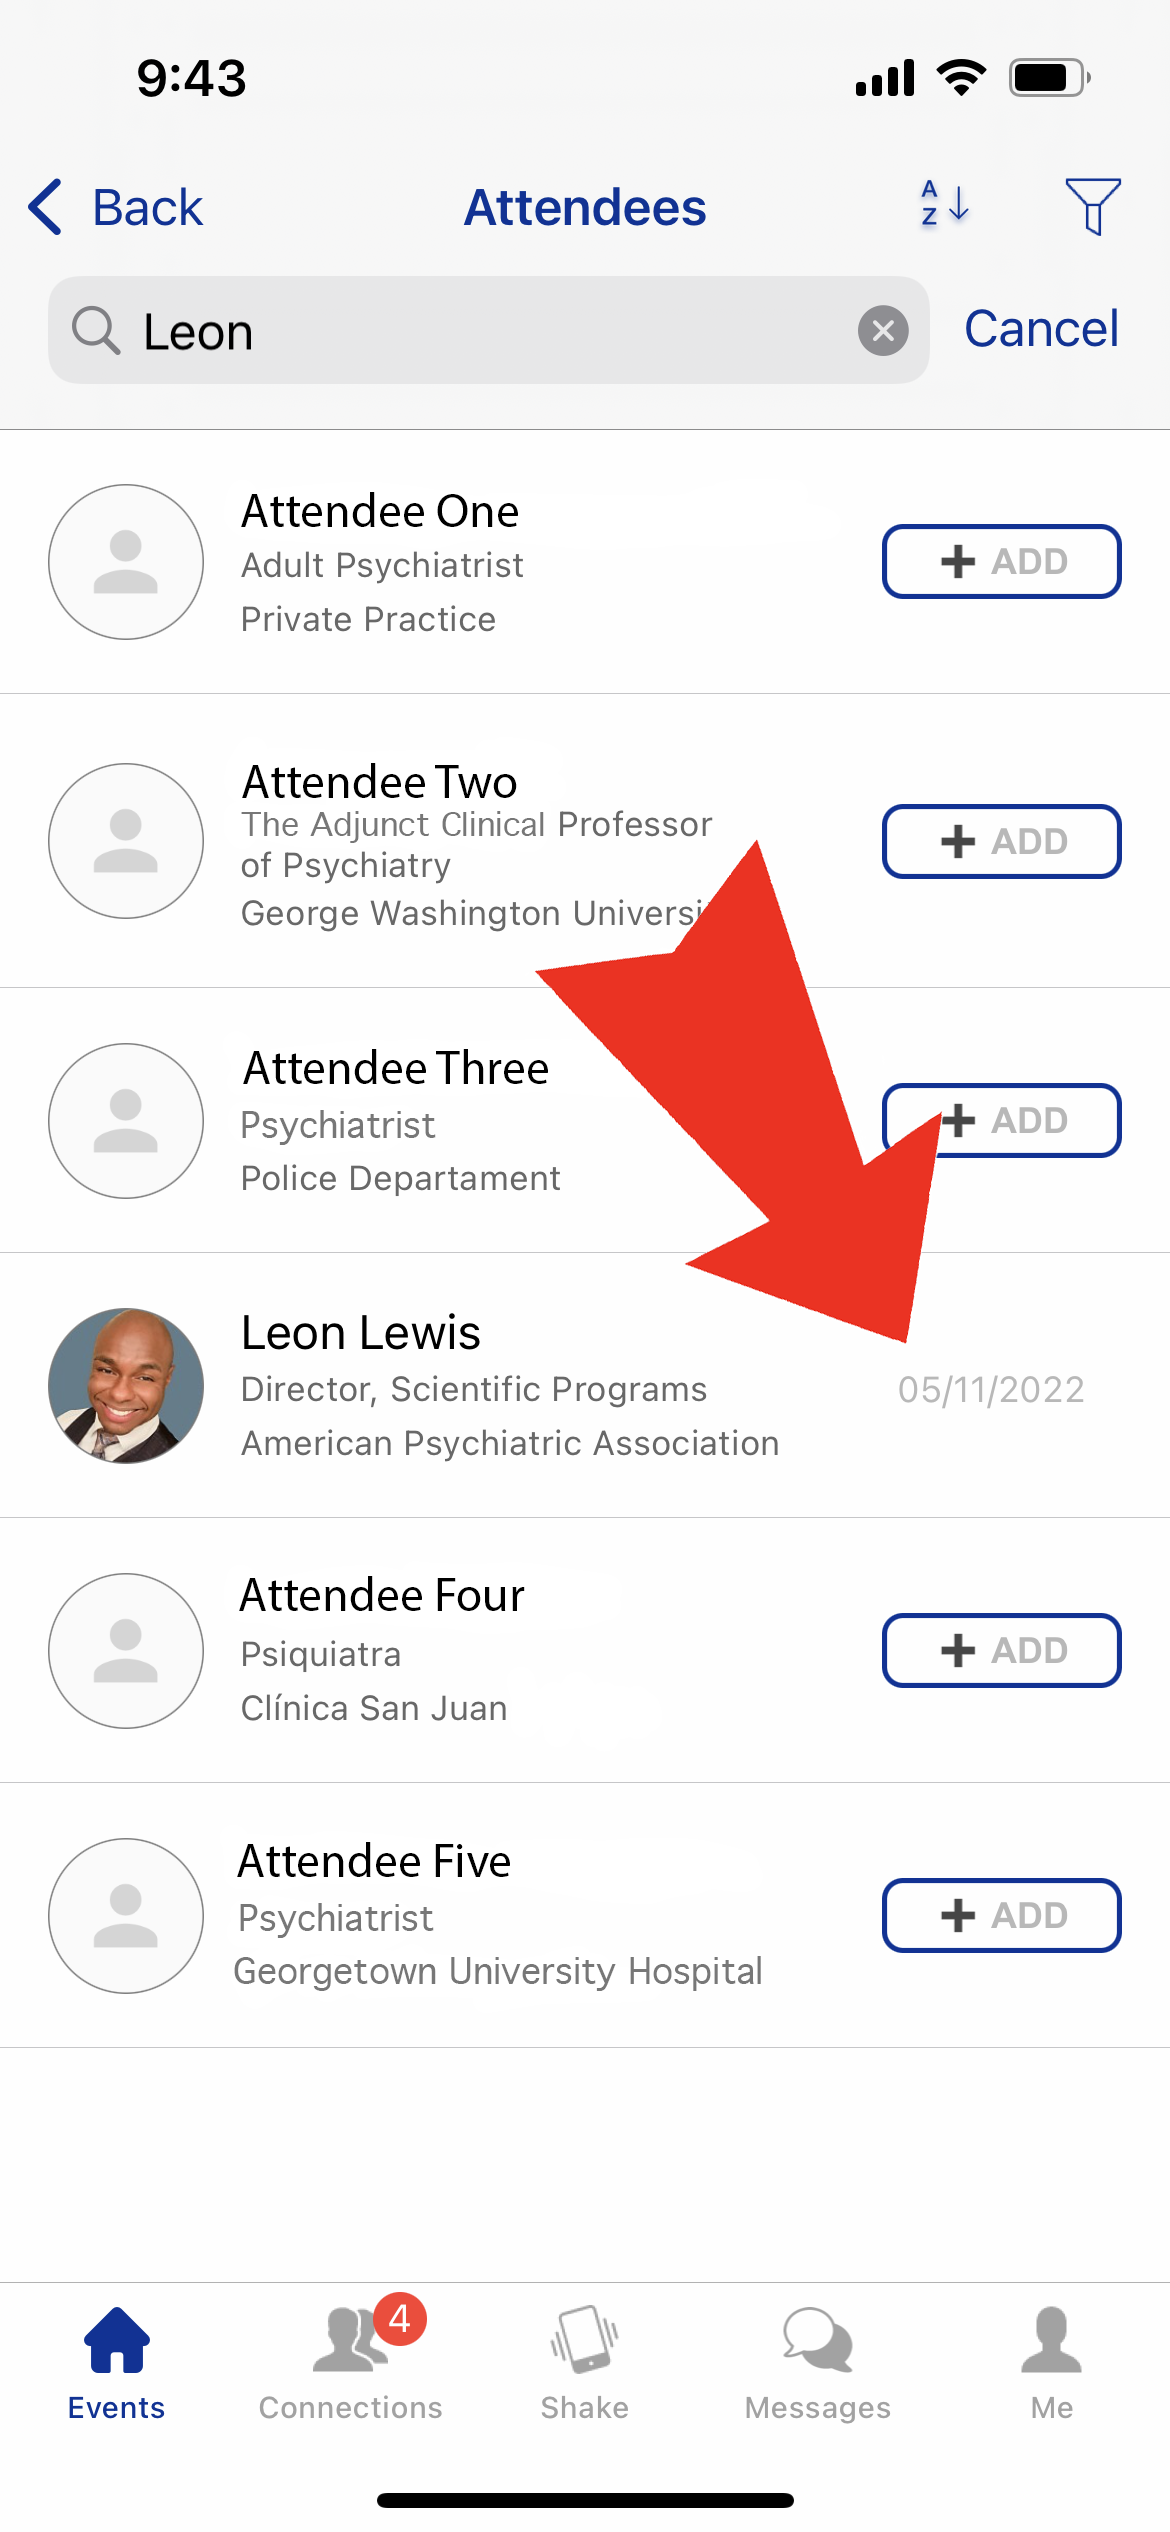
Step 3 of 5: Attendees that are already a connection will not have a button next to their name, but instead will have the date of mutual connection.
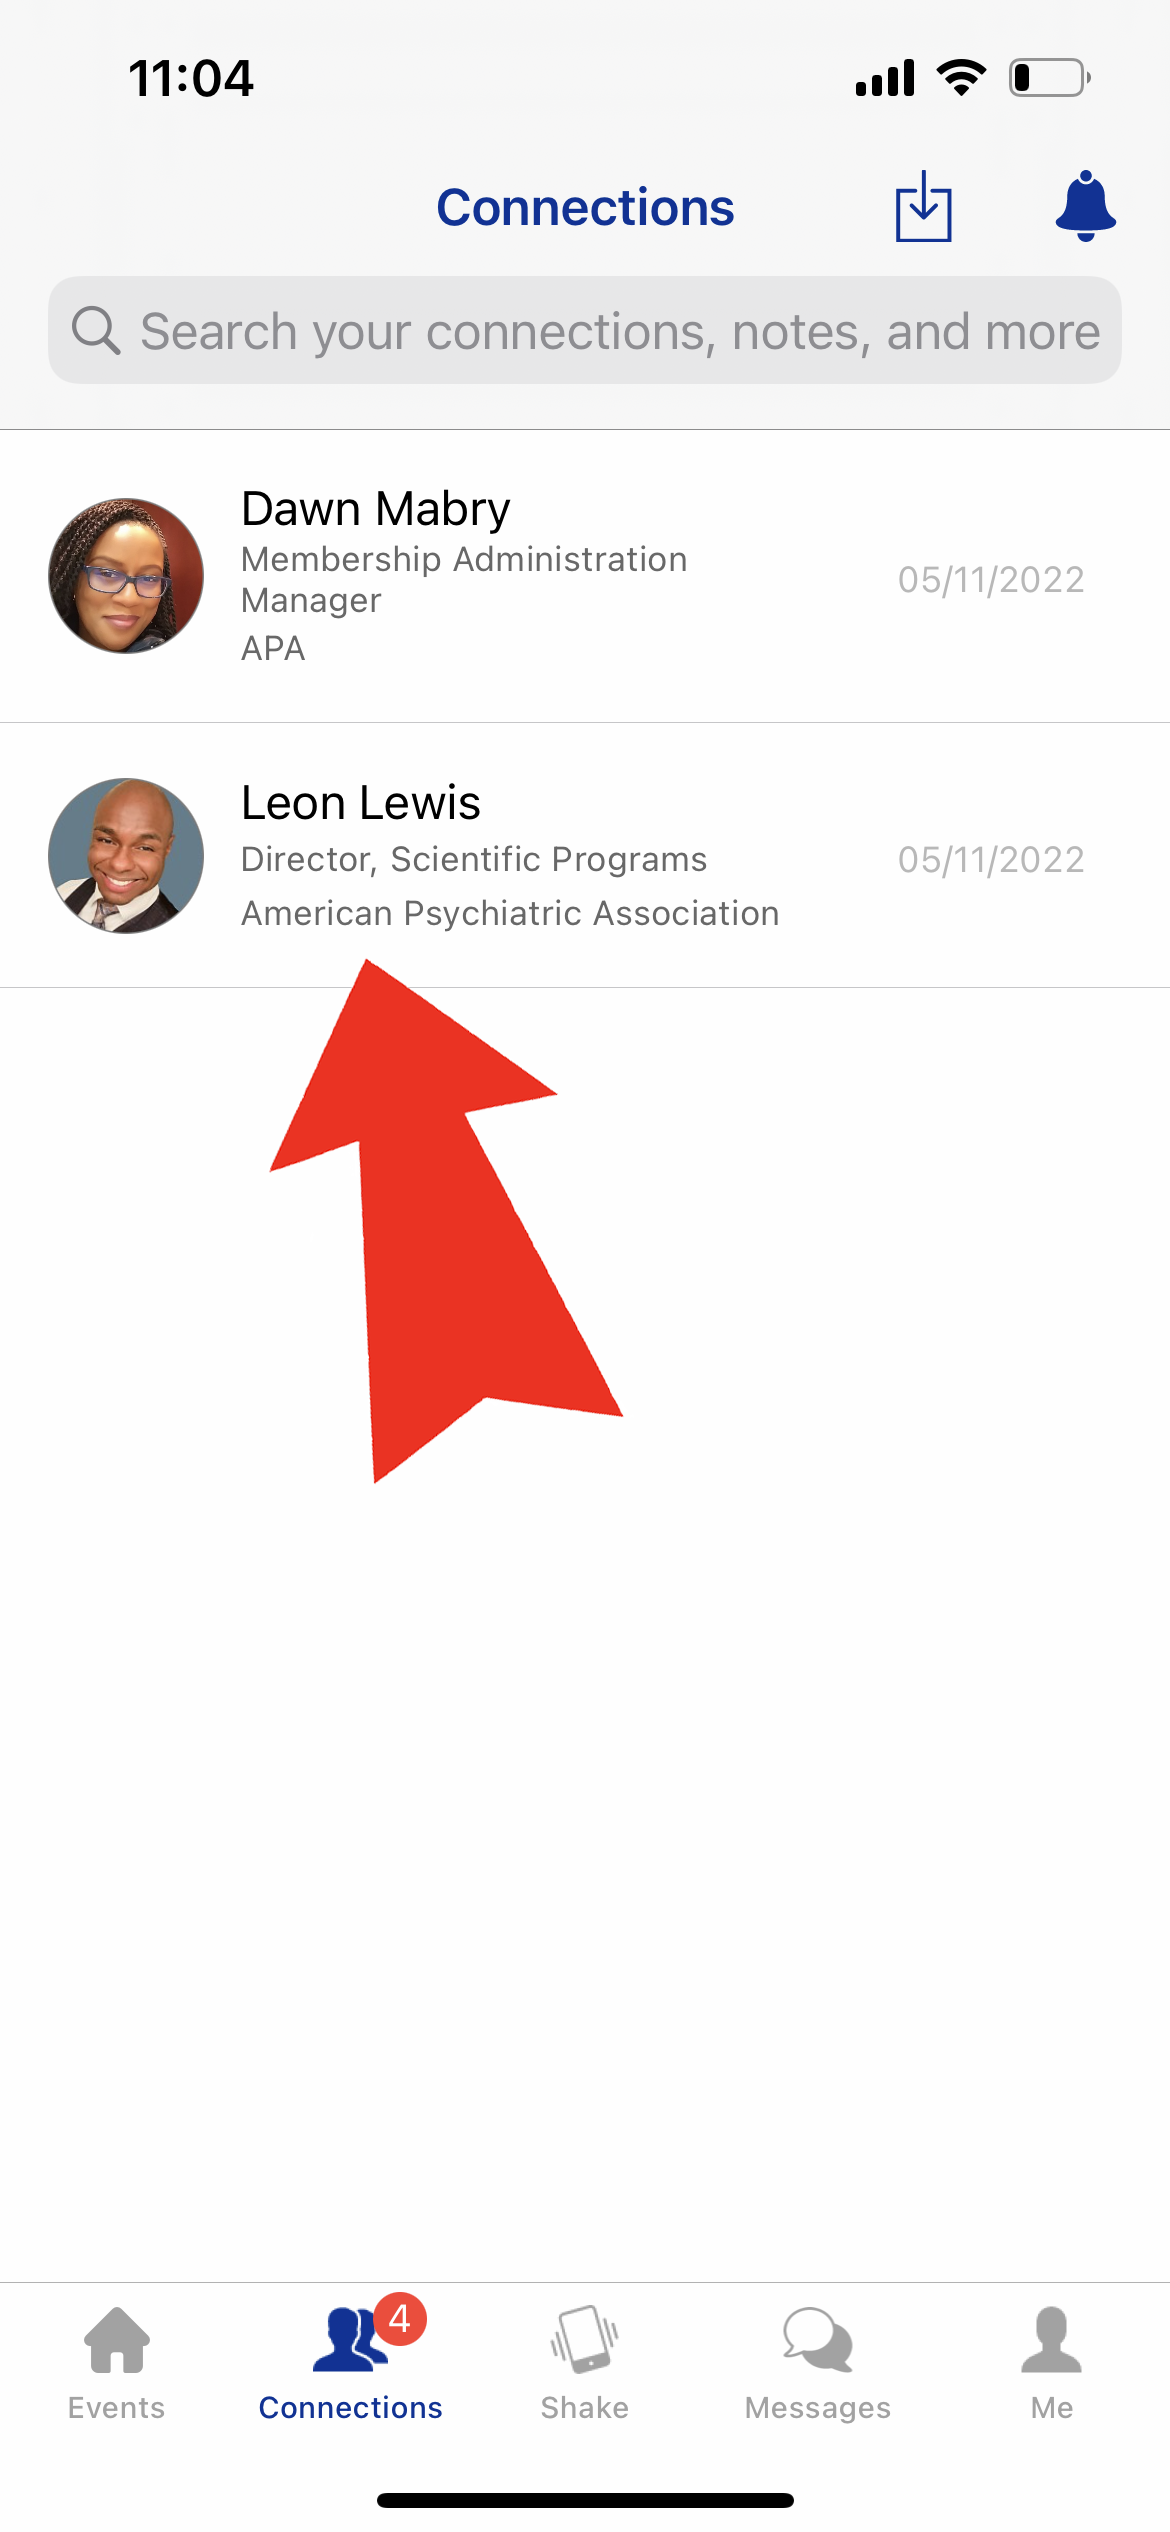
Step 4 of 5: Tap the "Connections" icon in the bottom navigation pane to view the list of your current Connections.

Step 5 of 5: Once an attendee accepts your Connection request, they will appear in your "Connections" view in the app. From there, you will be able to message and contact that connection.
Adding attendees to your Connections in the app allows you to message each other, view private contact information and schedule meet ups. Attendees are only added to your Connections when both parties have accepted or requested a connection.
Step 1 of 3: To view your existing Connections, tap the "Connections" icon in the bottom navigation pane. All attendees you have mutually connected with will appear here.
Step 2 of 3: Tap your connection's name to view their profile.
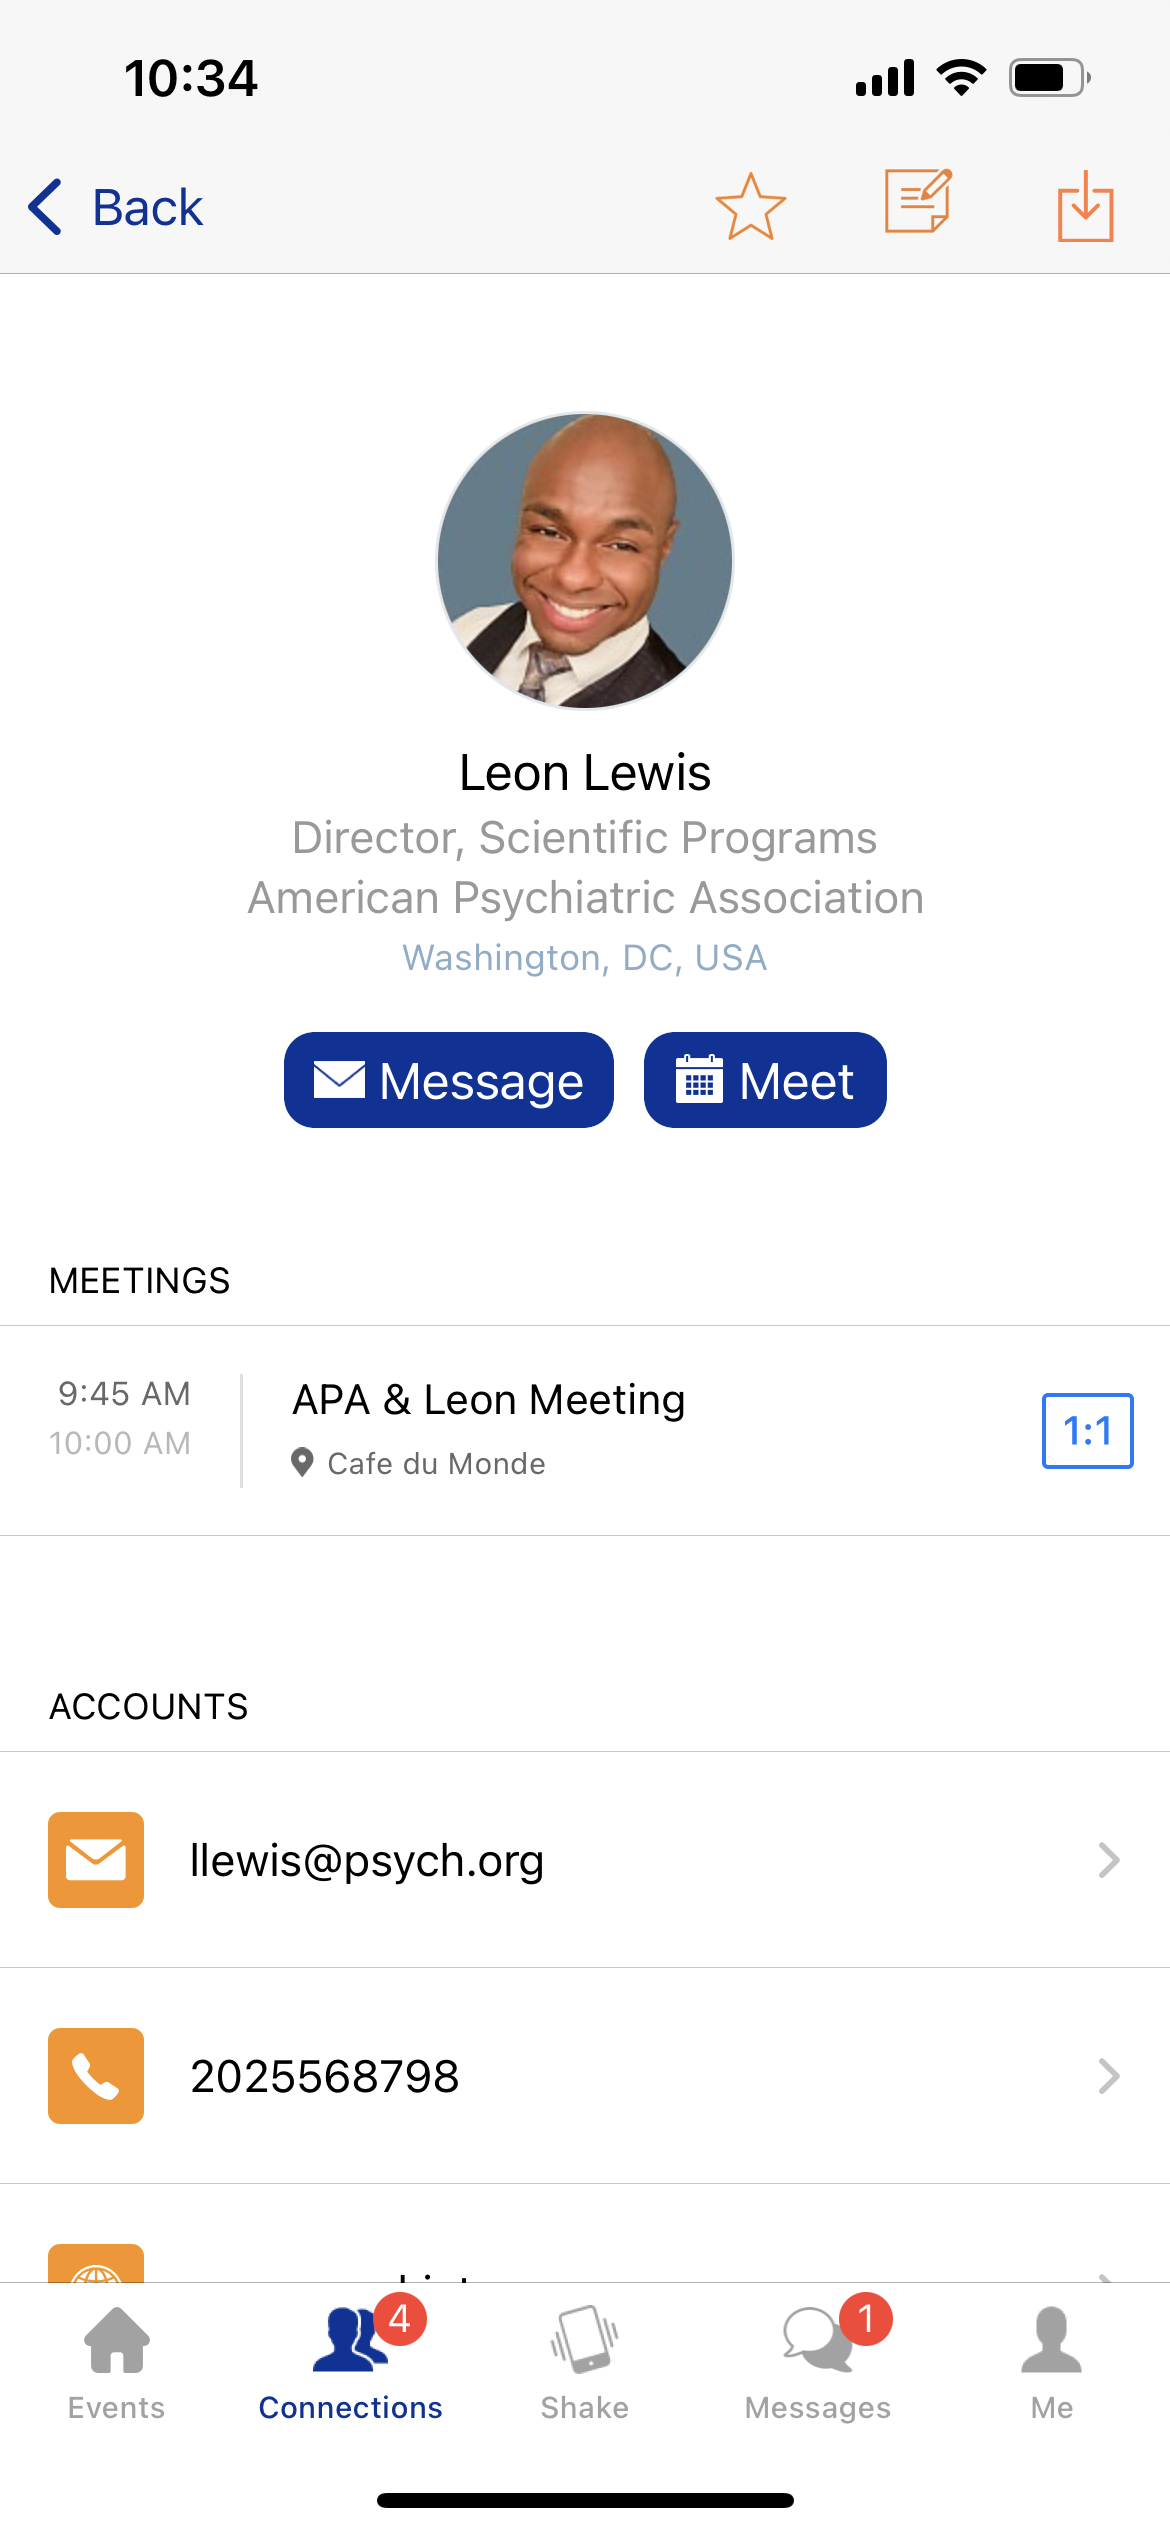
Step 3 of 3: Their profile will expand, and you can view their public profile information, as well as their private, connections-only contact information.
Step 1 of 3: When other attendees have requested to connect with you, a red badge notification will appear on the "Connections" icon in the bottom navigation pane.
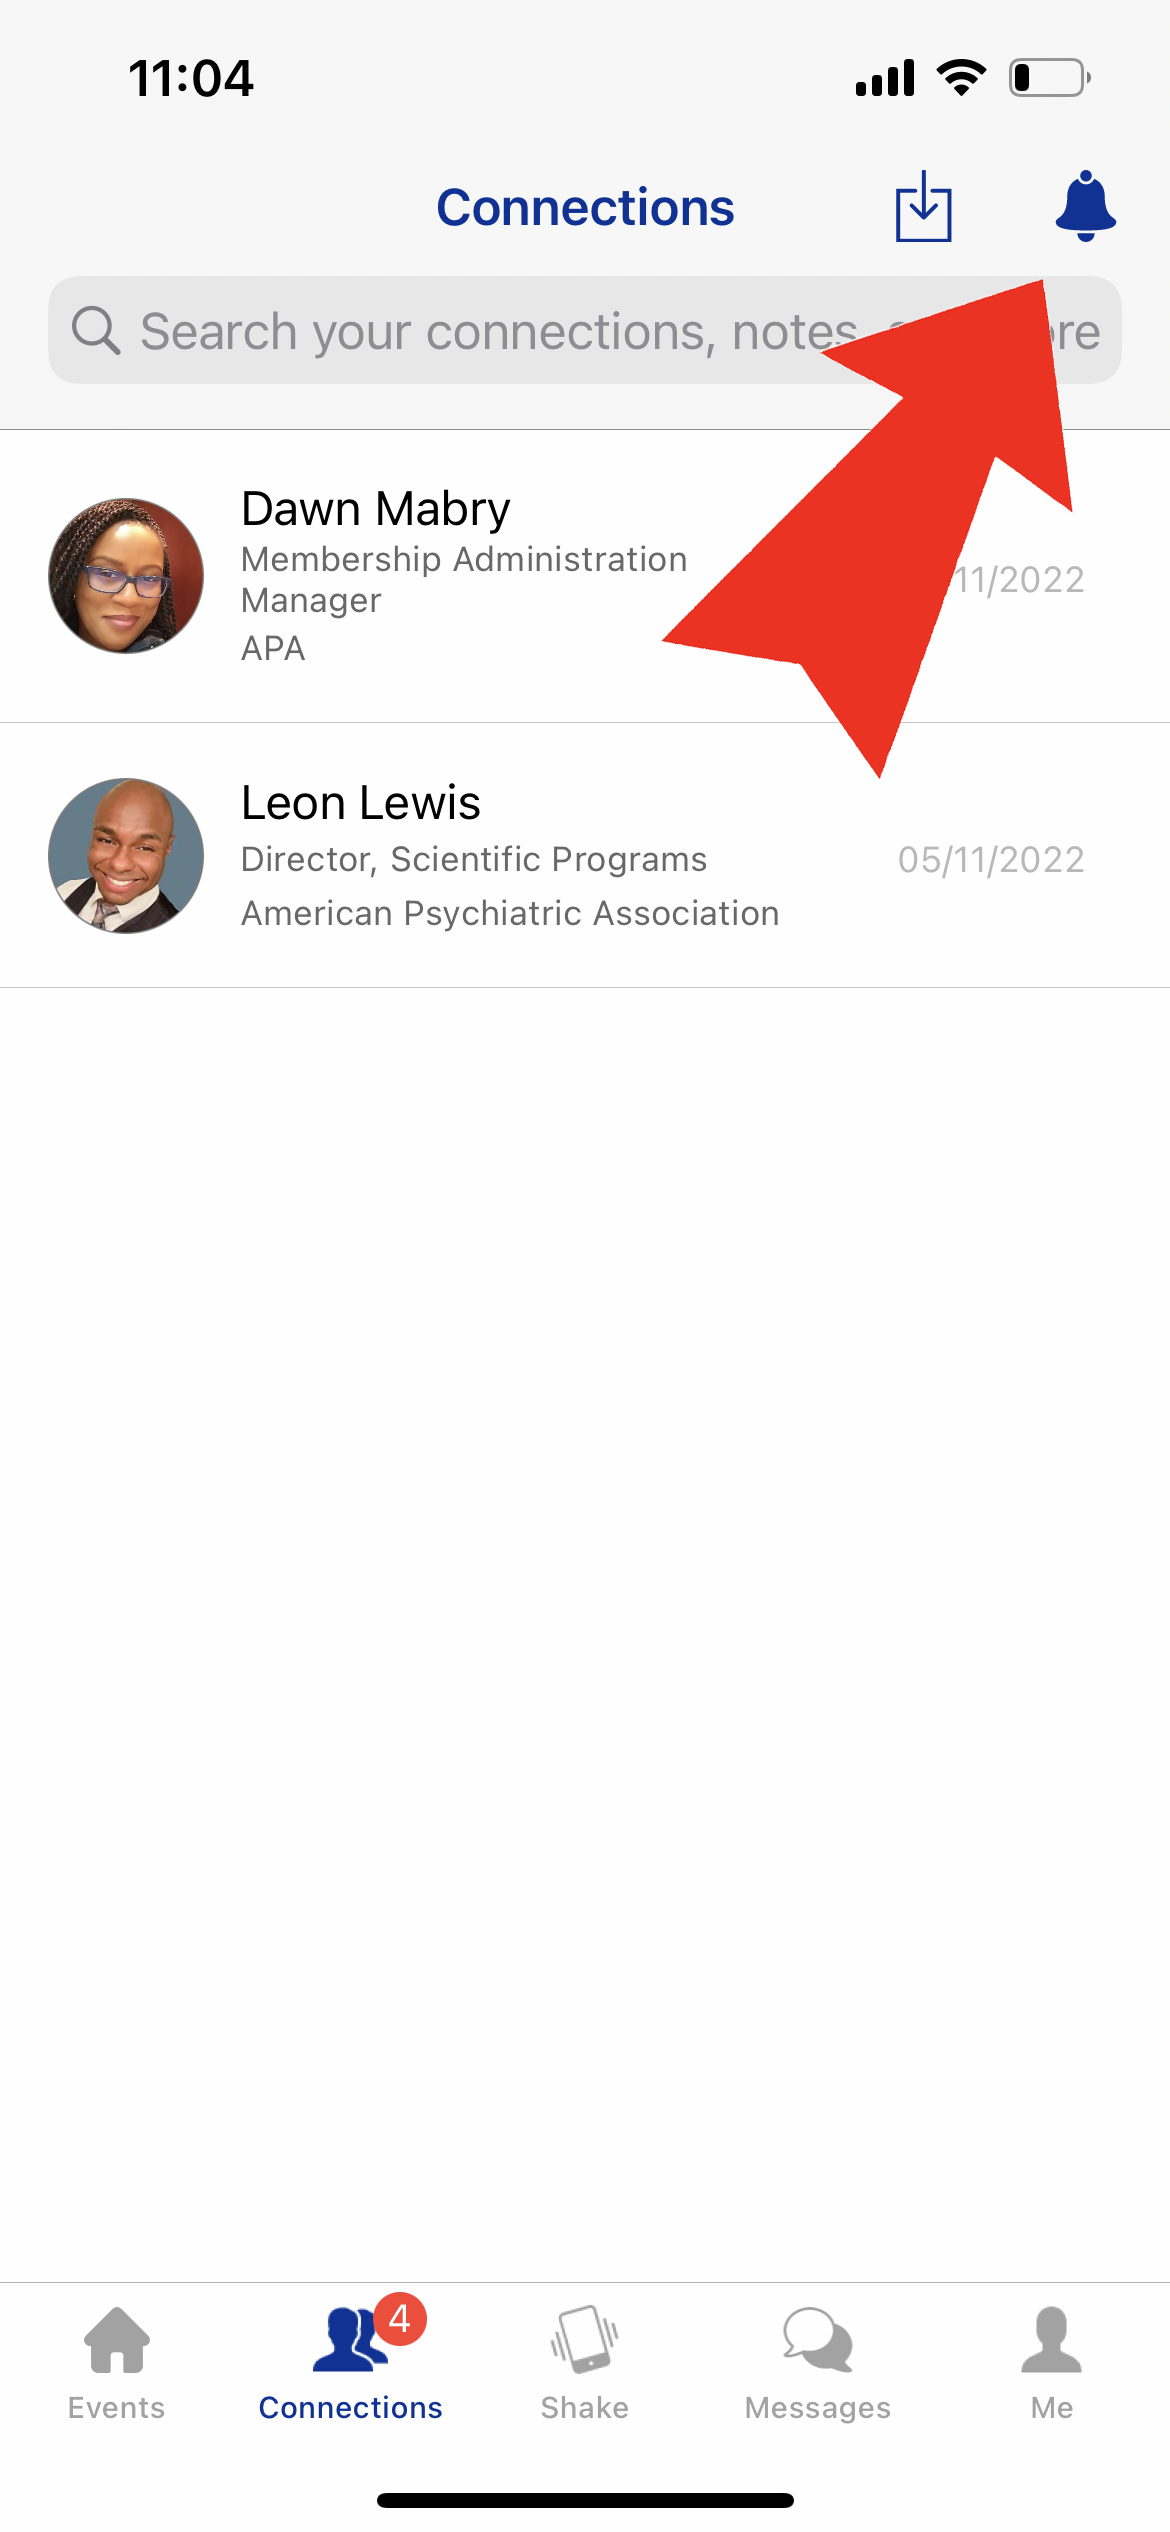
Step 2 of 3: To view and accept Connections requests from other attendees, tap the bell icon in the Connections view.
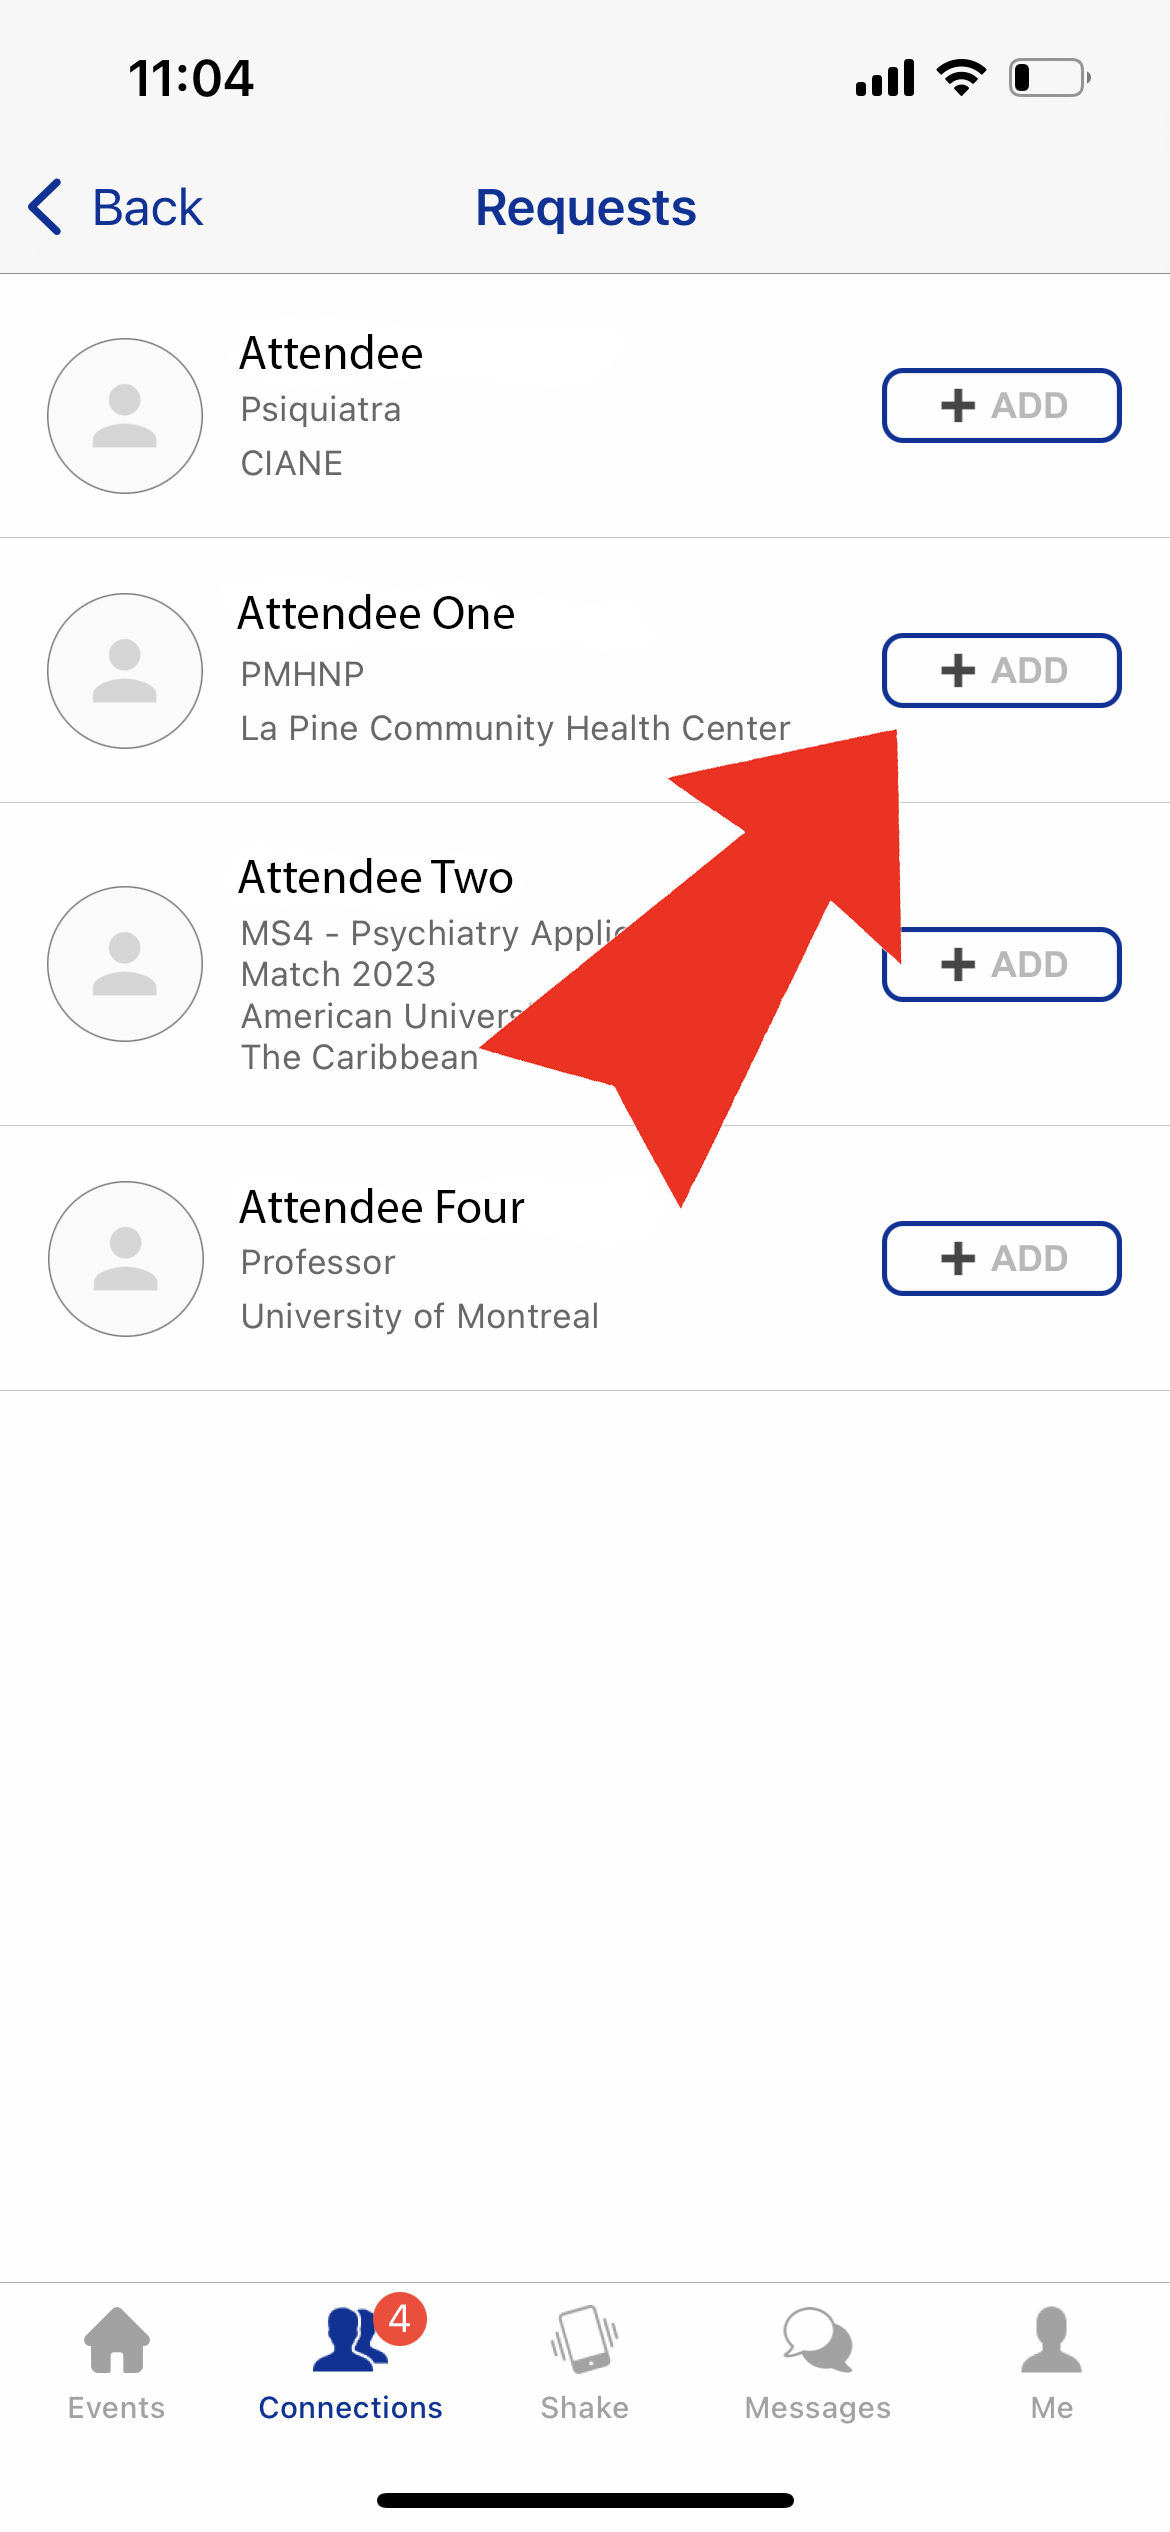
Step 3 of 3: To accept the Connection request and allow messaging with an attendee, tap the "+Add" button next to the attendees name that you would like to accept.
Once you and a fellow attendee are mutually connected, you can use the app to message and communicate.
Step 1 of 5: In your "Connections" view, tap the name of the attendee you would like to message.
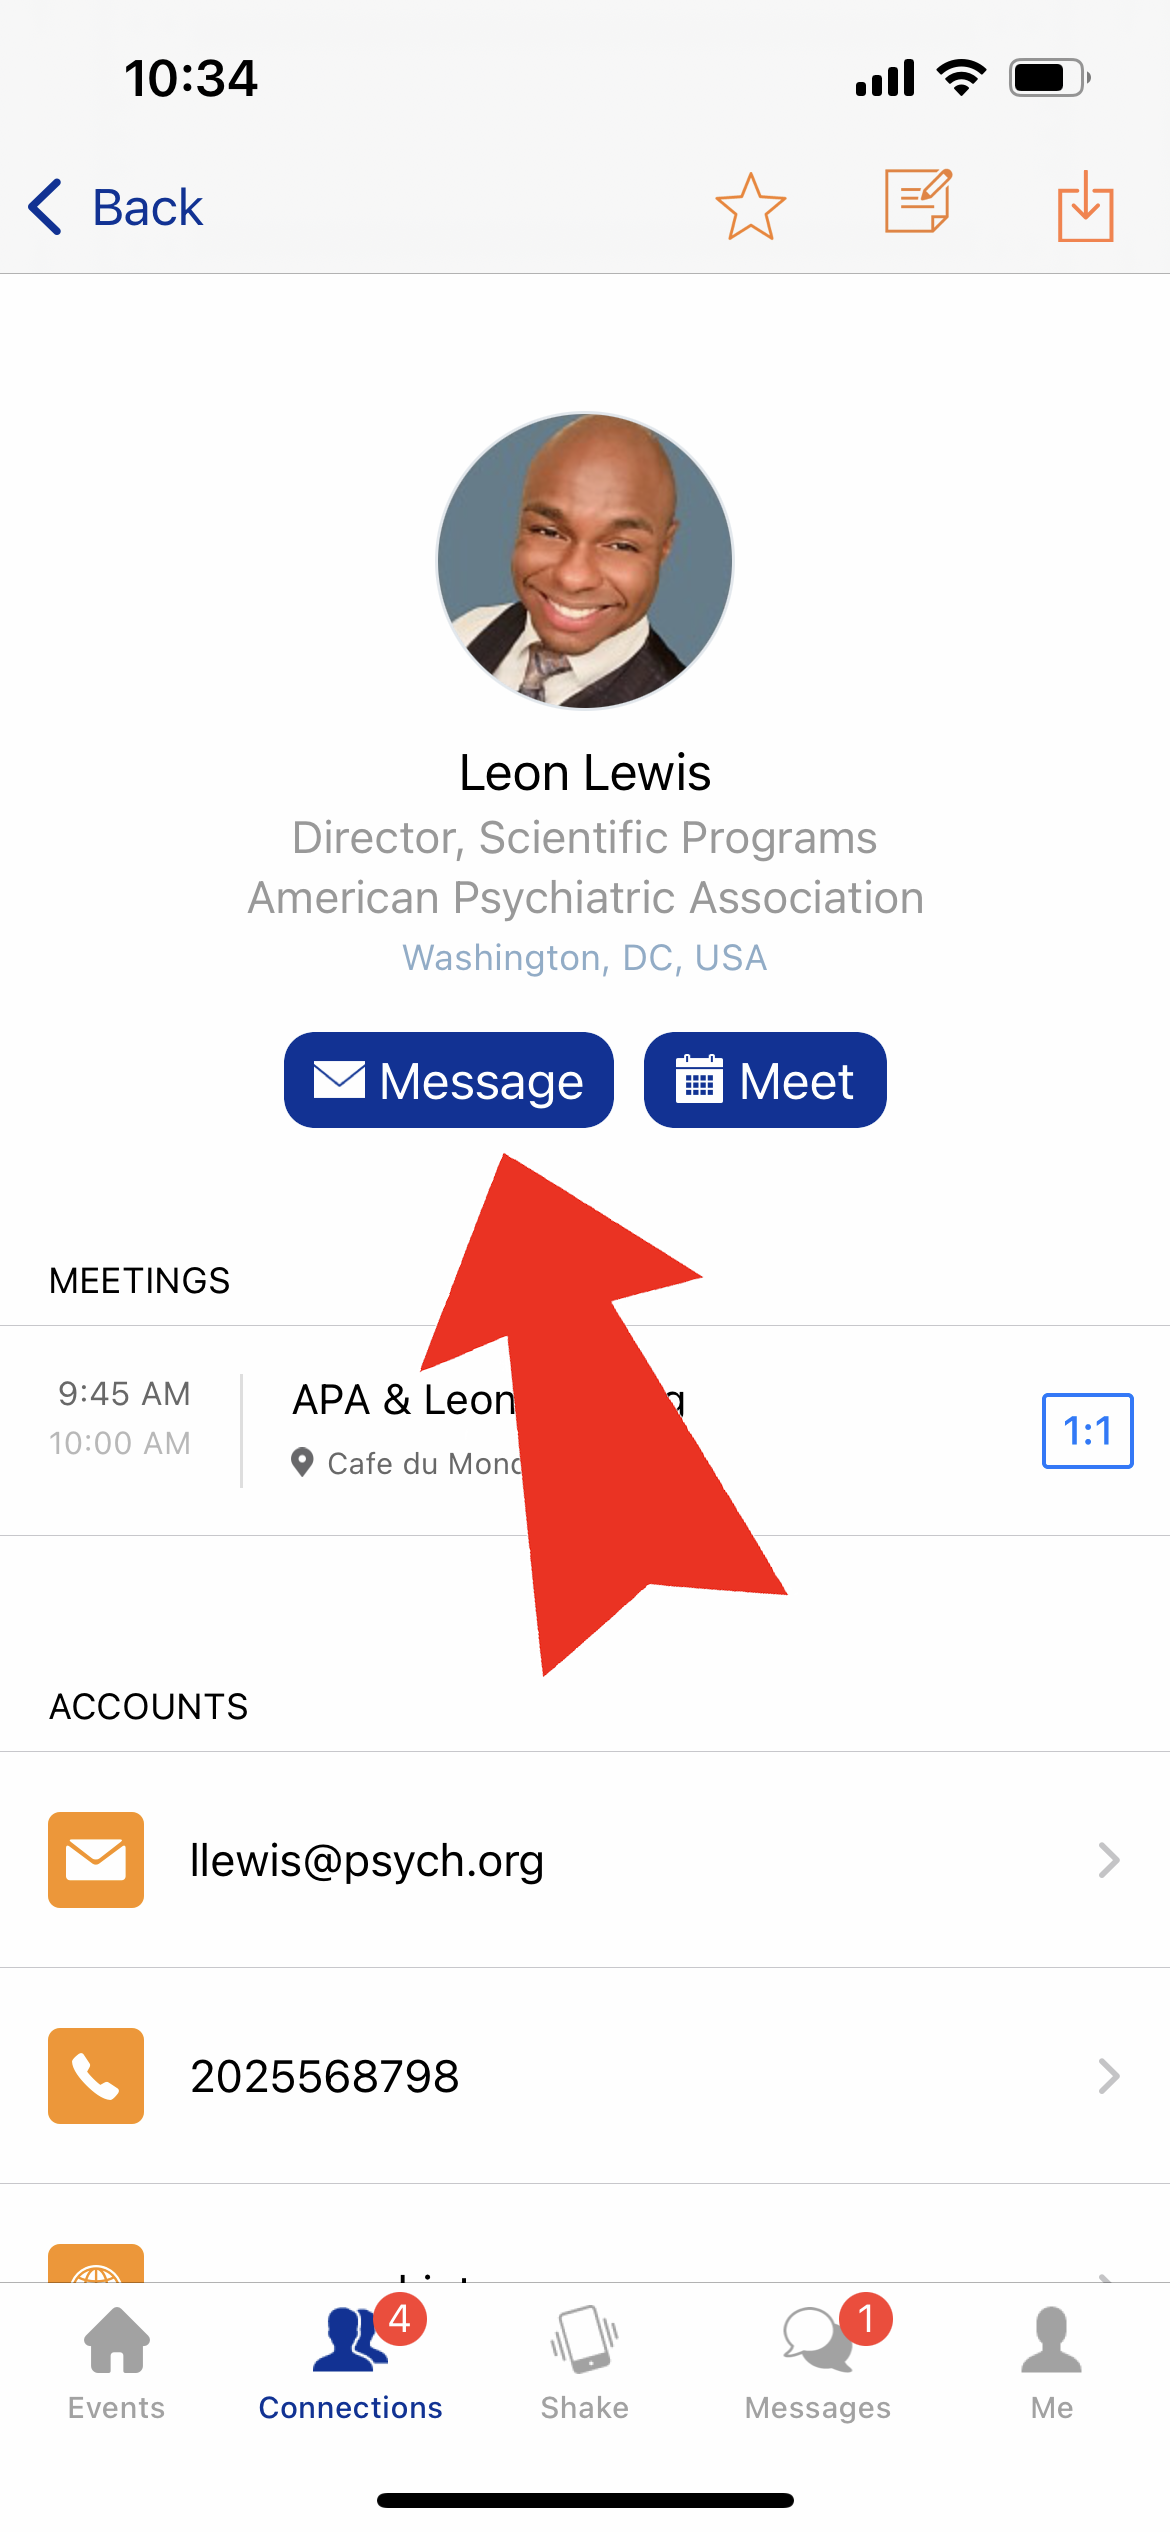
Step 2 of 5: Tap the blue "Message" button under the attendees photo.
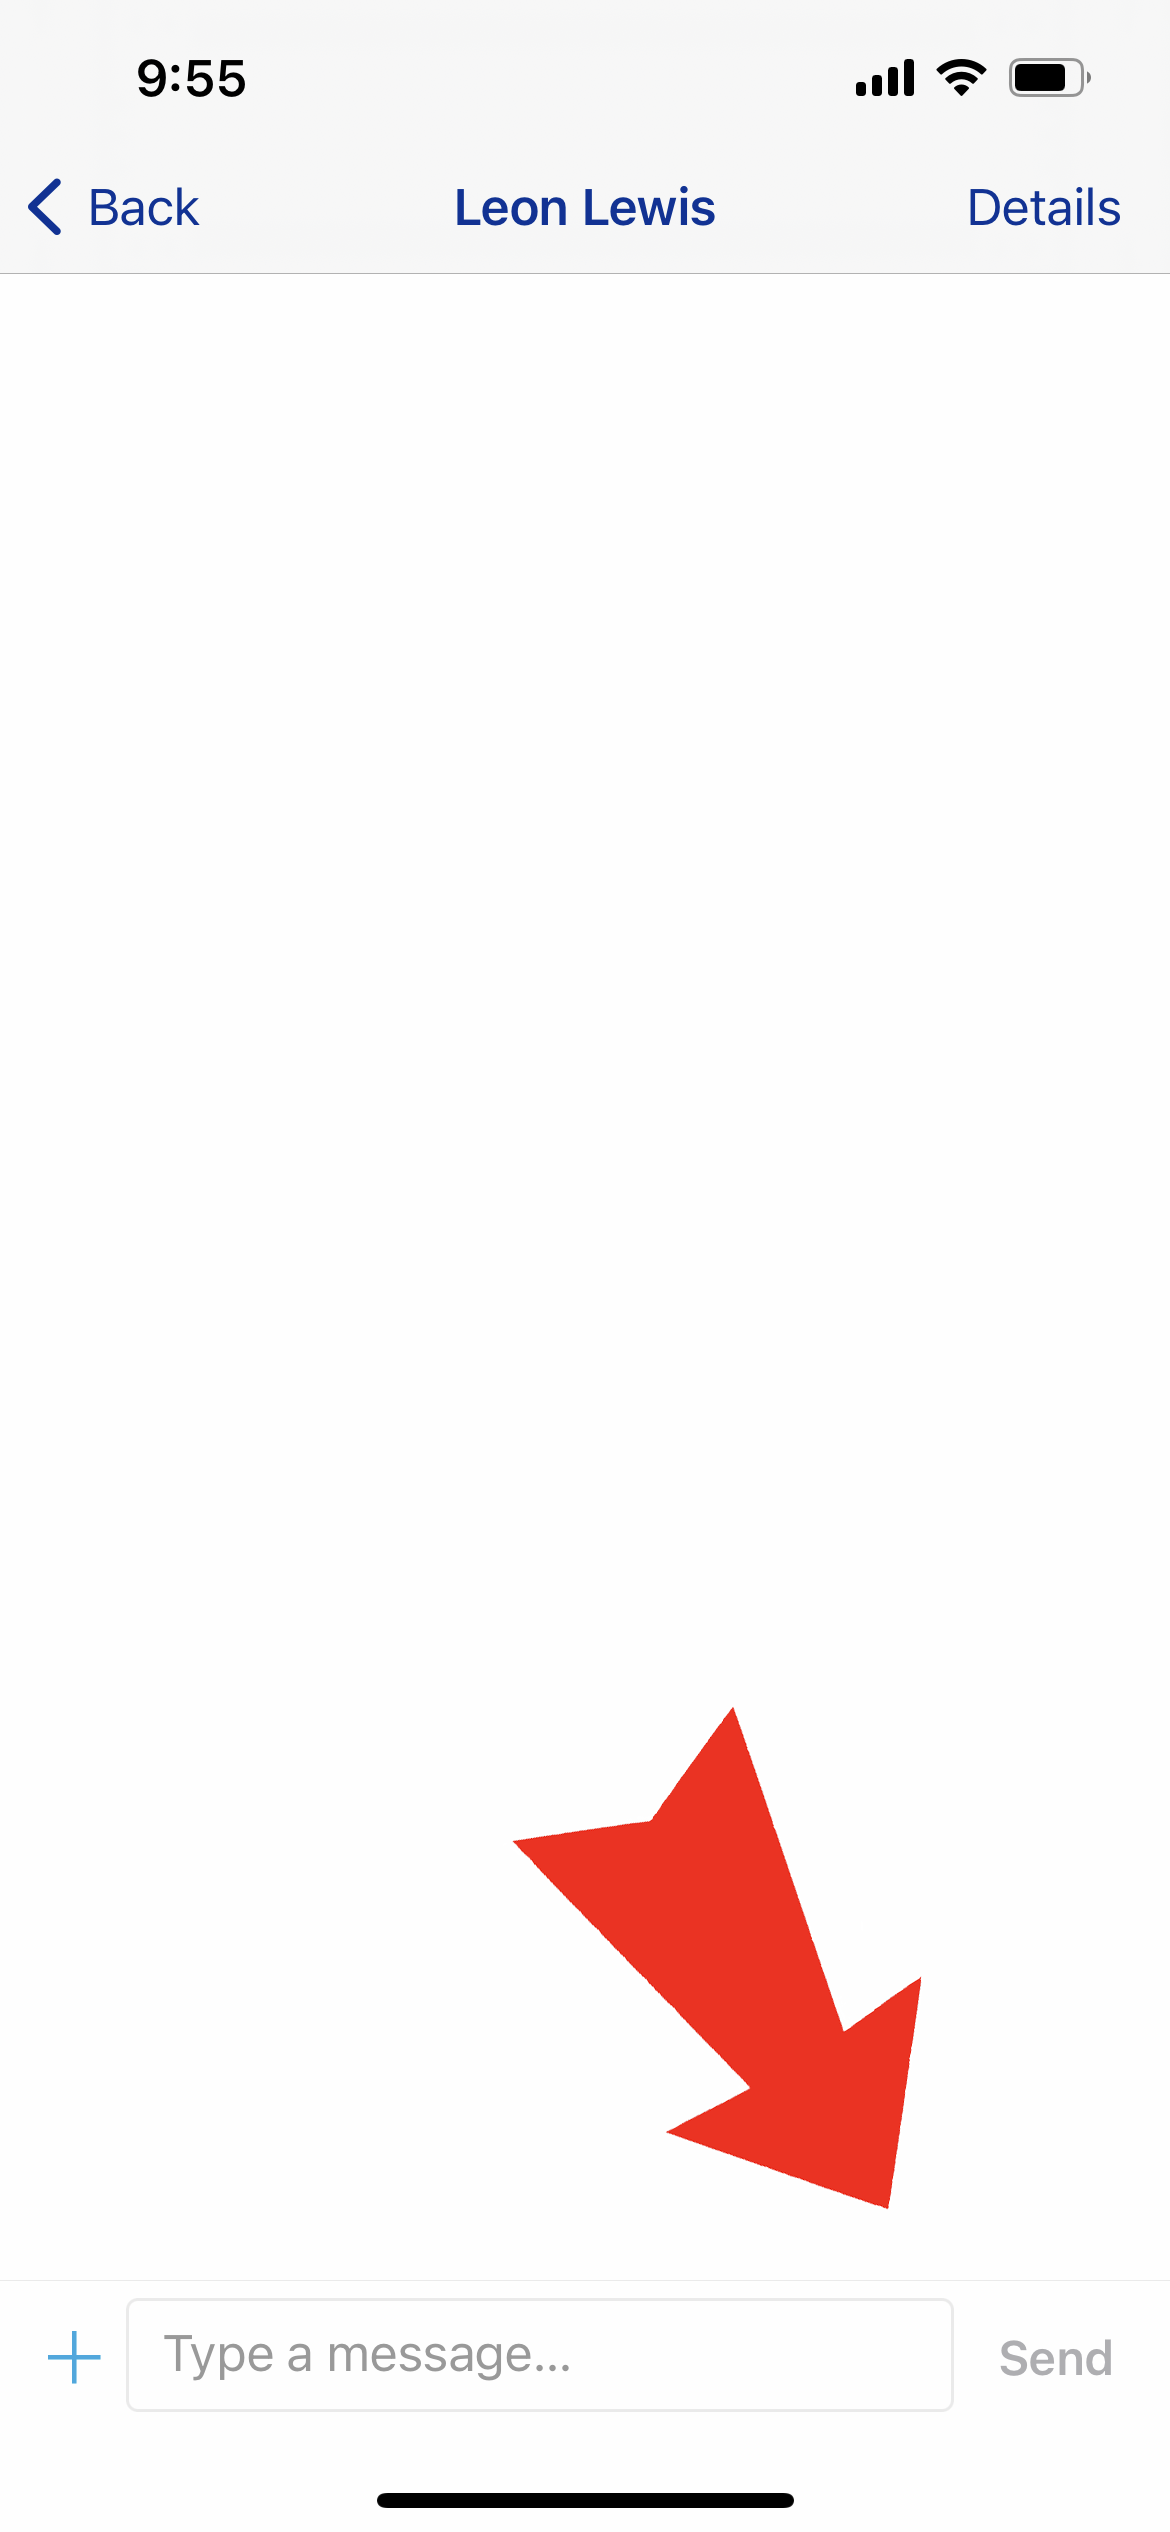
Step 3 of 5: Type your message, then press send.
Step 5 of 5: When someone replies to your message, or sends you a new message, a red badge icon will appear on the "Messages" icon in the bottom Navigation pane. Tap the "Messages" icon to view all of your conversations and messages.
Connect with Speakers
Your opinion matters to the APA. The Office of Scientific Programs and Scientific Program Committee wants to hear from you to help develop future meetings. Follow the steps below to rate individual speakers and provide commentary.
Step 1 of 6: Open in the individual session you would like to evaluate and scroll down to the "Speakers" section. Tap the speaker you would like to evaluate.
Step 2 of 6: Alternatively, find the speaker in the "Speakers" section of the app, and tap the blue "Visit" button below their name.
Step 3 of 6: Tap the "Rate Now" link on the Speaker's information page.
Step 4 of 6: Tap the number of stars (1-5) that you would evaluate the session by. You may also type comments in the option text field.
Step 5 of 6: Tap the blue "Submit" link in the top right of your screen to submit your review.

Step 6 of 6: Change or add to your review at any point by navigating back to the individual session page and tapping the "Rate Now" link again and repeating steps 1-3.